It's Venturas, baby!
Welcome to Las Venturas -- gambling capital of the world! Woozie is trying to setup a casino business, but it's proving difficult as the mob try and sabotage his plans. He'll need your assistance.
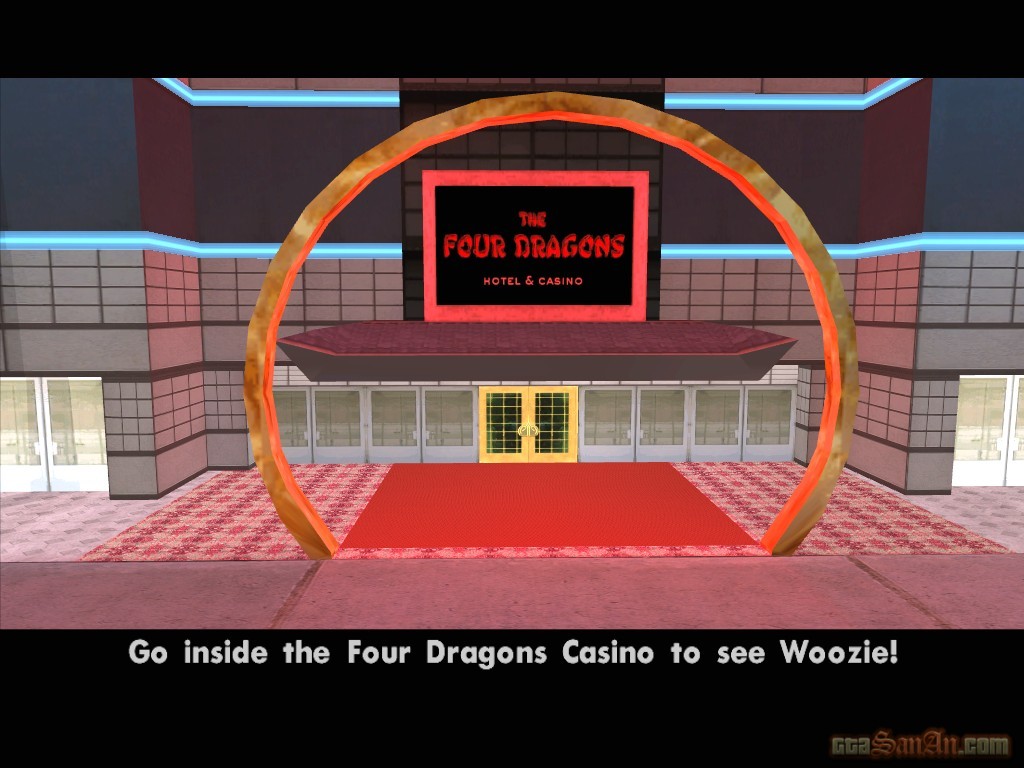
Also in this chapter, we re-meet C.R.A.S.H, whom we haven't seen for a long time now. Tenpenny and Pulaski's little side business is now clearly in danger, so they're laying low in Prickle Pine. The more enemies they kill, the more enemies they make, and as a result, the more enemies they need to kill. The C.R.A.S.H team is now clearly corrupt, and Tenpenny needs you to kill an agent who is threatening to expose his methods. First, however, go and see Woozie at the Four Dragons Casino. |  |

 | Fender Ketchup |  |
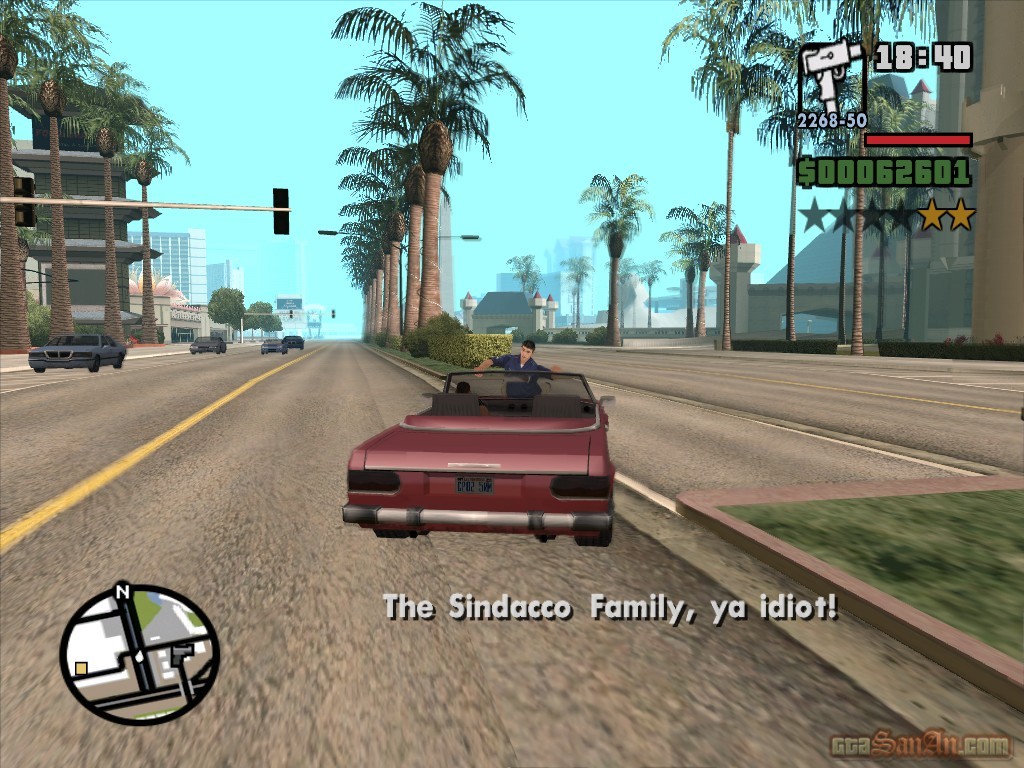
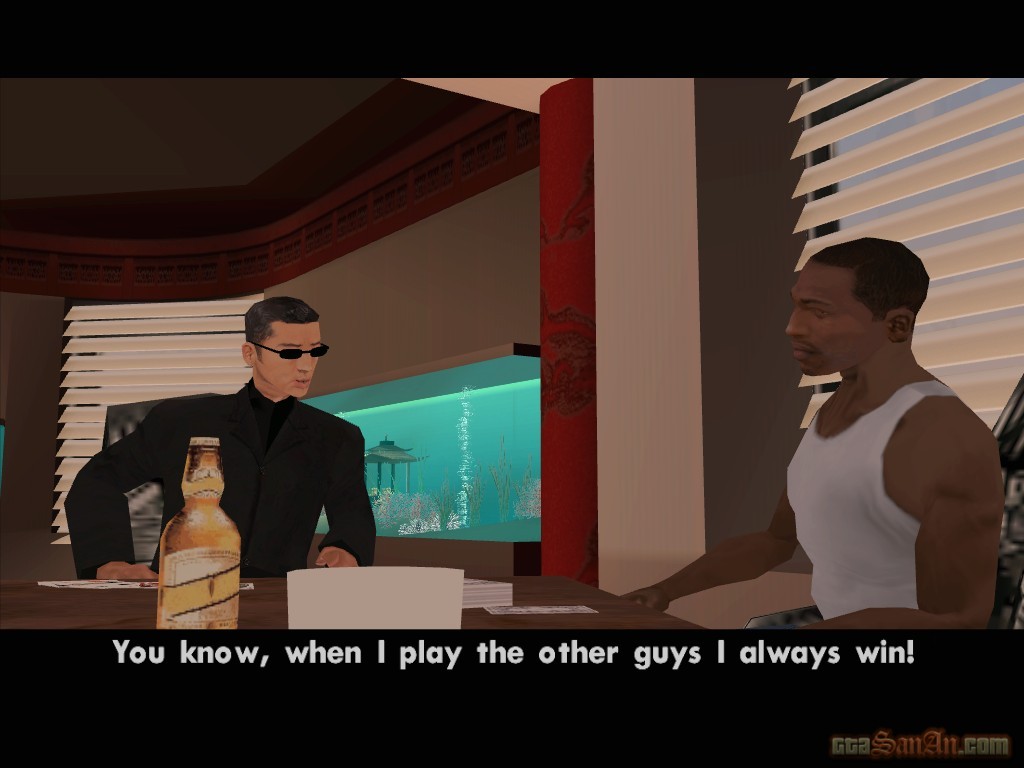
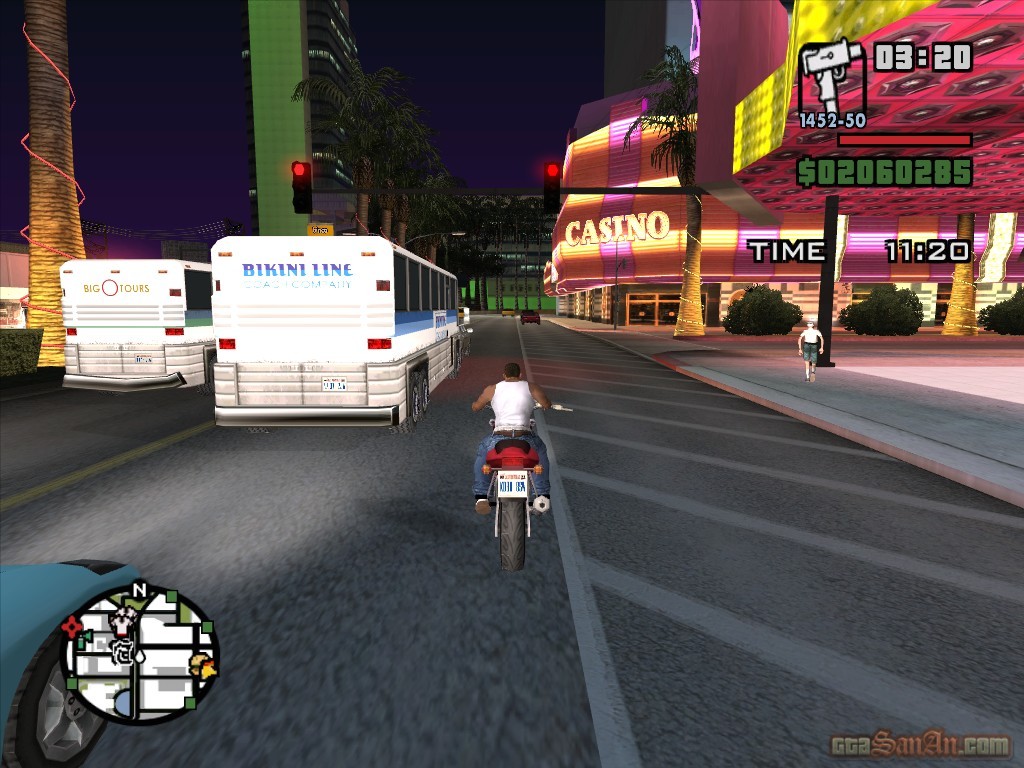
Woozie is trying to setup a triad casino in a mafia run town. The mafia are constantly troubling him and interrupting the casino's setup plans. He goes onto explain that there are 3 mob families in Las Venturas, each owning a stake at Caligula's Casino. It's run by "some whacked out lawer" (Rosenberg). So who's causing all this trouble? It could be any one of the families, or it could be all of them, Woozie says. He wants to offer you a share in the casino in exchange for some help in setting it up. Carl accepts the offer. One of Woozie's men rushes into the office with the news that they found some thugs trying to smash one of the deliveries. They managed to catch one of them, and he's being held downstairs. Carl orders the Triads to tie the thug to the front of a car, and he'll meet them down there. It's time to take a little ride..
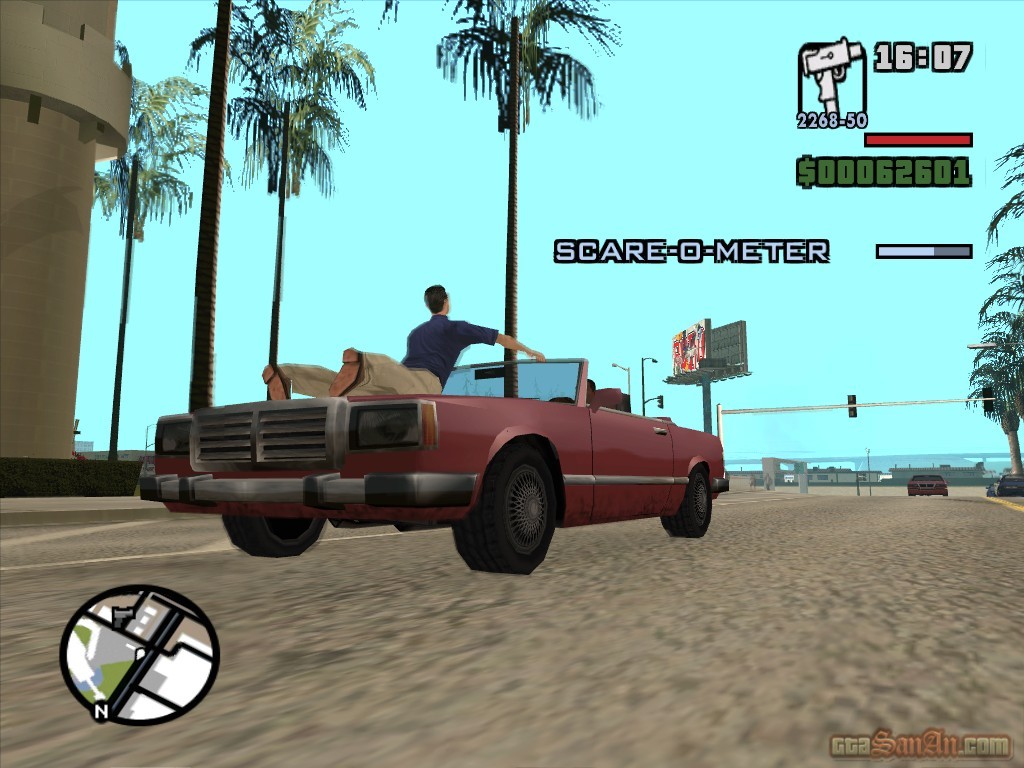
You must scare the thug until he tells you what mob family he is involved with. A scare-o-meter appears on-screen. Speed up and down the strip, and perform handbreak turns to scare him and increase the scare-o-meter. Remember, however, that head-on collisions will kill him and the mission is automatically failed. The faster you drive, the more you scare him. Driving on the wrong side of the road will increase the scare-o-meter rapidly. Do not drive onto the freeways or the cops will chase - stick to The Strip. Once the scare-o-meter is full, the mobster will accidently reveal his connections. He is working for the Sindacco Family, and he swears revenge. Take Sindacco back to the Four Dragons Casino, and stop in the red marker to complete the mission.
$5000, Respect +
| Explosive Situation | |
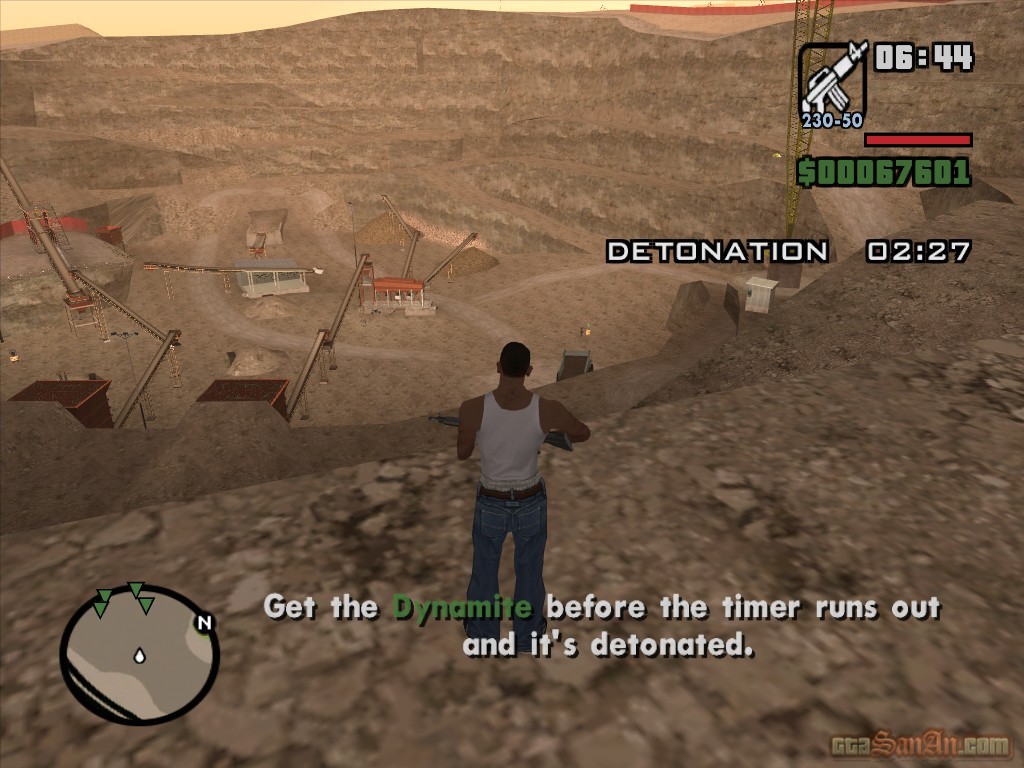
Woozie is playing golf in the office. His worker changes the position of the target, enabling Woozie to get a hole-in-one. So much for being "blessed with unbelievable good fortune". Anyway, they now know that the Sindacco's are one's responsible for cowardly attacks. Carl suggests hitting a mafia casino -- pulling a heist. You'll need a crew and some special equipment. And as for explosives - Woozie says there is an open cast mine south west of the city limits.
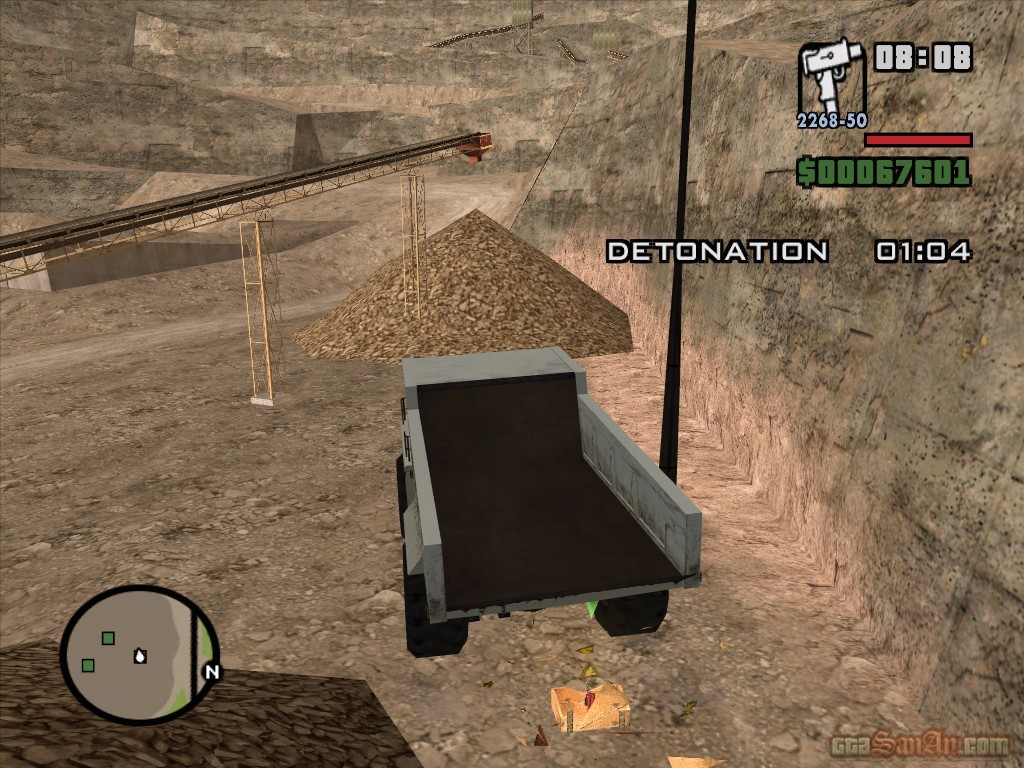
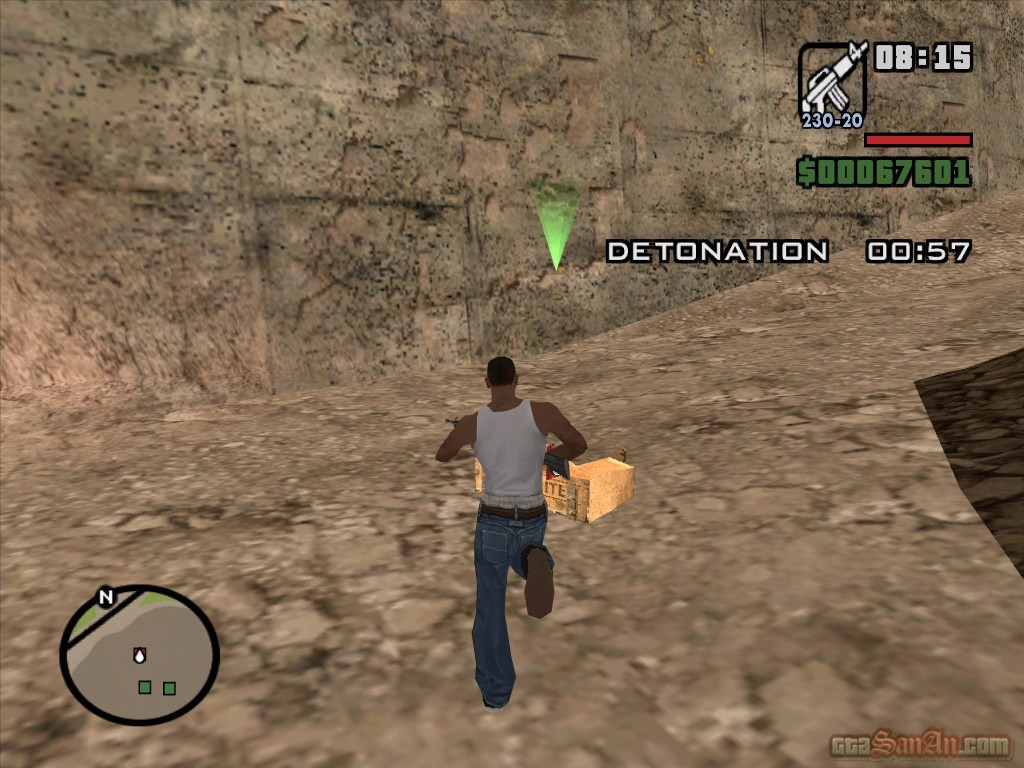
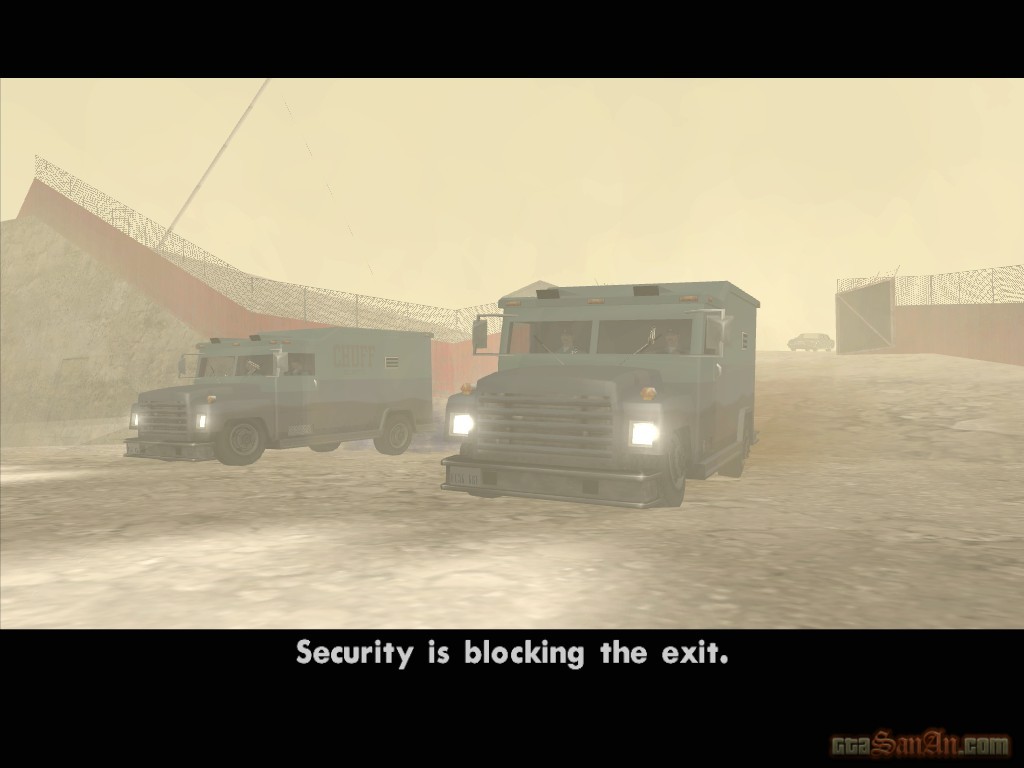
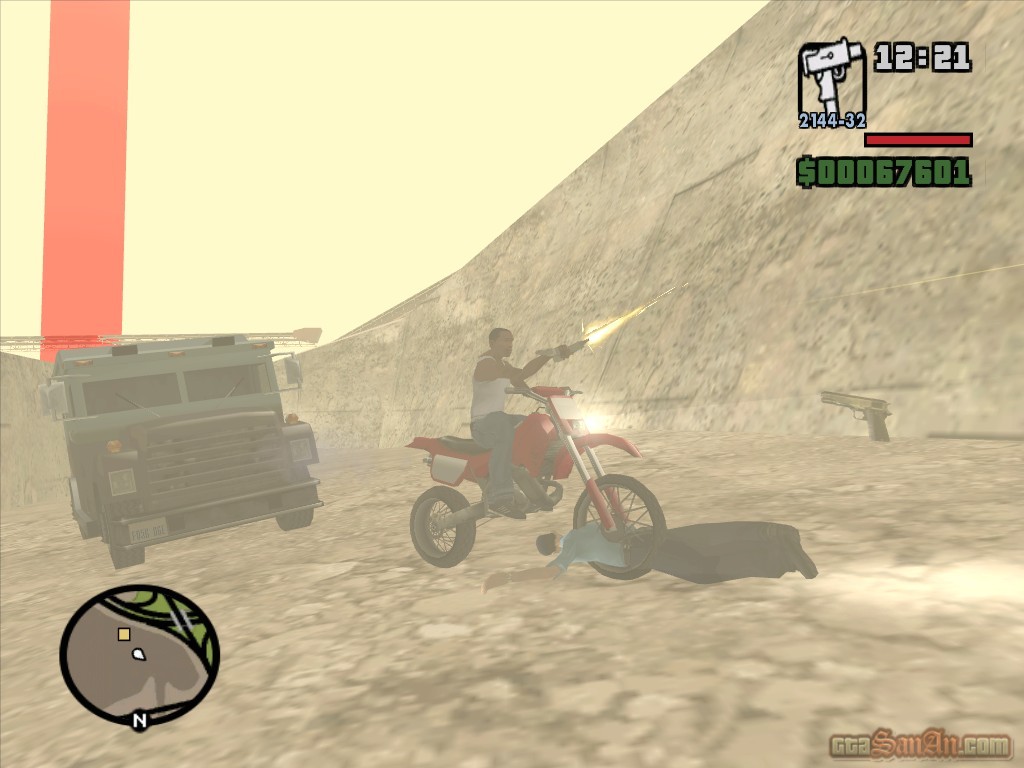
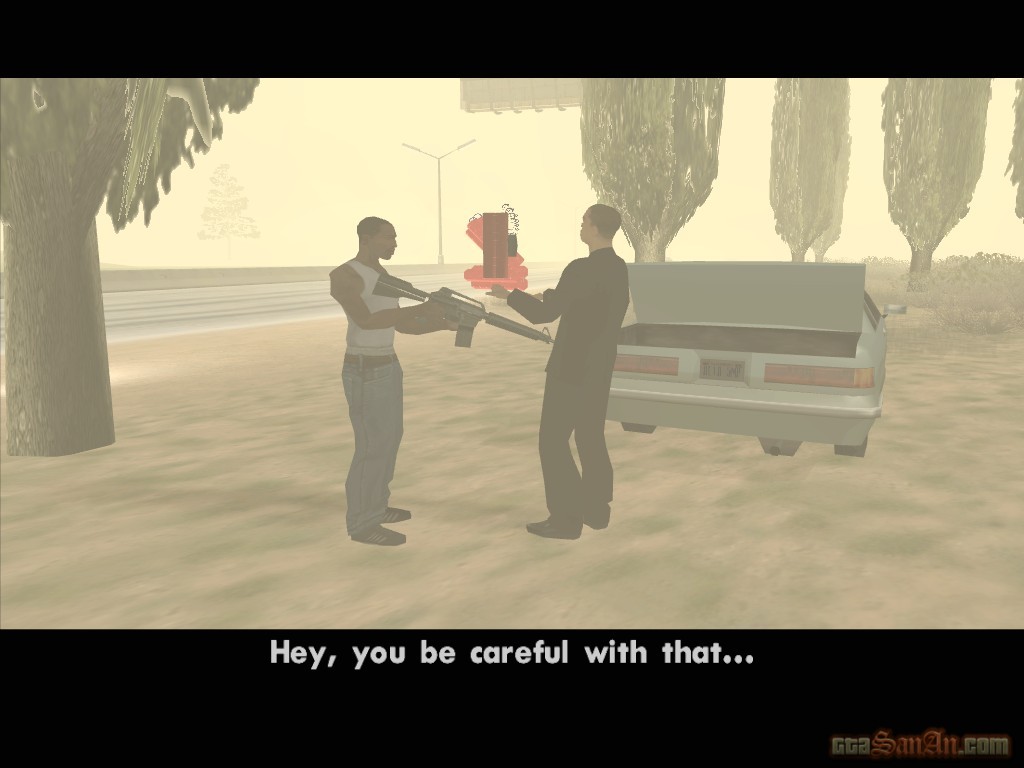
Goto the Hunter Quarry and walk into the red marker! You must enter the quarry and steal the dynamite before the workers detonate it. A timer appears on-screen and begins counting down from 2.30. If the timer runs out, the dynamite will be detonated and the mission is failed. Jump down into the heart of the quarry and get inside the dumper. Use the dumper to drive over the crates (containing the dynamite), and smash them open. When a crate has been smashed, get out of the vehicle and collect the dynamite. There are 4 sticks of dynamite altogether. One is being transported via a forklift. Drive into the forklift with the dumper and it will drop the crate. Again, drive over the crate to smash it open, and collect the stick of dynamite. After all 4 sticks are collected, a cutscene begins. Security is blocking the exit, so you must find an alternative route out. Get on the bike, and follow the arrows to get out of the quarry. Experiment with the different jumps and judge what speeds you'll have to go to move onto the next marker. When you are out of the quaary, goto the drop point and Carl will give the dynamite to the Triad.
$7000, Respect +
*The Quarry missions are now available.
| You've had your chips | |
Woozie and Carl are playing cards, when suddenly, a Triad bursts into the room explaining yet another problem. There are 2 chips, and one is clearly a fake. Woozie says that the Sindacco Family have a plastics factory across town, so it obviously came from there.
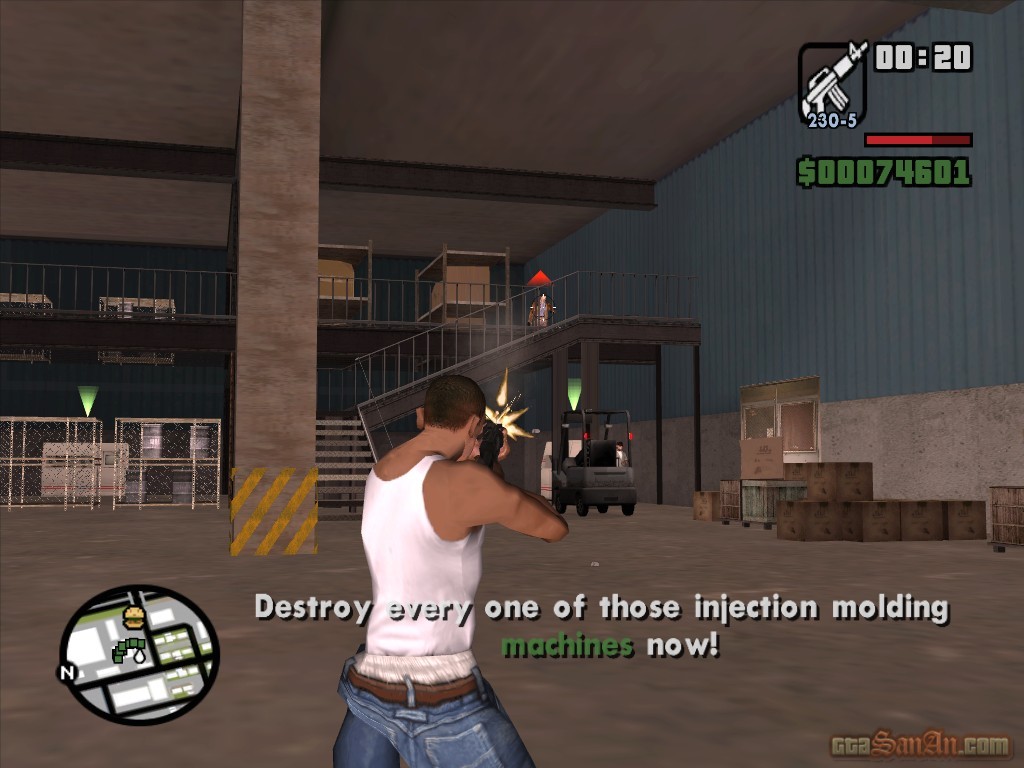
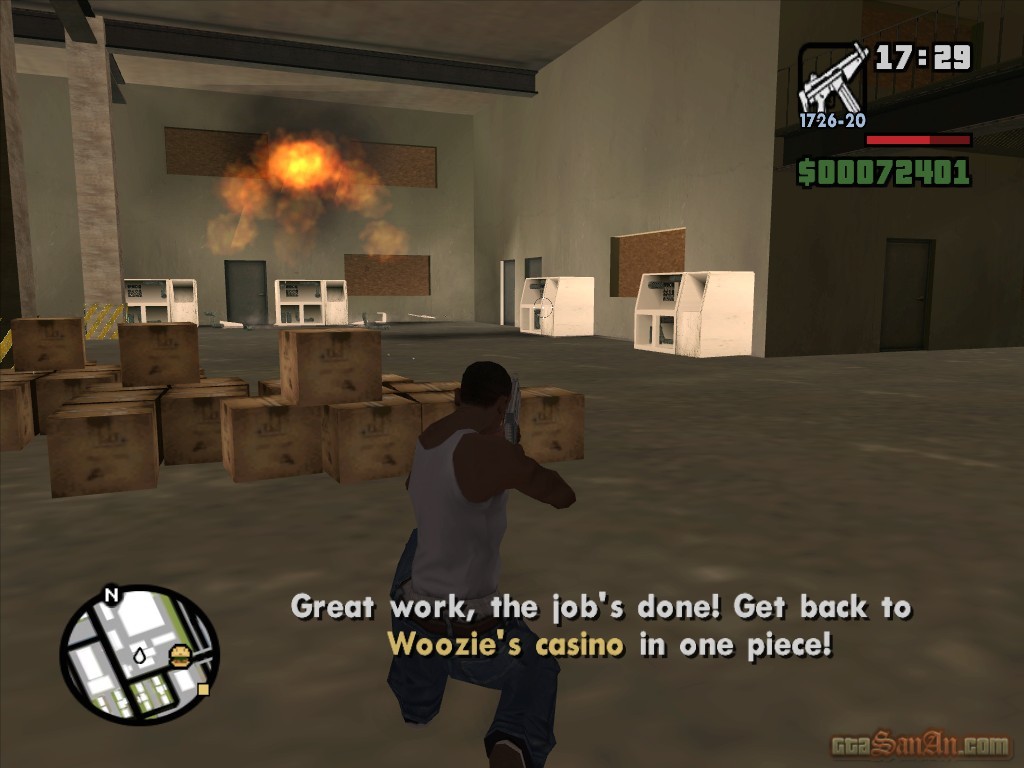
Head towards the factory unit on the outskirts of town - you are going to "disturb" their operation. The mobsters have guards watching the main entrance, so try and get in unnoticed. As soon as you enter the compound, the mafia will see you and warn the boss. Now is your chance, get inside the factory as quickly as you can! The mafia will attack from all angles, so find a suitable place to take cover. Eliminate them, and destroy the 8 injection molding machines that are scattered across the interior. You can use auto-aim to destroy the machines. Also, when destroying them, be sure to stay at a safe distance so as not to get involved in the explosion. Get back to the Four Dragons Casino in one piece and stop in the red marker, to complete the mission.
$10000, Respect +
| Don Peyote | |
Walk into the red marker outside the Four Dragons Casino to start this mission. Truth calls, and he needs a favour. He took some friends deep into the desert on a peyote safari, and woke up in a japanese bath house in Los Santos an hour ago. He has no idea how he got there and he doesn't know where the others are. They were brits - a band and their managers. Truth wants you to check it out, and see if they are okay.
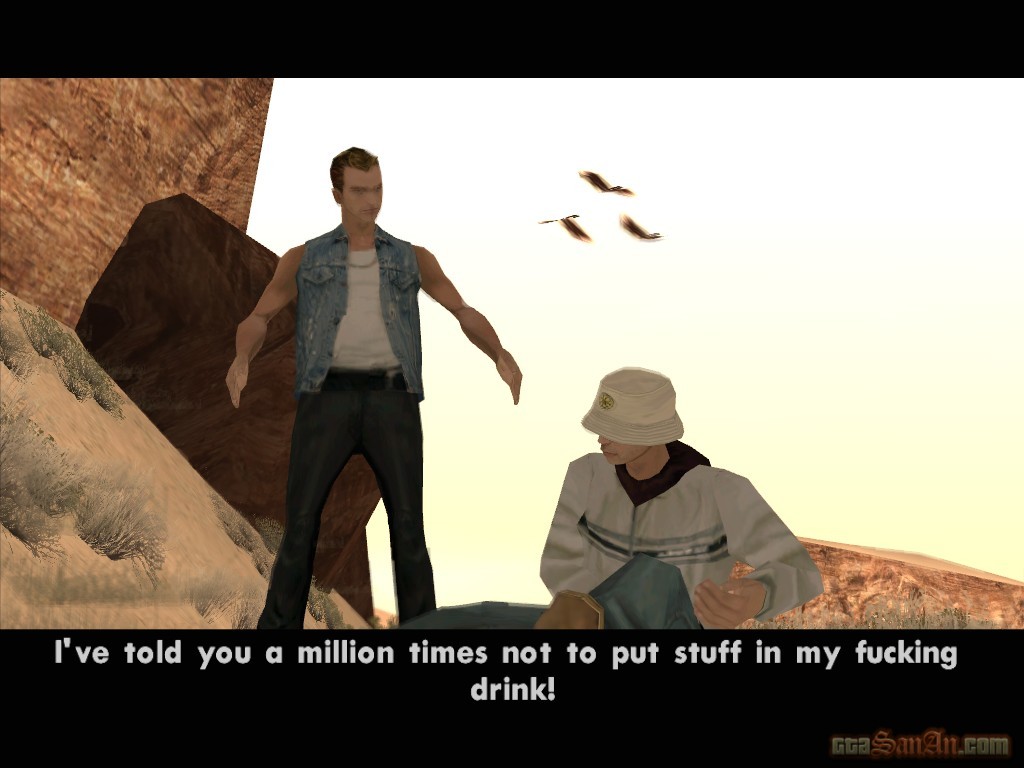
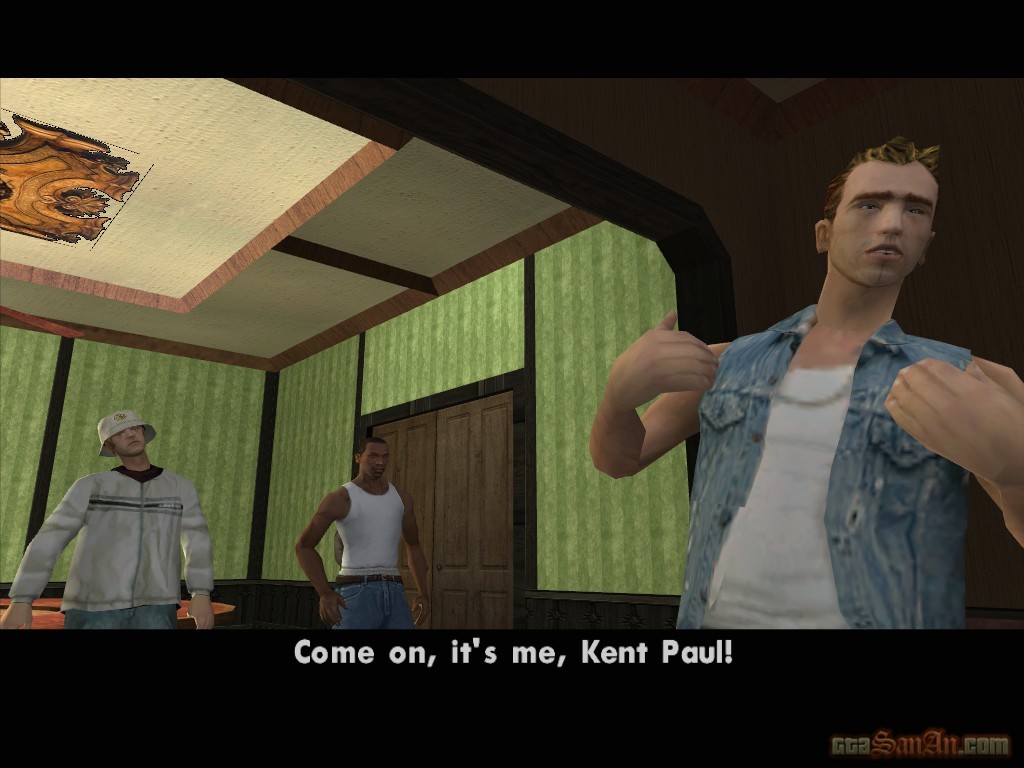
Make your way to Arco del Oeste, and pickup Paul and Maccer! Be sure to take a car with 4 doors. When you arrive, stop in the red marker and a cutscene will begin. We are introduced to Kent Paul (the same Kent Paul in GTA Vice City) and his friend Maccer. Lord knows what they got upto last night..
Take Paul and Maccer to look for the rest of the band. They say they remembered snakes, so drive to the snake farm down the road. During the journey, Paul says he is feeling sick and asks you to pull over. It's not entirely necessary.. but if you'd like to see him throw up, by all means, pull over! Some rednecks attack Paul and Maccer, and a chase begins. Take Paul and Maccer to meet Rosie (Ken Rosenberg) at Caligula's Casino in Las Venturas. The rednecks will constantly chase and attack your vehicle, although, they won't cause much harm. When you arrive, Paul decides it's time to take out the trash. Help Paul and Maccer eliminate the rednecks, and watch as they goto meet Rosie. Rosie seems mentally depressed. Paul wants a word with him alone, and promises to call you later when he needs you. Outside the casino, Carl calls Woozie and says he's found a way to scope Caligula's without too much suspicion.
Respect +
*Kent Paul phones. Rosie is in a bit of trouble. Go and meet them at Caligula's.
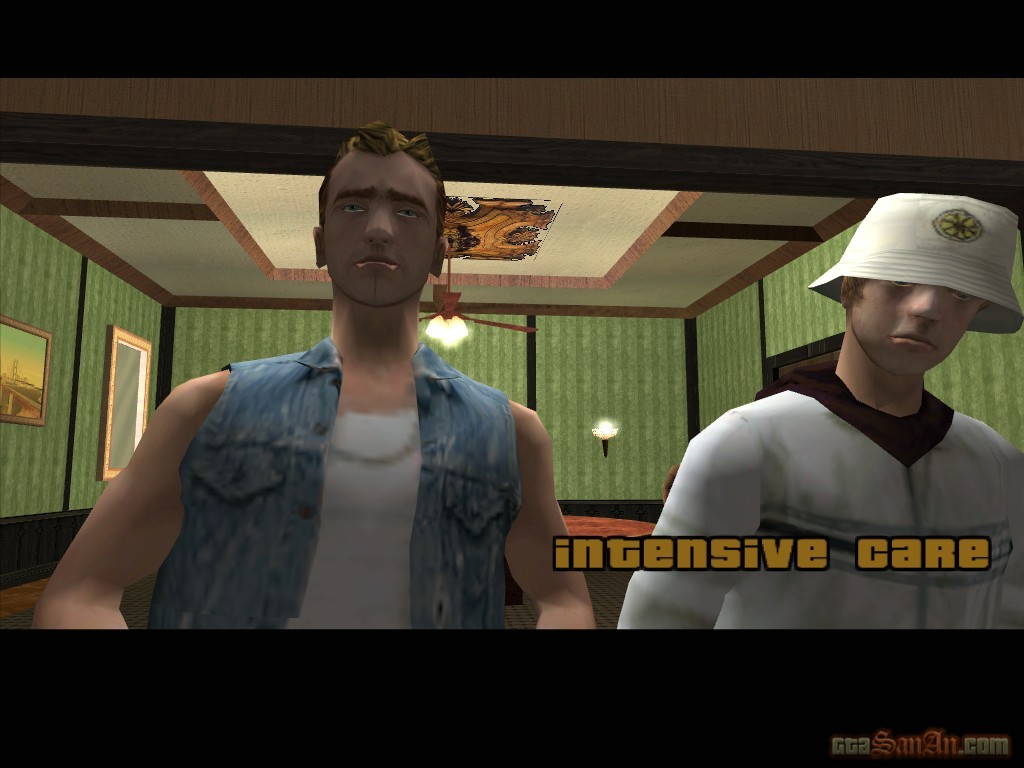
| Intensive Care | |
Paul has persuaded Rosie to explain all of his problems to Carl, to see if he can help. Rosie explains: he had everything -- the money, the girls, but he couldn't lay off the blow. After coming out of rehab, he started representing the Liberty City mob (again). The 3 mob families (Leone, Sindacco and Forelli) all own part of Caligula's, and they couldn't decide between themselves who should run the casino. Therefore, Rosie was put forward as a neutral party and if one mob screws the other, Rosie will be killed. So the current situation is: Johnny Sindacco is in a shock induced coma in the hospital across town. This is a good opportunity for the Forelli's to waste him.
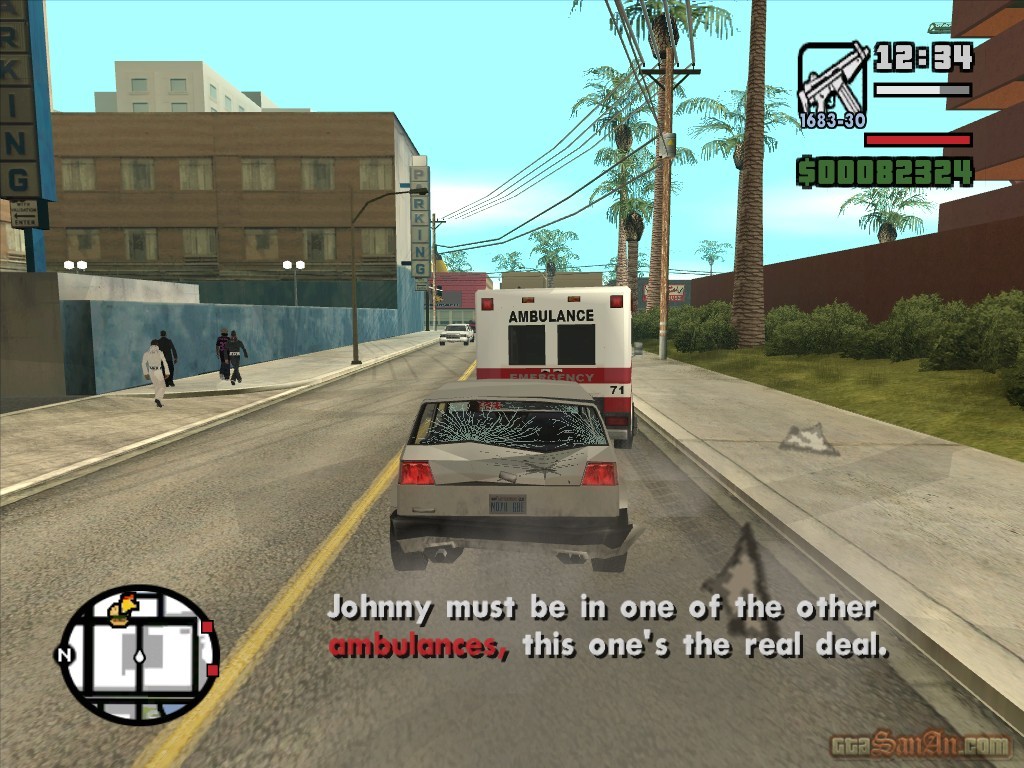
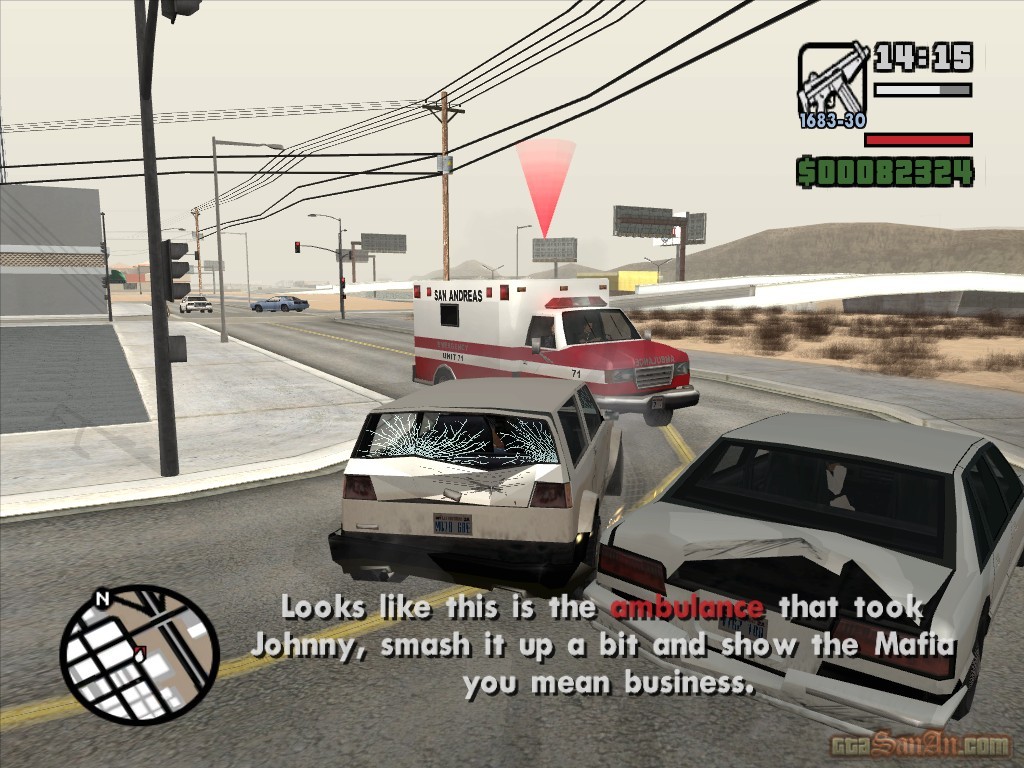
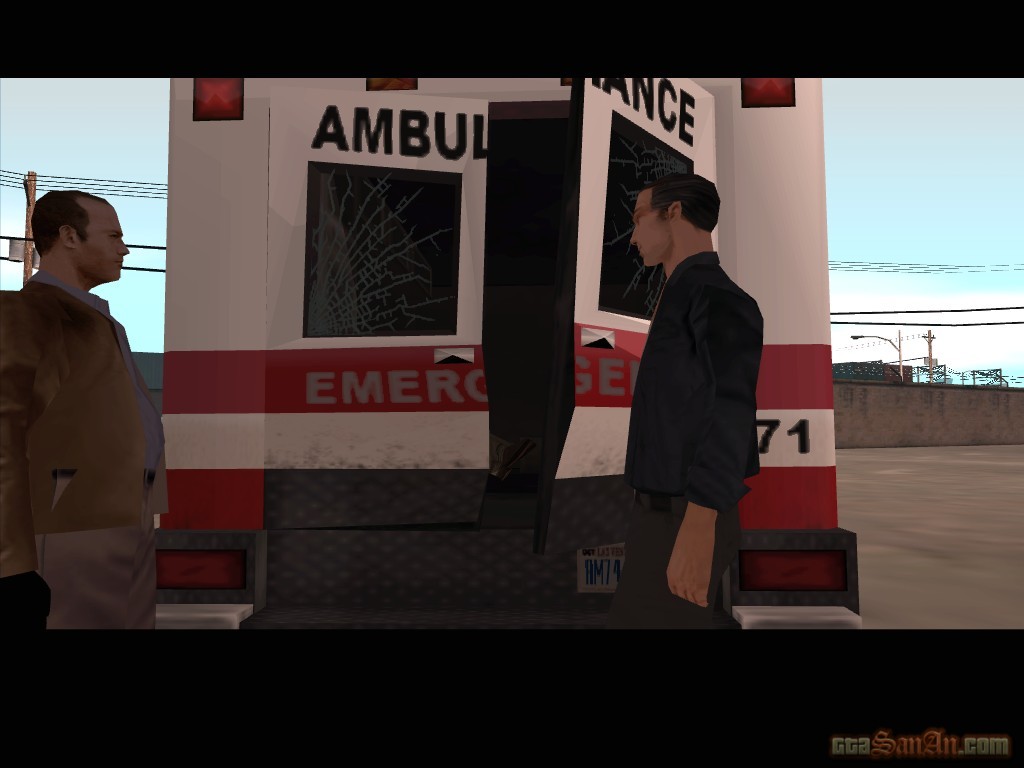
Goto the hospital across town and pickup Johnny Sindacco! Johnny Sindacco was the guy you scared in the mission 'Fender Ketchup'. Stop in the red marker, and Carl speaks to the receptionist. She says there must be some mistake, because Johnny Sindacco was picked up by an ambulance a short moment ago. There are 3 ambulances driving around the city, each represented by a red blip on the radar. One of those ambulances has Johnny Sindacco inside -- get a fast vehicle and find that ambulance before it escapes. The ambulance with Johnny Sindacco inside is completely random (ie, if you keep re-doing the mission, it won't always be the same ambulance). Ram the ambulance to see the driver's reaction. A message will appear on-screen to tell you if you have hit the right one. When you hit the correct ambulance, it will speed off with Johnny Sindacco inside. Give chase, and ram it constantly but do not shoot the vehicle. Eventually, two mobsters will get out of the ambulance and attack. Waste them, and take Johnny back to the meat factory. Two cars will chase and attack, but they shouldn't cause much harm. Stop in the red marker and watch as two Sindacco mobsters take Johnny inside on a wheelchair.
$5000, Respect +
| The Meat Business | |
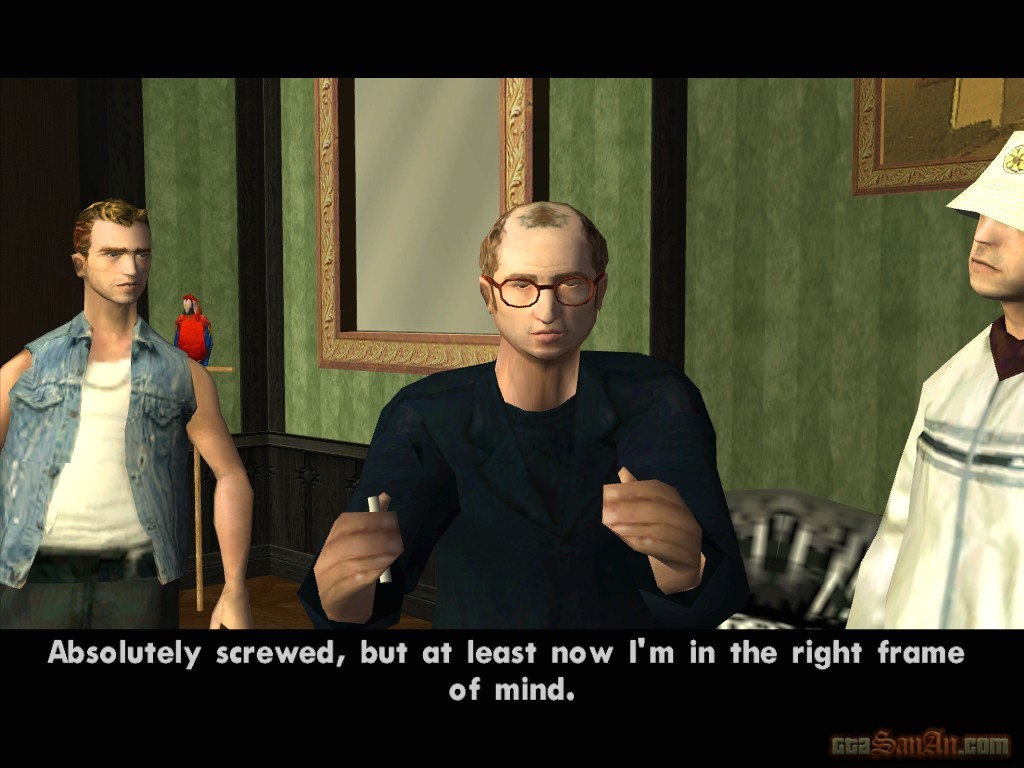
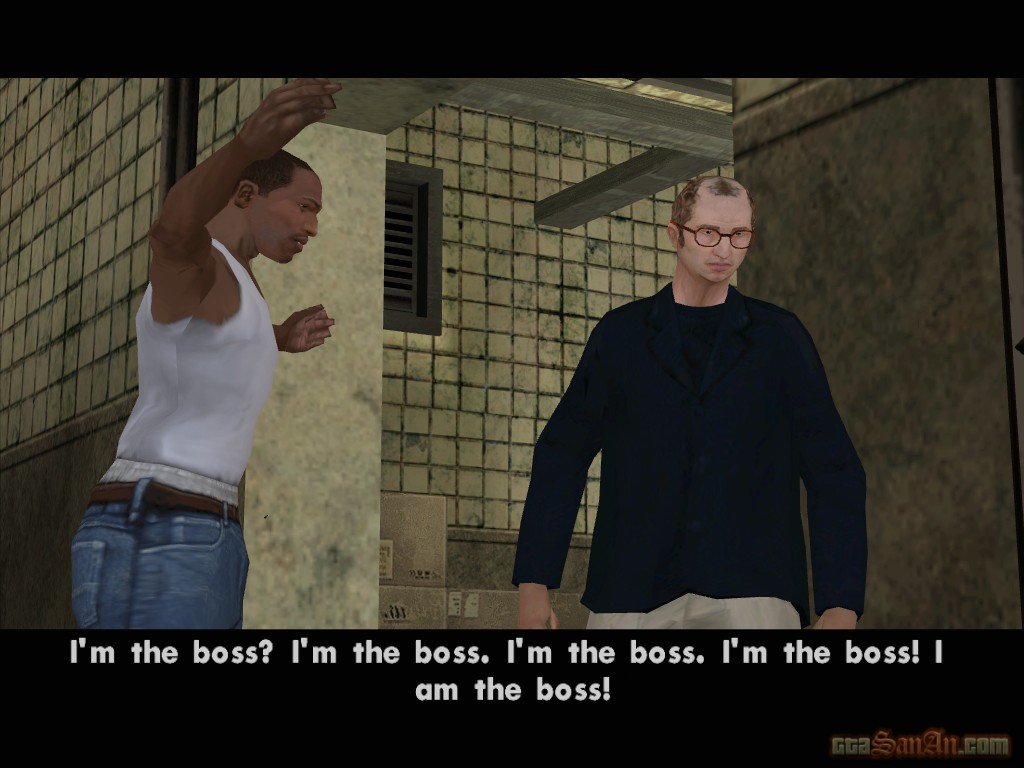
Rosie is stoned, and he's still screwed. Carl motivates Rosie, and makes it clear that HE is the boss. Get a car and take Rosie to the Sindacco Abatoir. We're going to visit Johnny and win him over with some kind words during his convalescence.
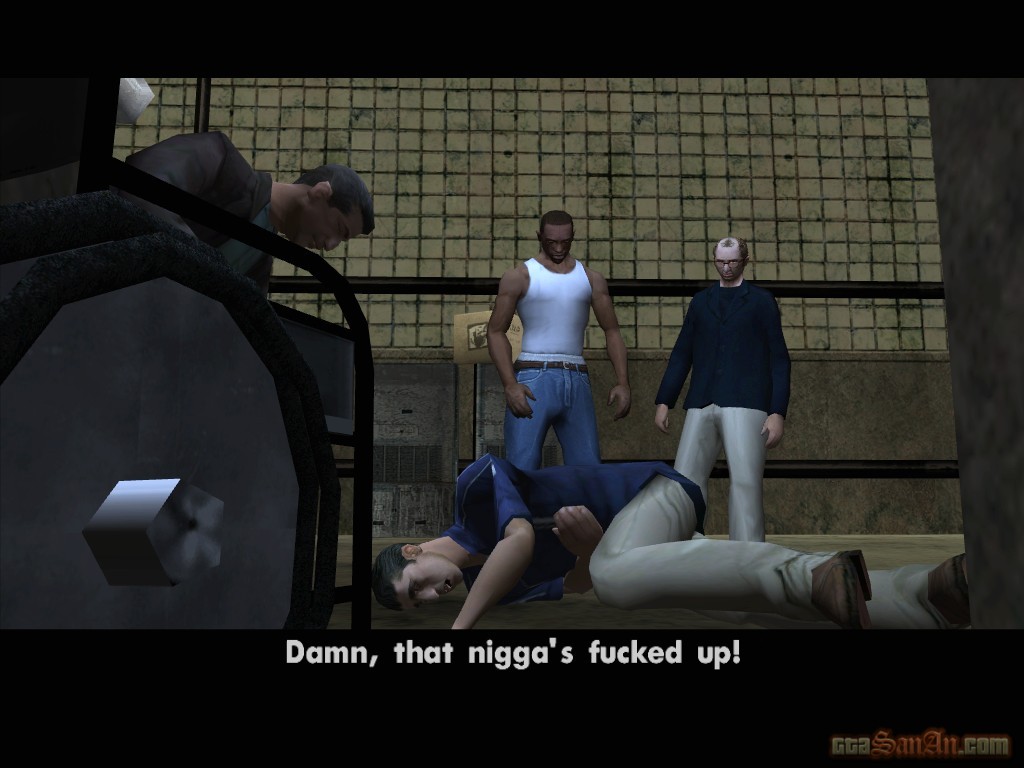
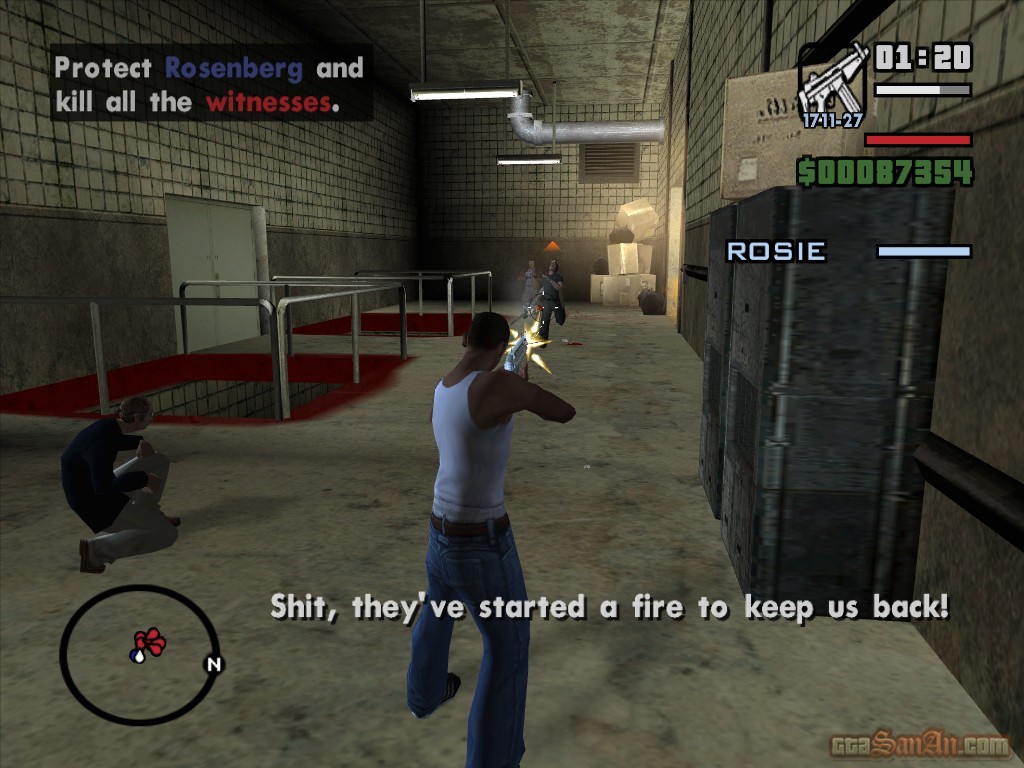
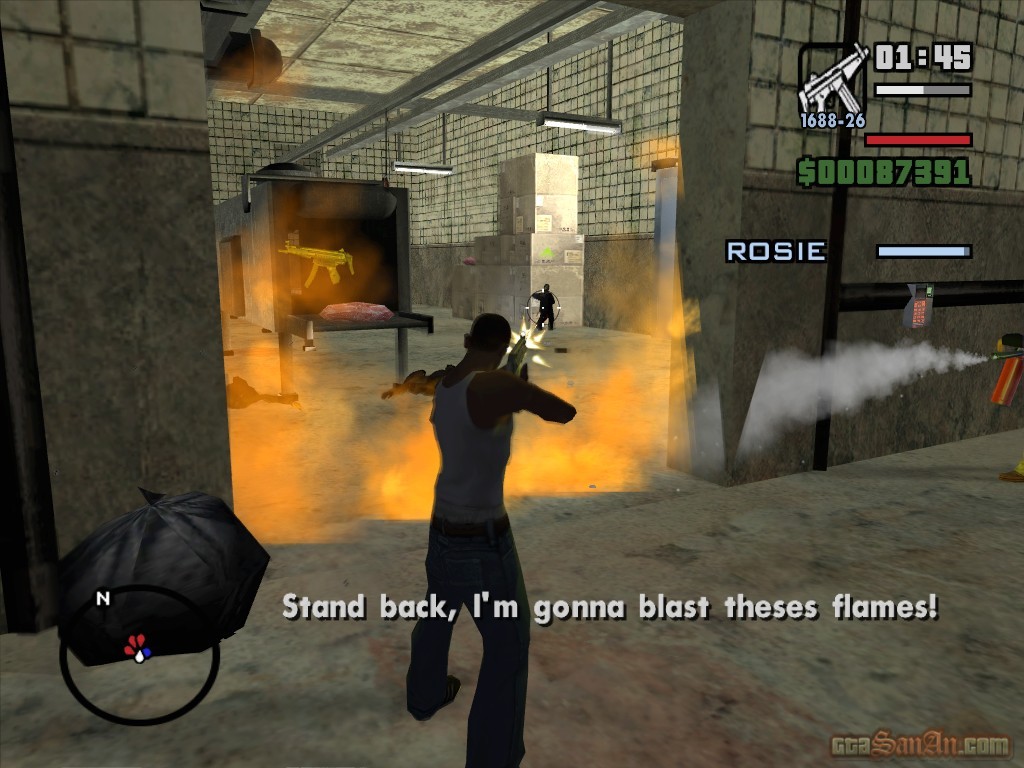
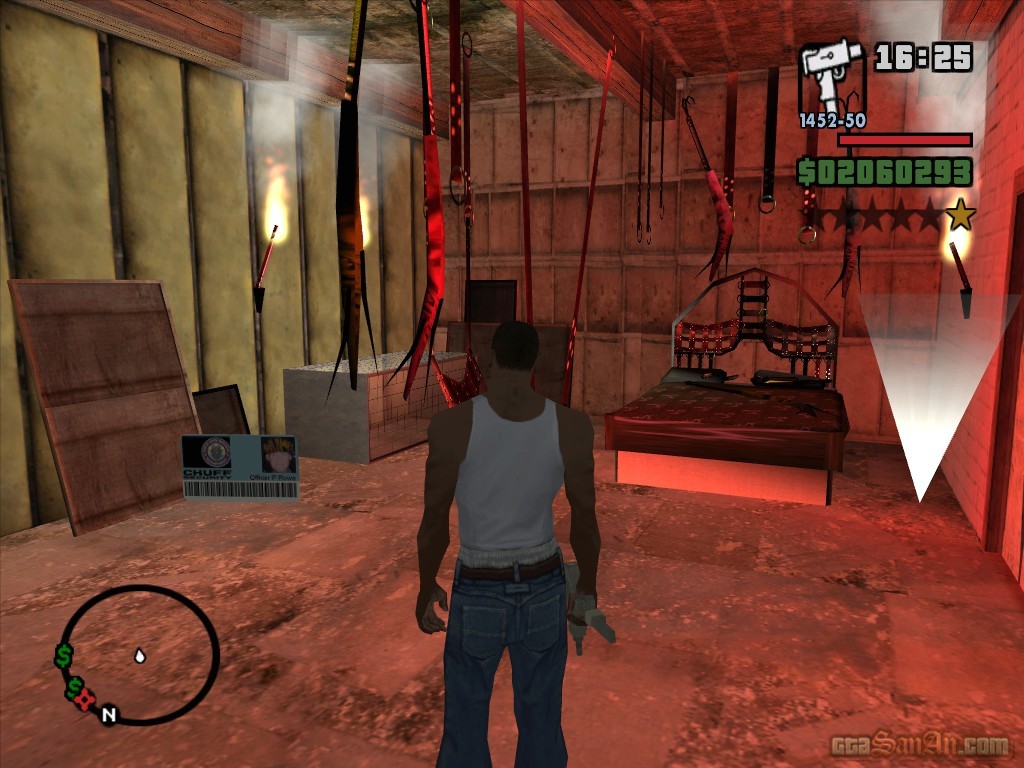
Walk into the yellow marker to enter the abatoir. A cutscene begins, and Carl doesn't want to go any further for the obvious fact that Johnny will recognise him as the guy who put him in this poor condition. Rosie insists that Carl come along. Johnny's doing much better, he ate something this morning. He comes out of his office in a wheelchair and greets Ken, but as soon as he see's Carl, he clutches his heart and falls to the ground. The Sindacco's launch a full attack. One mobster throws a molotov cocktail, which creates a fiery barrier between two areas of the abatoir. Another mobster carrying a chainsaw walks towards CJ. Kill the mobster, and any other attackers while Ken looks for a fire extinguisher.
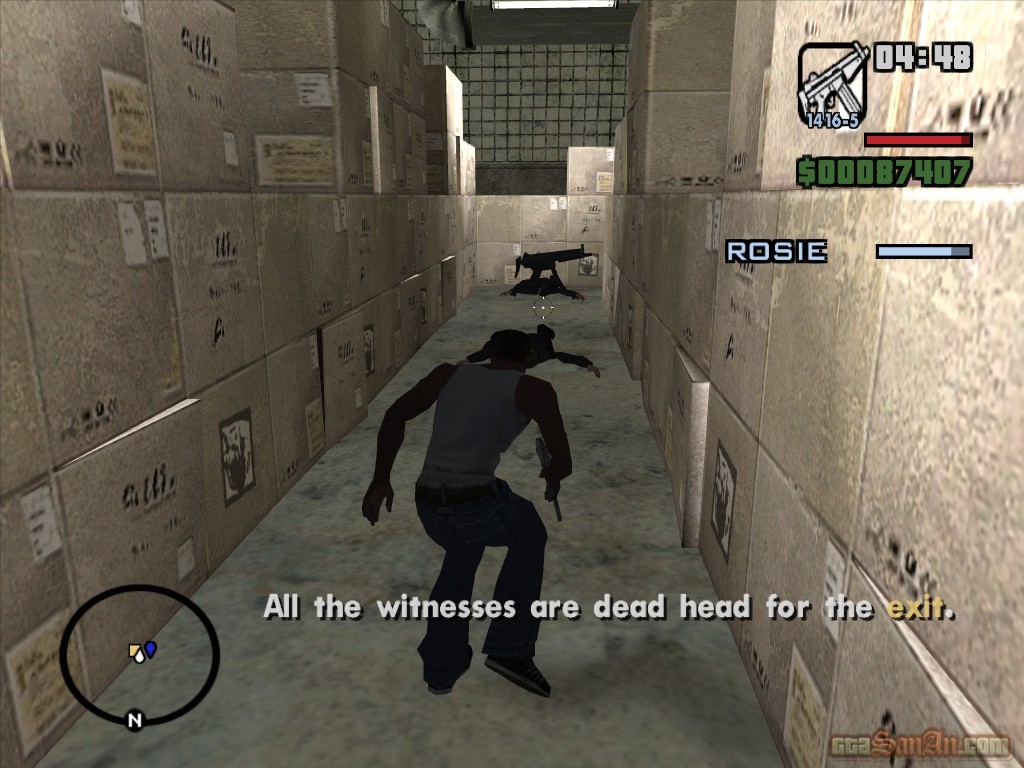
Rosie's healthbar appears on-screen. Protect him and kill all of the witnesses in the abatoir. The mobsters are shown on the radar as red blips and these blips point in the direction that the mobster is facing. Rosie hides in the freezer. Make sure nobody touches the switch otherwise he's locked in there for good, and whatever you do, do not follow him in. There are various health and armor icons scattered across the abatoir. There's a health icon back in Sindacco's office, if you need it. Go through the stockhouse to find the exit, and again, watch out for any attackers. A few mobsters are standing on top of the boxes, and will shoot from above. Walk into the yellow marker to leave the abatoir, and get Rosie back to Caligula's.
$8000, Respect +
*Maddogg's mission is now available. Goto the "D" icon on the radar, to access it.
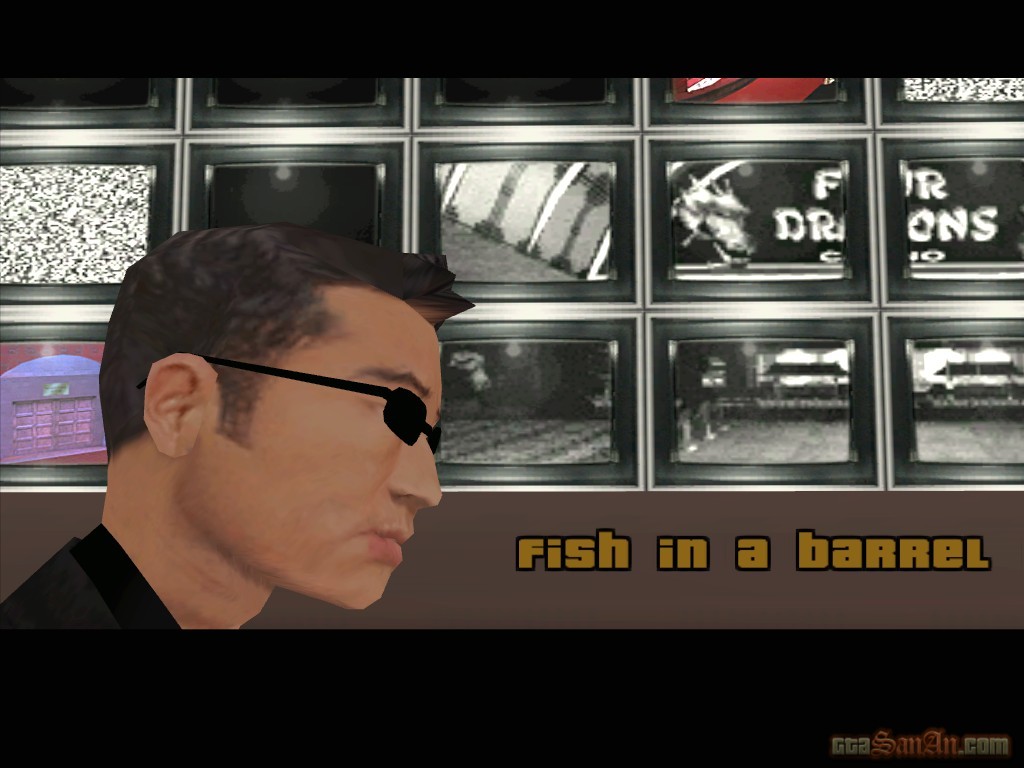
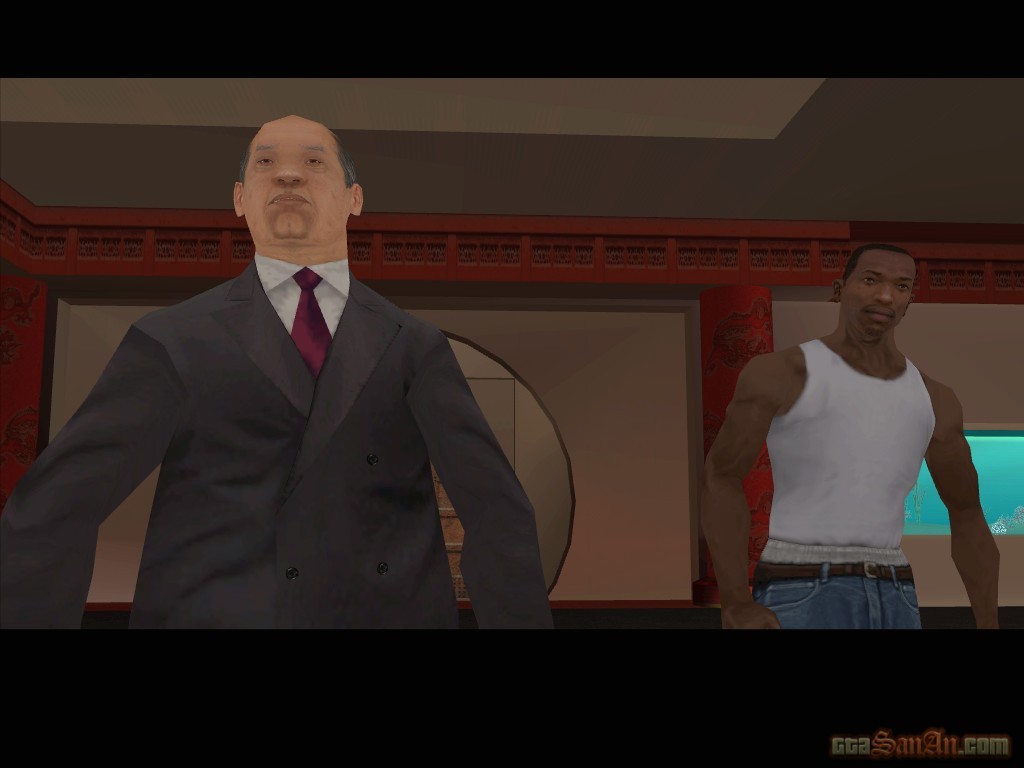
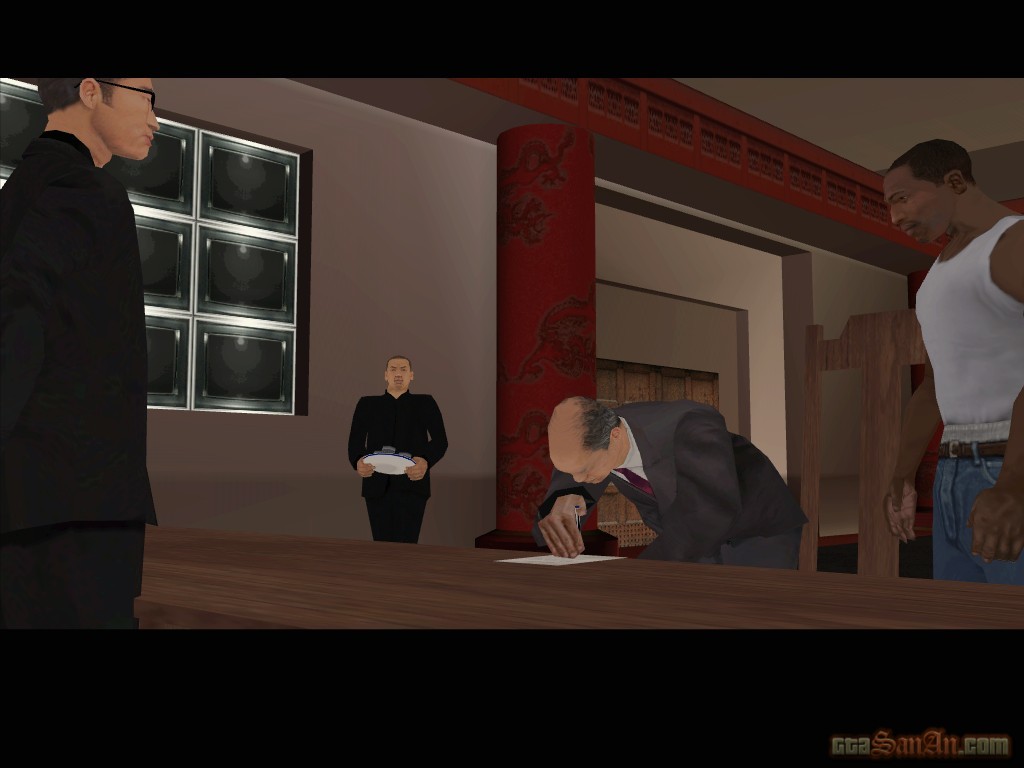
| Fish in a Barrel | |
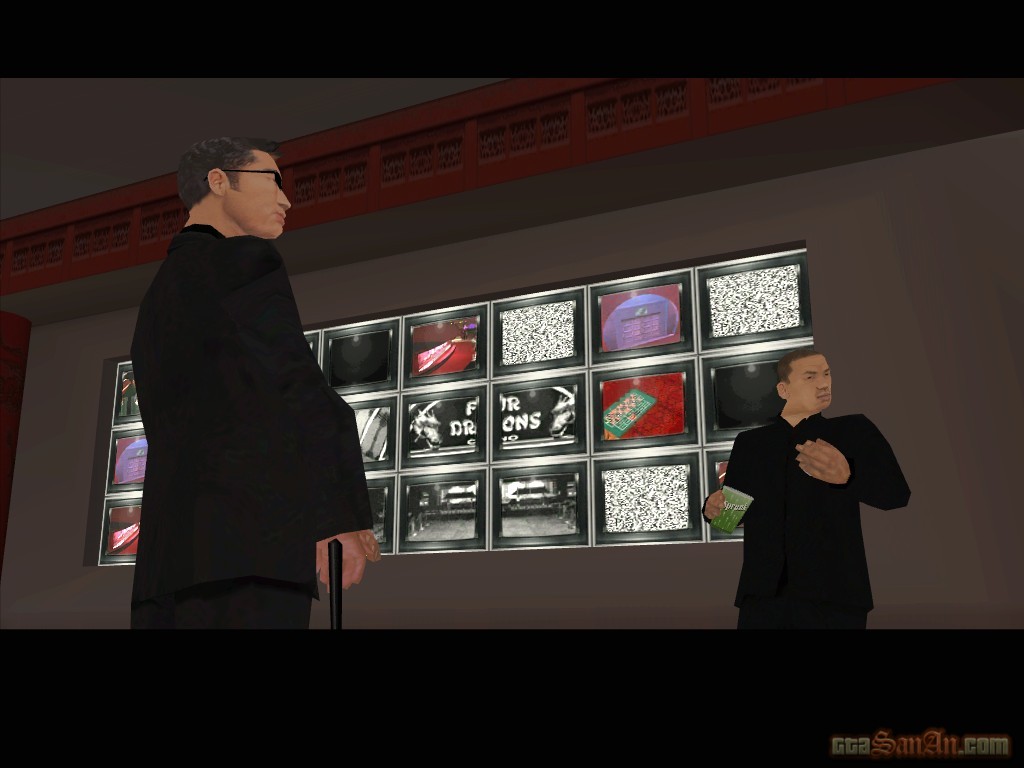
This isn't really a mission, just a cutscene. CJ enters the room with Ran Fa Li where they meet Woozie. They sign agreements and celebrate the their new partnership in the casino.
*Ken calls, and he is extremely worried. The Leone's have made their move and Salvatore has taken over Caligula's.
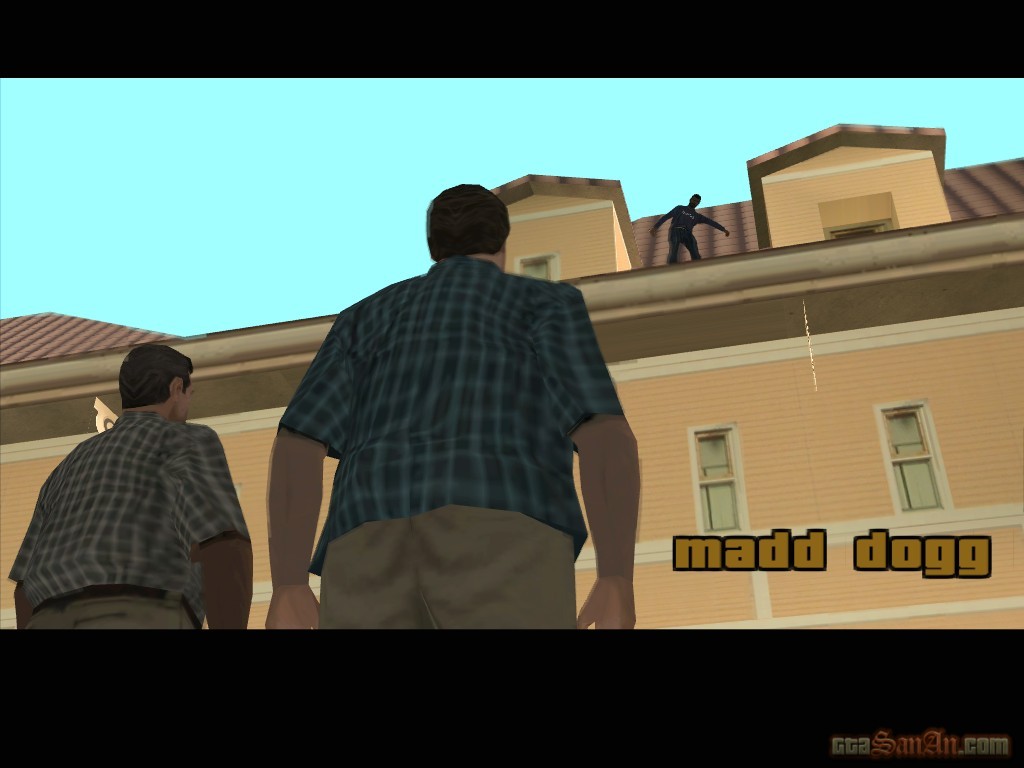
| Maddogg | |
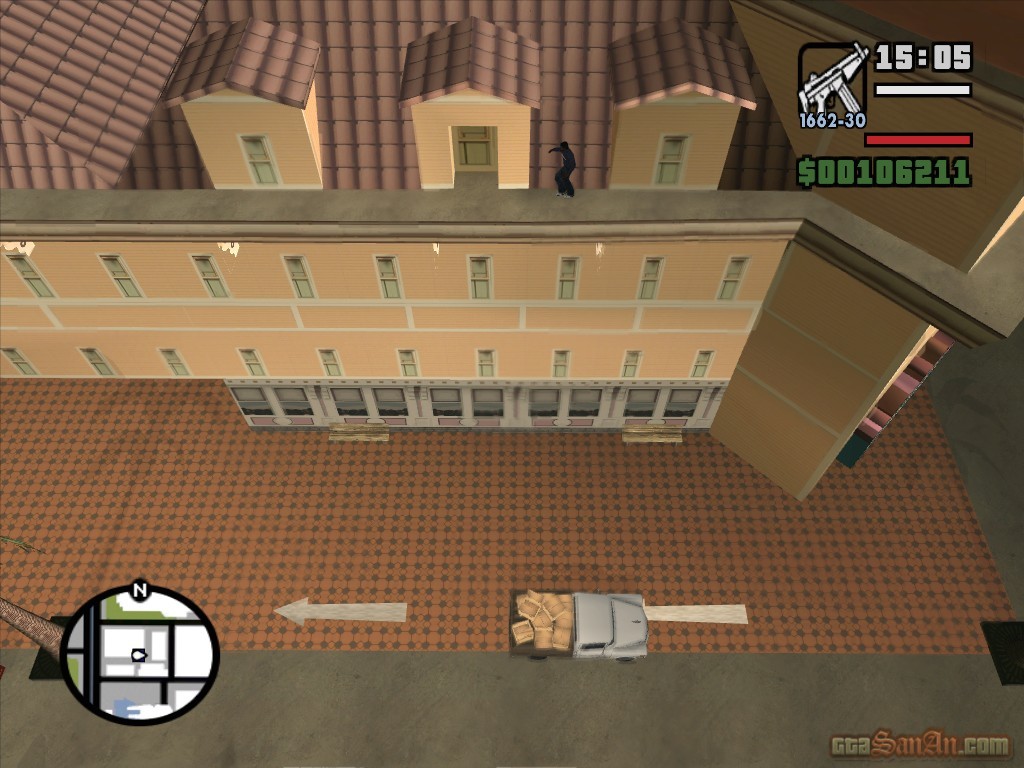
This mission can be accessed at the Royal Casino on The Strip. A drunken Maddogg is threatening to jump off the roof, after losing all of his money in the casino. He says it's not worth it anymore -- his manager was killed (in the mission 'Managment Issues') and somebody stole his rhyme book (in the mission 'Maddog's Rhymes'). He's attracted quite a crowd. Steal the pickup truck and save Maddog before he jumps! Stop in the red marker and the camera angle will switch automatically. Move the truck back and forth according to Maddogg's position. Keep the back of the truck lined up with Maddogg. If you positioned it correclty, Maddogg will jump and crash into the back of the truck. Maddog's health bar appears on-screen. Slowly and carefully drive Maddog to the hospital across town. Each collision reduces his chances of living. At the hospital, Maddog says he'll need a new manager when he gets out, and you're going to be that new manager.
Note: If Maddogg jumps before the cutscene is even finished, your save game is corrupt. This problem is caused by using the 'Peds Riot' cheat. The only thing you can do, unfortunately, is start a new game.
Respect +
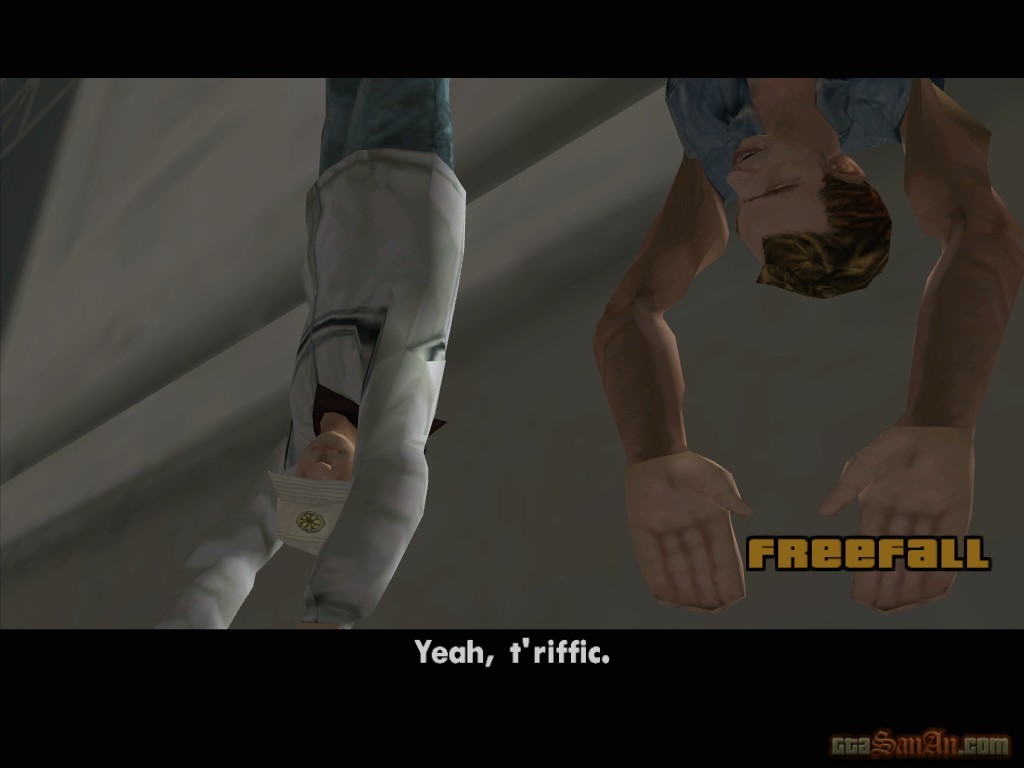
| Freefall | |
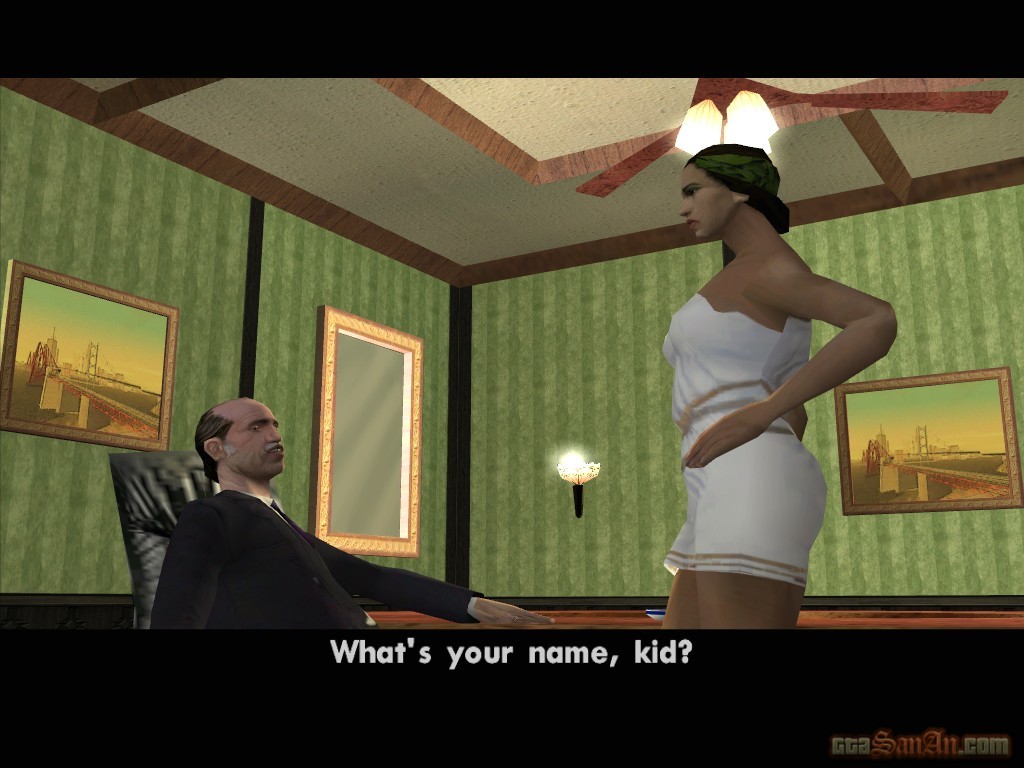
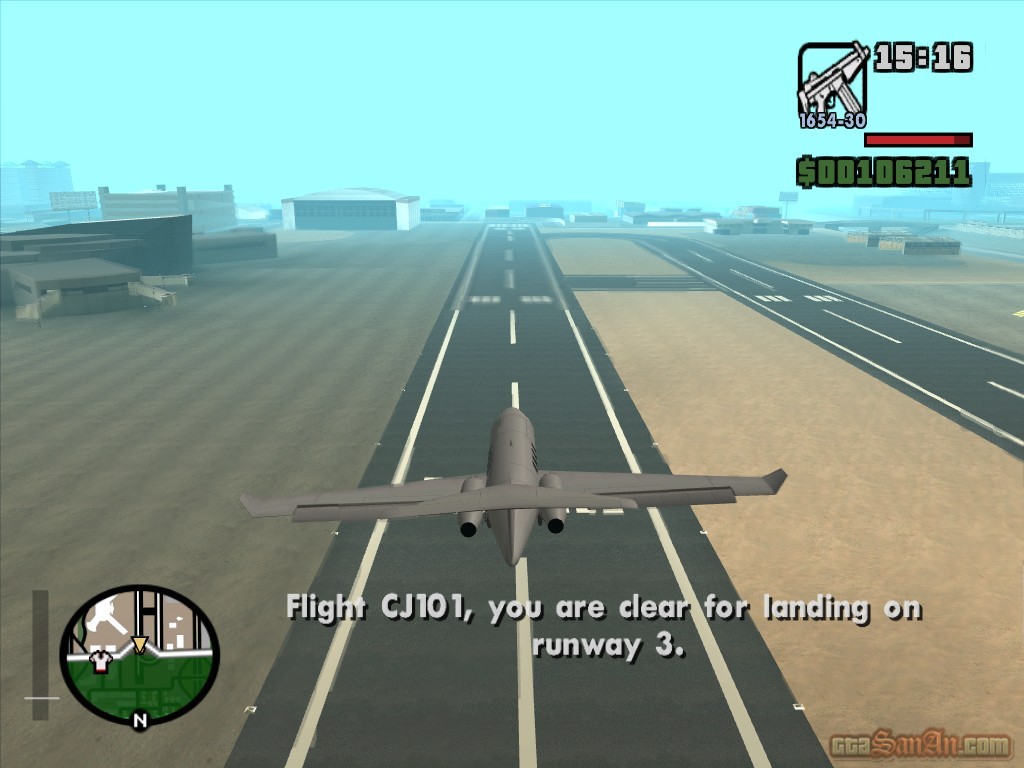
We meet Salvatore, a very familiar face for those of you that played GTA3. Maria enters the room, another very familiar face from GTA3. She has a sandwich for Salvatore, and this is the point where they first meet. Carl enters the scene, and explains to Salvatore how he once had the privellage of working with his son Joey in Liberty City. Carl offers his services, and Leone seems interested. The Forellis are sending over a crew to hit him. The flight will arrive soon. He was going to send down some of his boys as a little welcoming committee, but he wants to see if Carl can handle it.
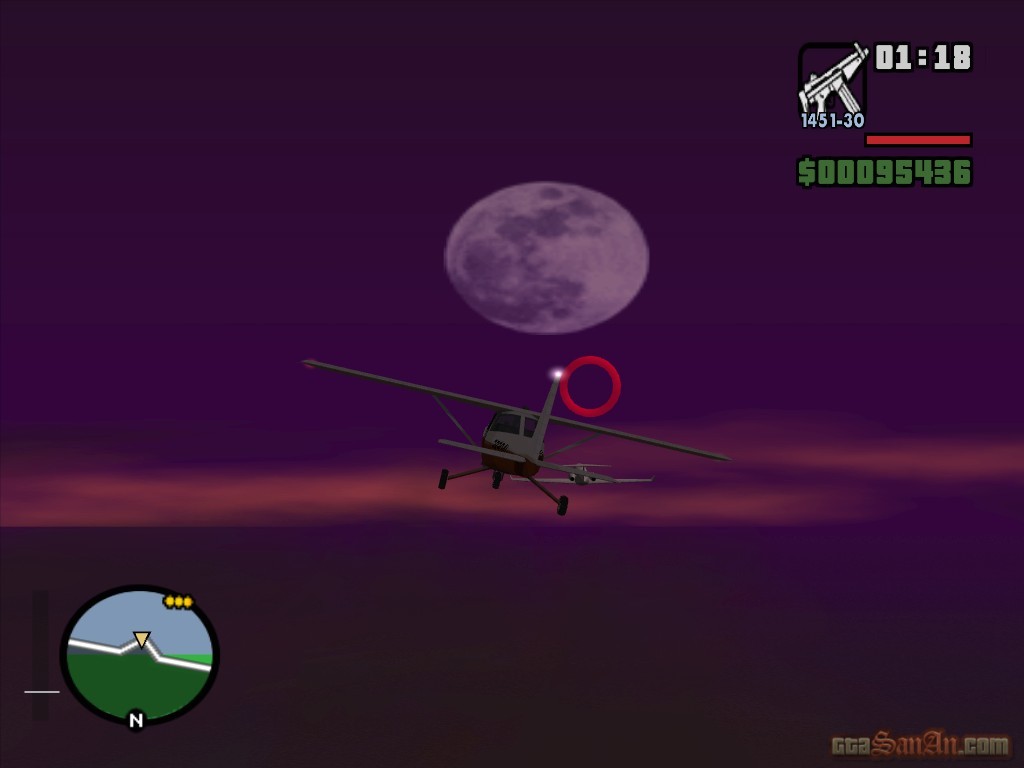
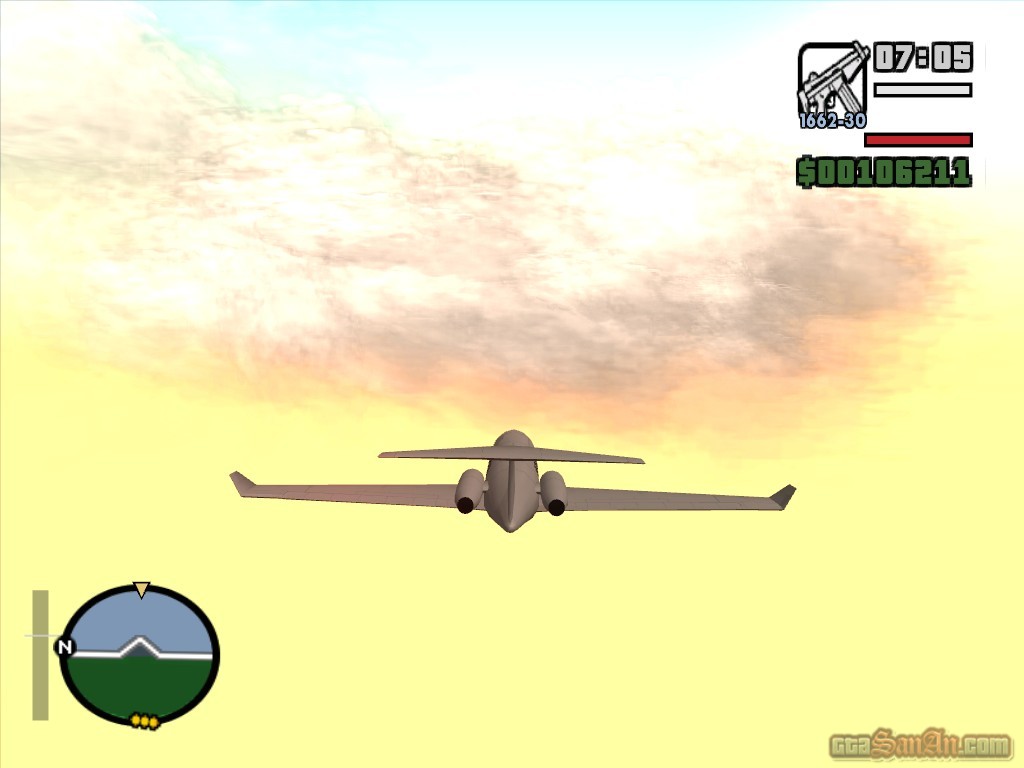
Get to Las Venturas airport and steal the dodo from the hangar! The hitmen's plane is due to land soon. Fly to the point marked on the radar, and intercept the plane before it lands. Fly at a height just above the clouds. When you reach the location, the plane is actually stopped in mid-air. Do a 180 degree turn and fly through the red corona to trigger the cutscene. CJ jumps onto the Forelli's jet.
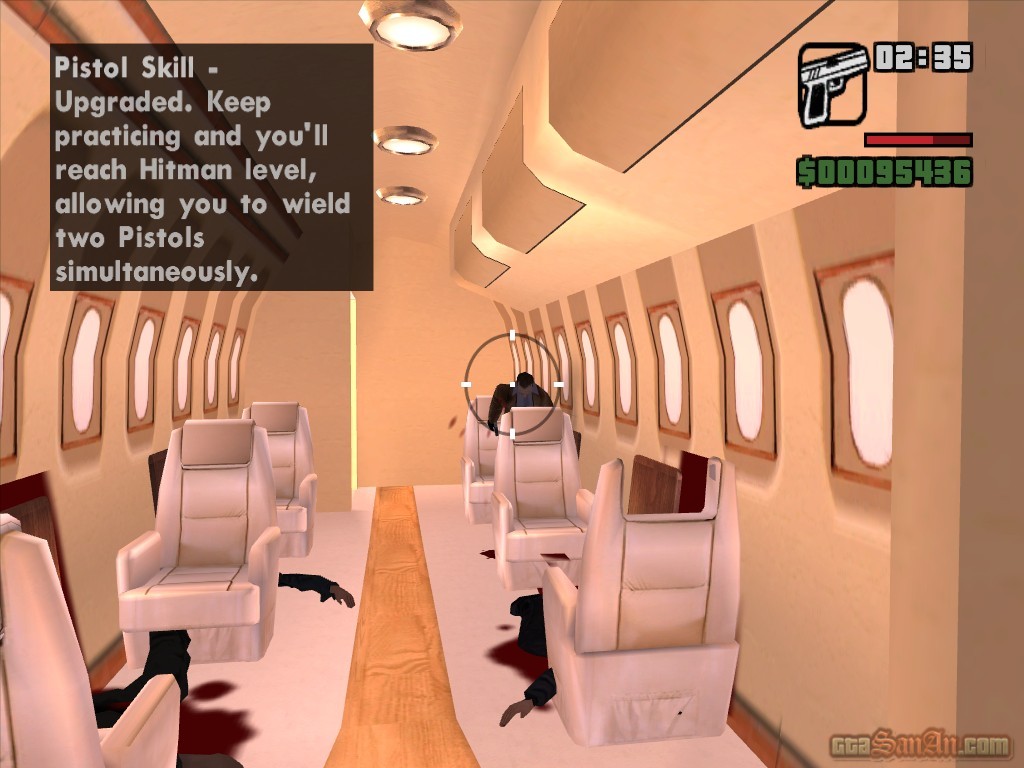
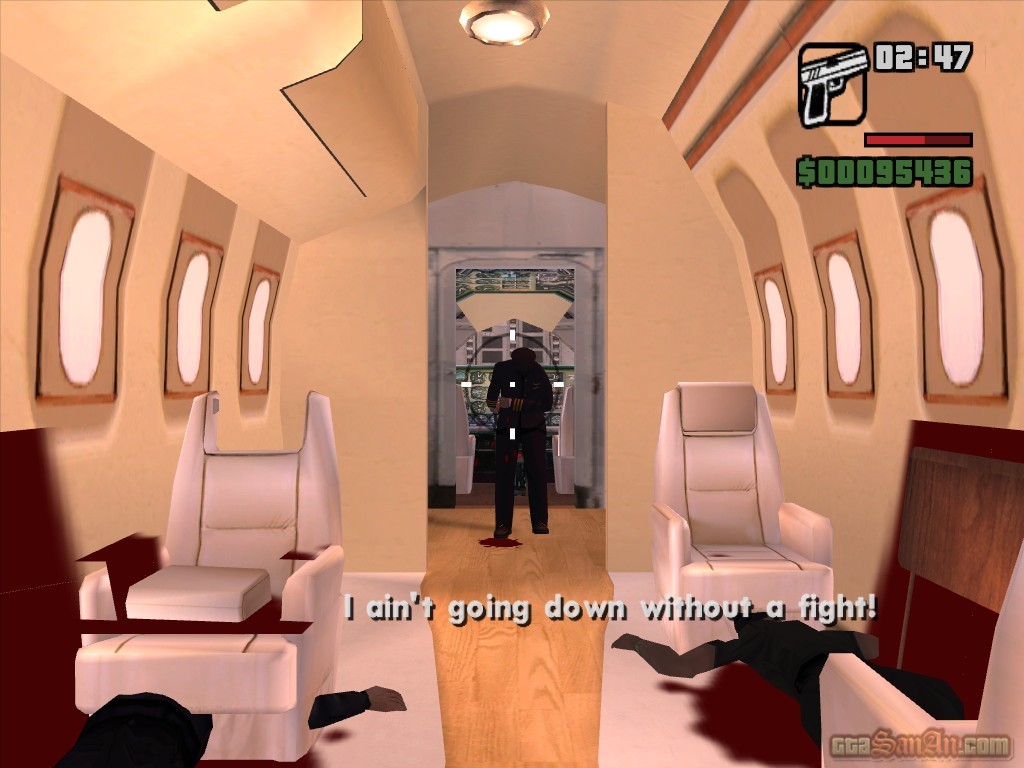
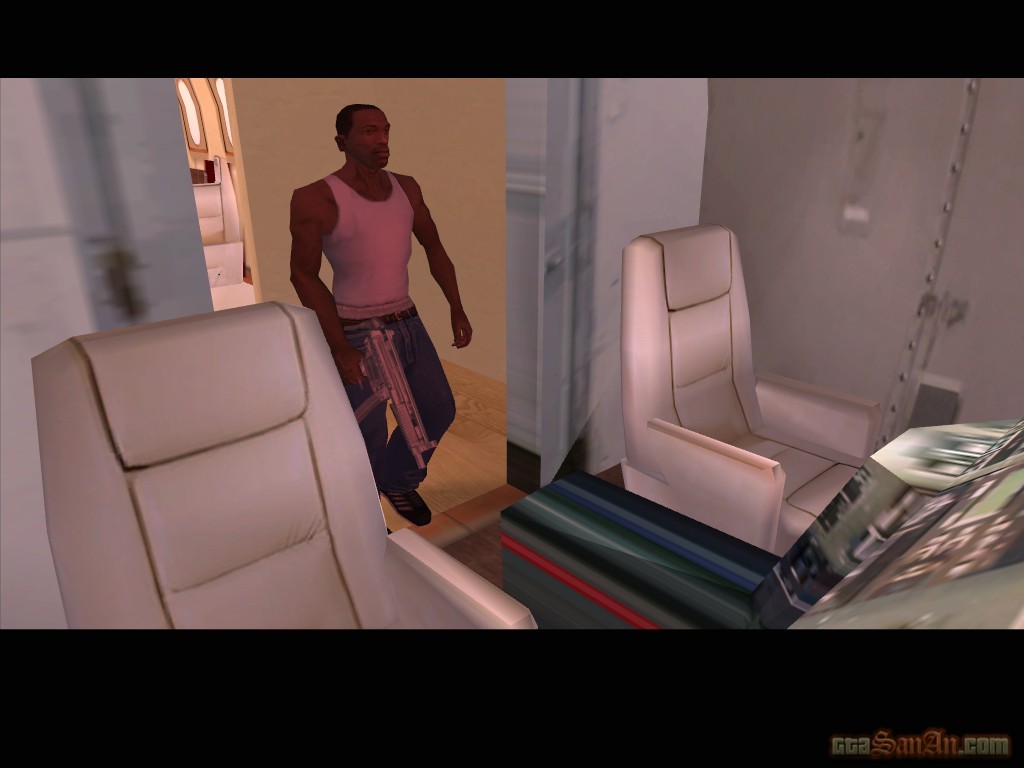
You are now inside the jet, and the camera changes to first-person. Use L2 and R2 to take cover, and waste the 4 mobsters on-board. The pilot isn't giving up without a fight. Waste the pilot, and fly the plane back to Las Venturas. Stop on the runway to complete the mission.
$15000, Respect +
*If you've completed the mission 'Misappropriation', you will now recieve a phonecall from Officer Tenpenny. He wants to meet someplace quiet so that you can hand over the dossier. Meet C.R.A.S.H in Las Brujas (near the devil's castle) in the desert.
| Saint Mark's Bistro | |
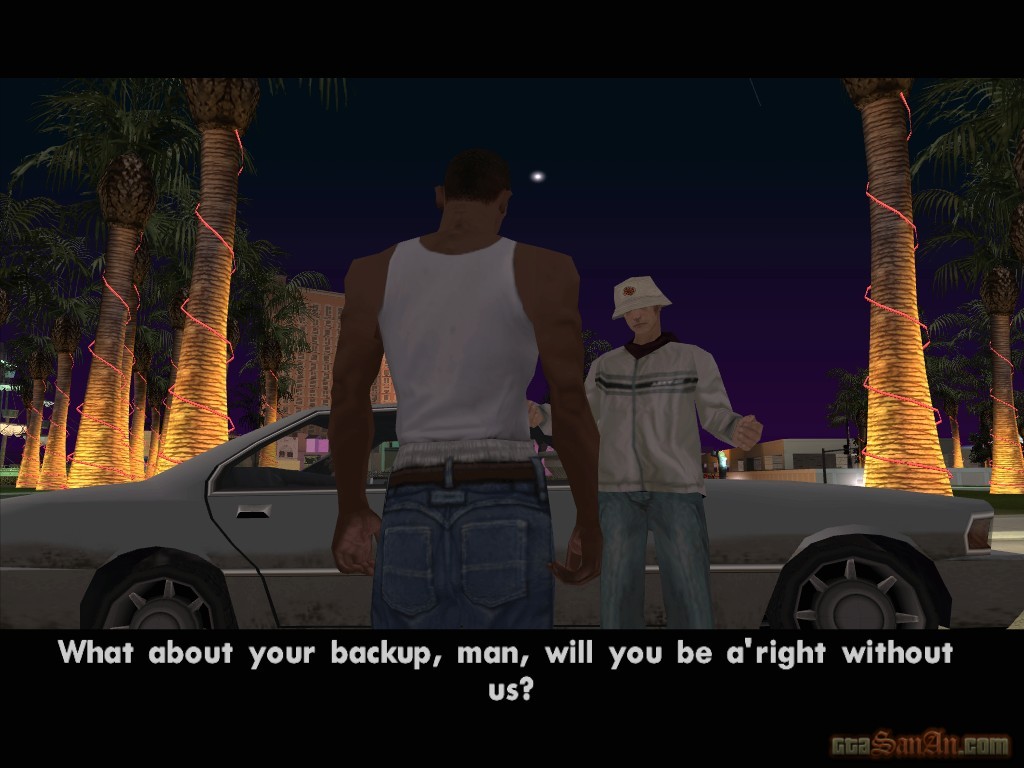
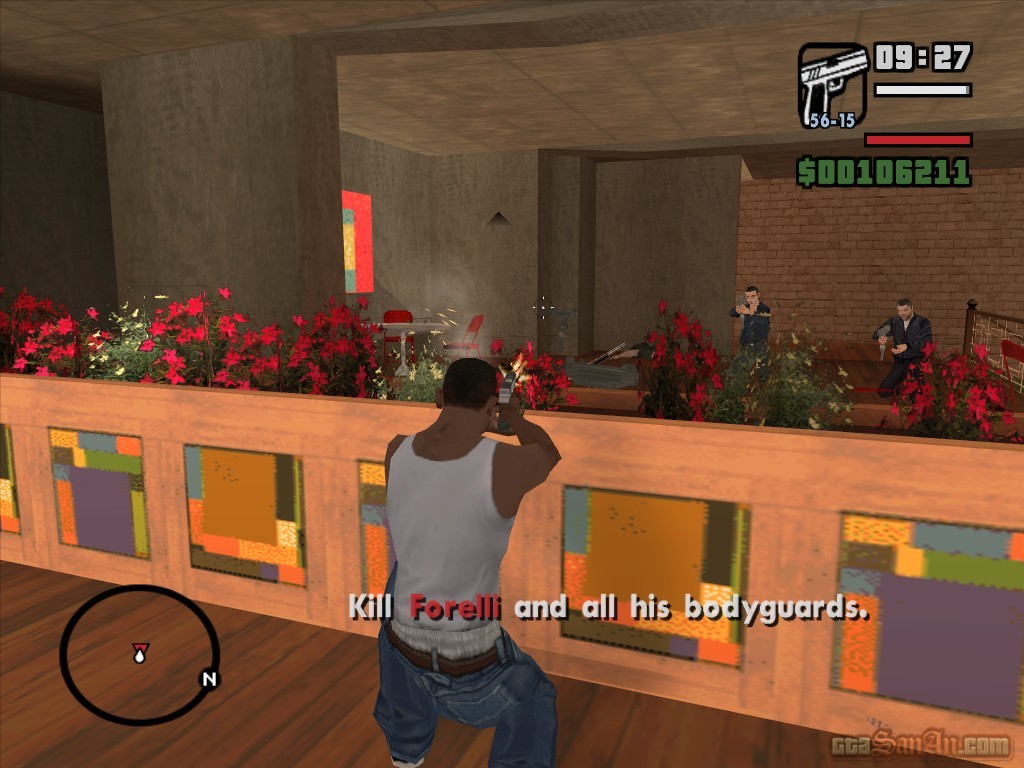
You might want to save your progress before starting this mission - it's quite a good one, so you'll no doubt want to replay it a few times. Salvatore seems to be getting on well with Maria. Paul and Rosie have been given a bit more freedom, but Maccer remains hanging upside down. Salvatore asks if you would like to do a hit in Liberty City. Carl agrees, but says he'll need some backup. He asks Rosie, Paul and Maccer to join him. Outside Caligula's, Maccer, Paul and Rosie get inside a taxi. CJ tells them to get out of Venturas fast.
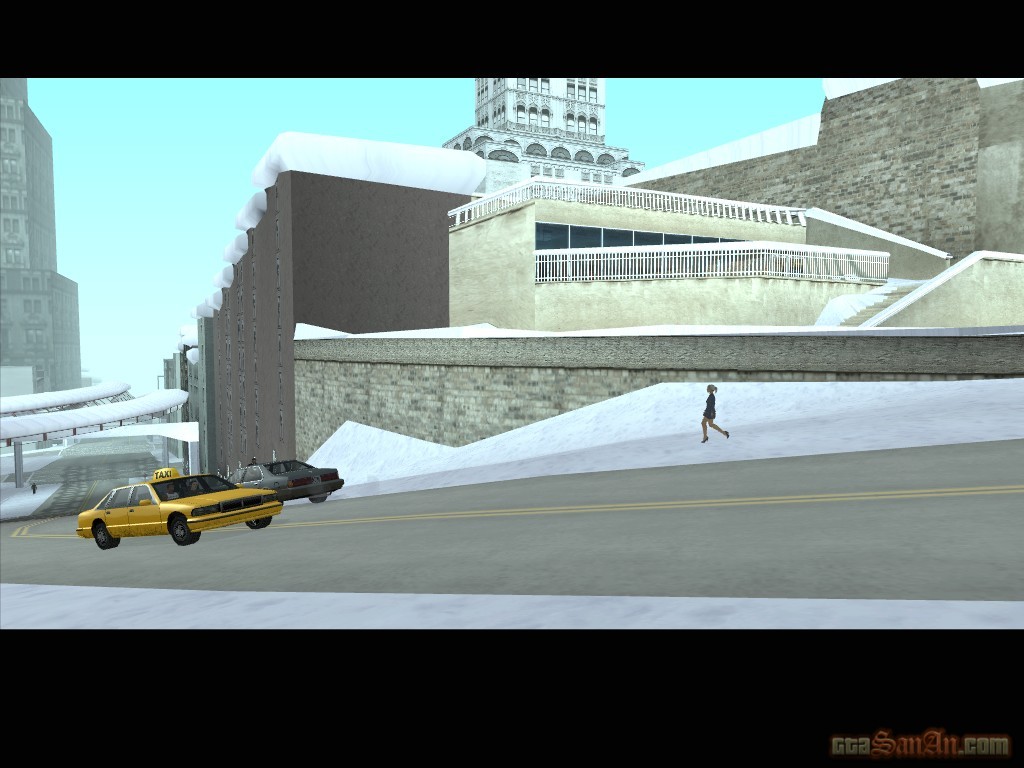
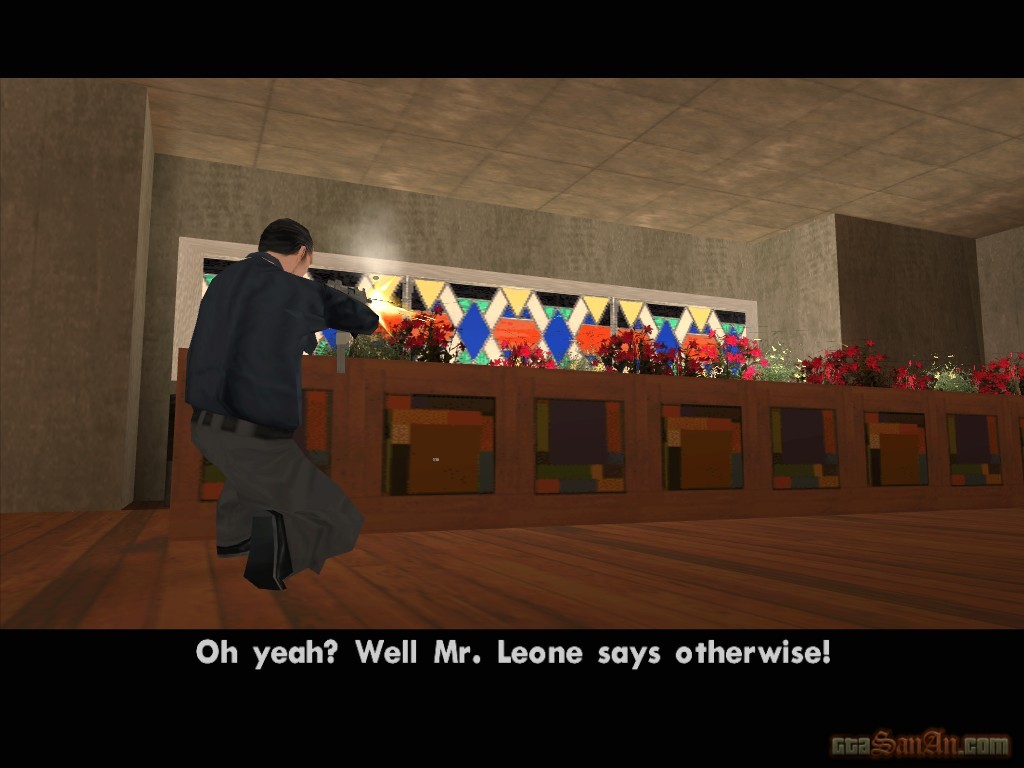
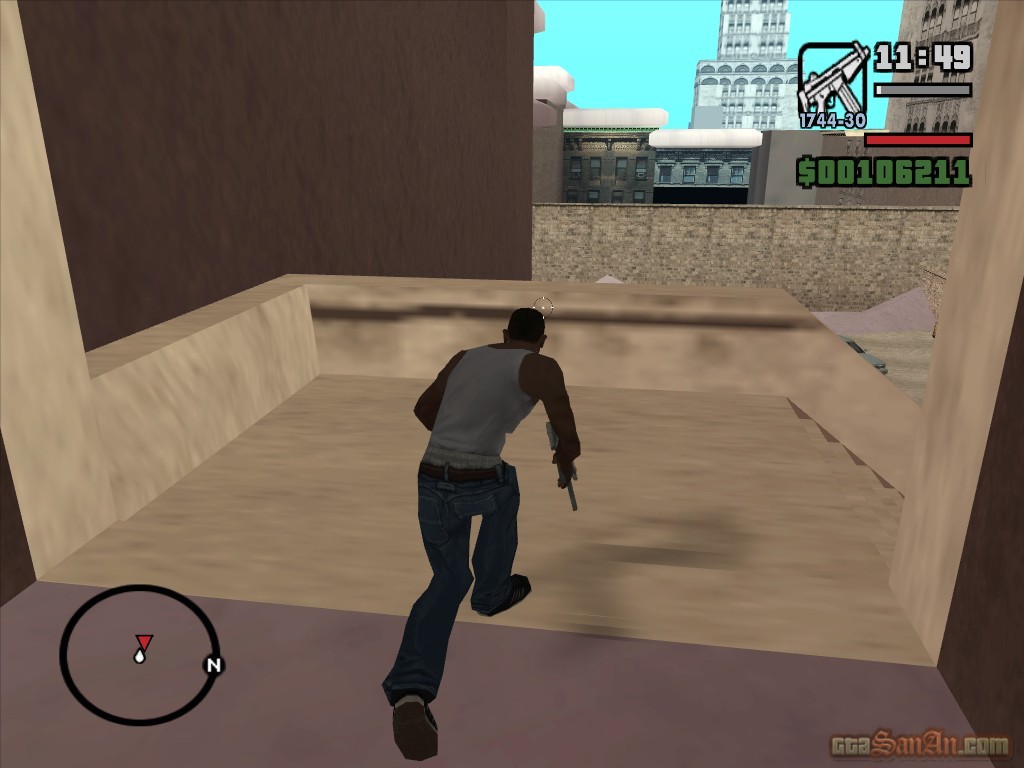
Goto Las Venturas airport and get in the jet at the end of the runway. Fly to Liberty City. Don't go too high, or you will miss the trigger point -- stay just below the clouds. When you reach Liberty City, a cutscene begins. A taxi pulls up at the Saint Marks Bistro, and CJ gets out. CJ enters the bistro, and a mobster says it's private function only. "Mr. Leone says otherwise", Carl replies. A classic shootout begins. Kill all of Forelli's bodyguards! There are 4 upstairs and two more will arrive soon. Kill the other 2 downstairs, and also the 2 behind the counter. Move into the hallway that leads down into the kitchen. Another mobster appears from around the corner. Kill him, and move into the kitchen. Kill the 2 mobsters, and go into the yard at the back of the bistro. There are more bodyguards in the yard, and Forelli is taking cover behind a barrel. He has a red arrow above his head. Kill Forelli and all of his bodyguards. The camera changes, and you are automatically back inside the jet. Fly back to Las Venturas and land, to complete the mission.
$20000, Respect +
*You recieve a phonecall from Sweet. He's convinced that he's going to be in jail for life, but Carl assures him he'll get out soon. Sweet says he's stuck between 2 lunactics that keep trying to jump him.
*Salvatore calls and comments on the marvelous job you done at Saint Marks. He says they should stay clear of each other for a while, otherwise people will start making connections. He'll call soon.

| Architectural Espionage | |
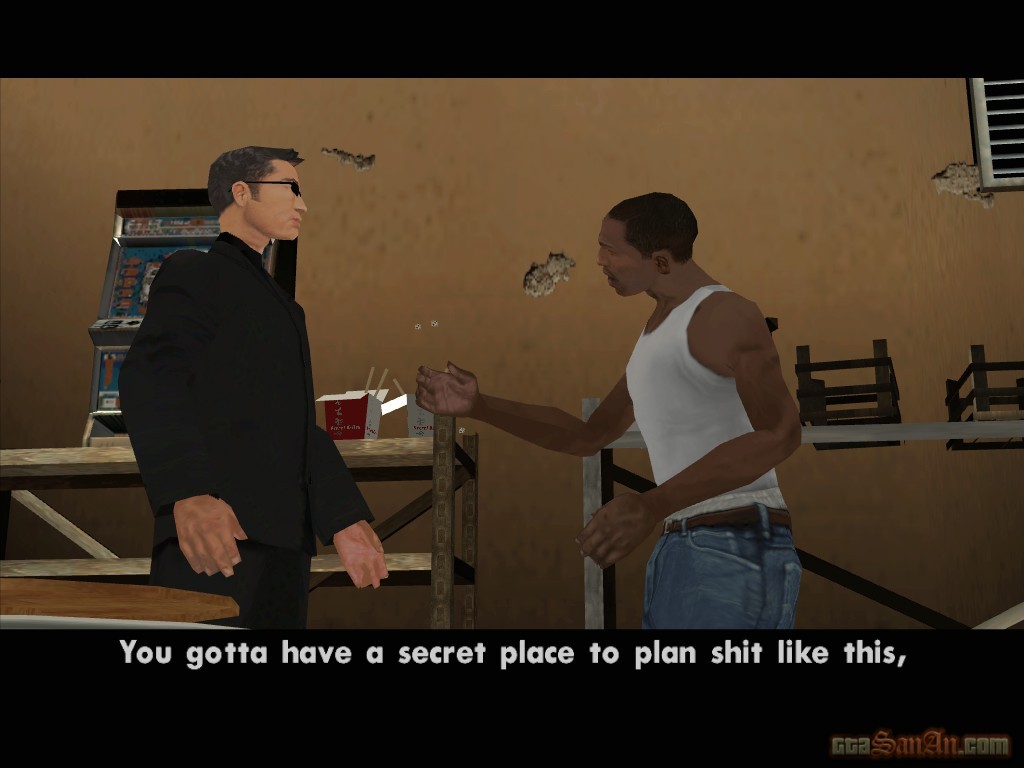
Woozie is down in the basement with the lights turned off, although, he doesn't realise. The basement is large and quiet -- perfect for planning a heist. Woozie says you'll need a plan of Caligula's before you do anything else.
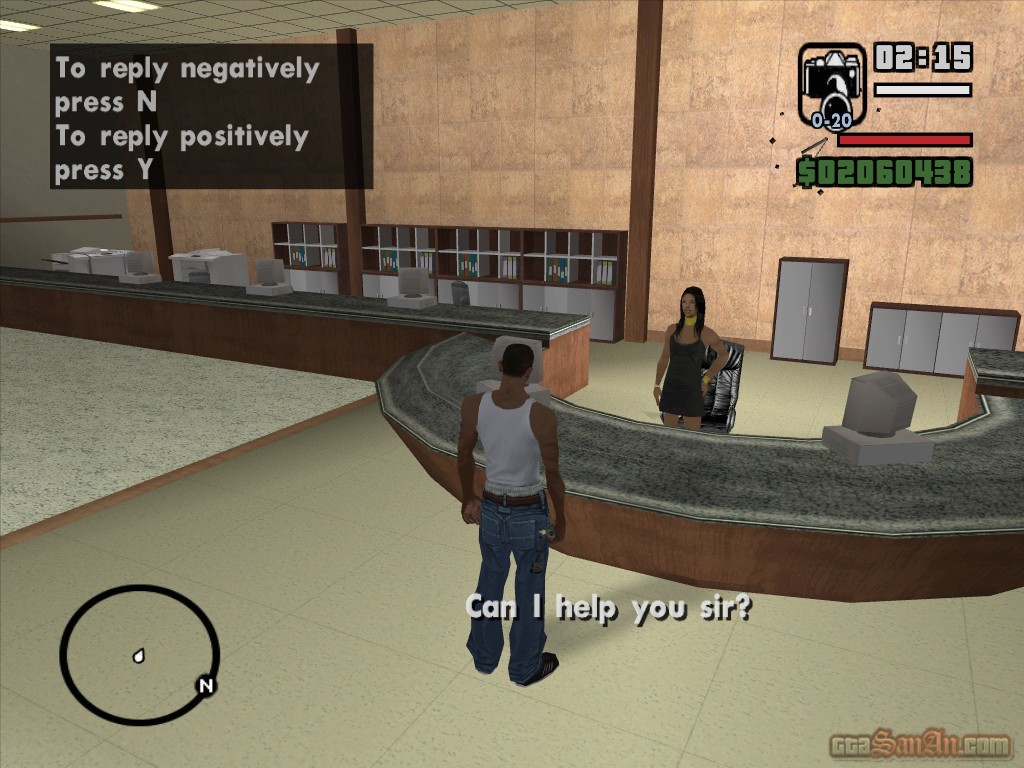
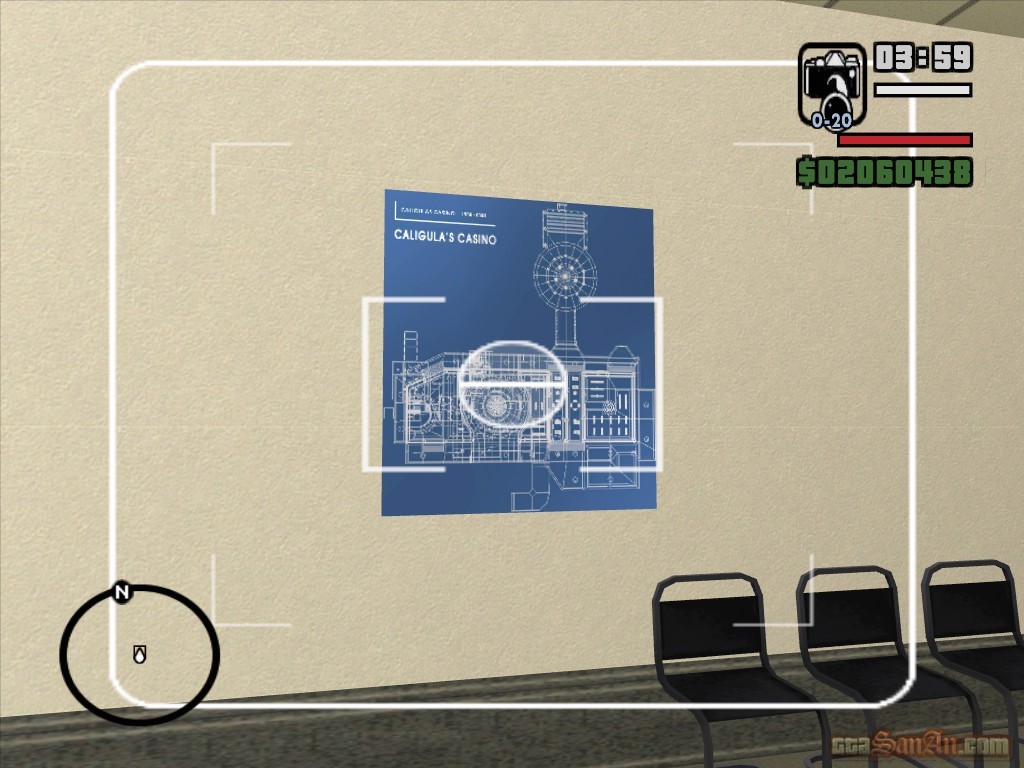
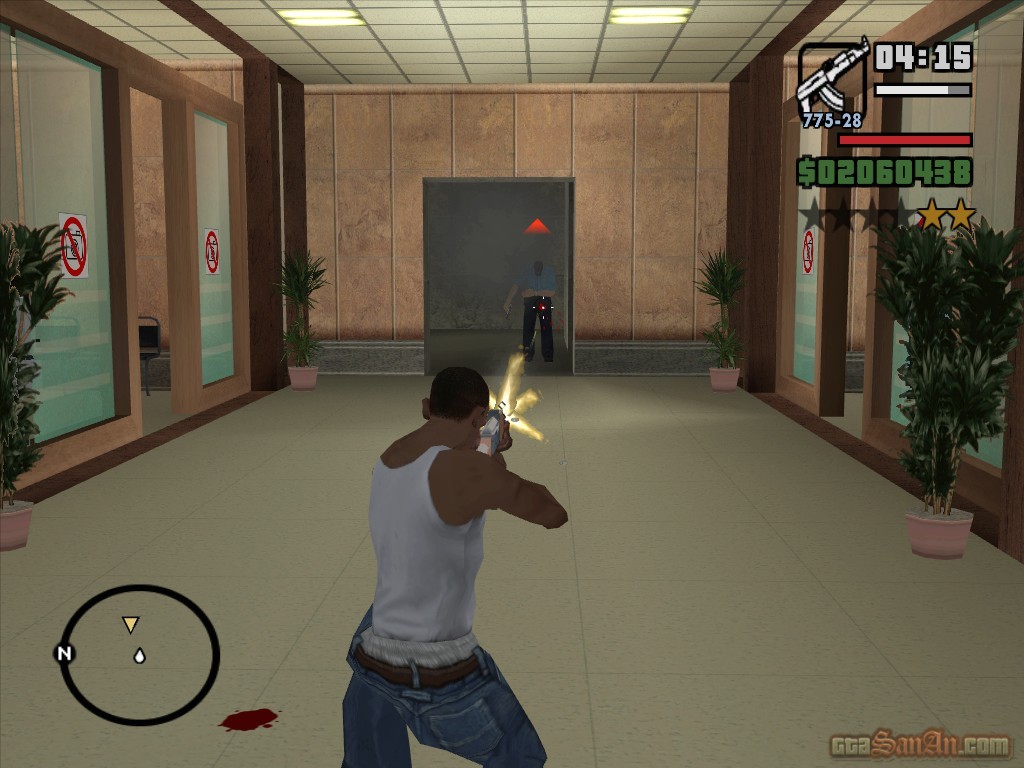
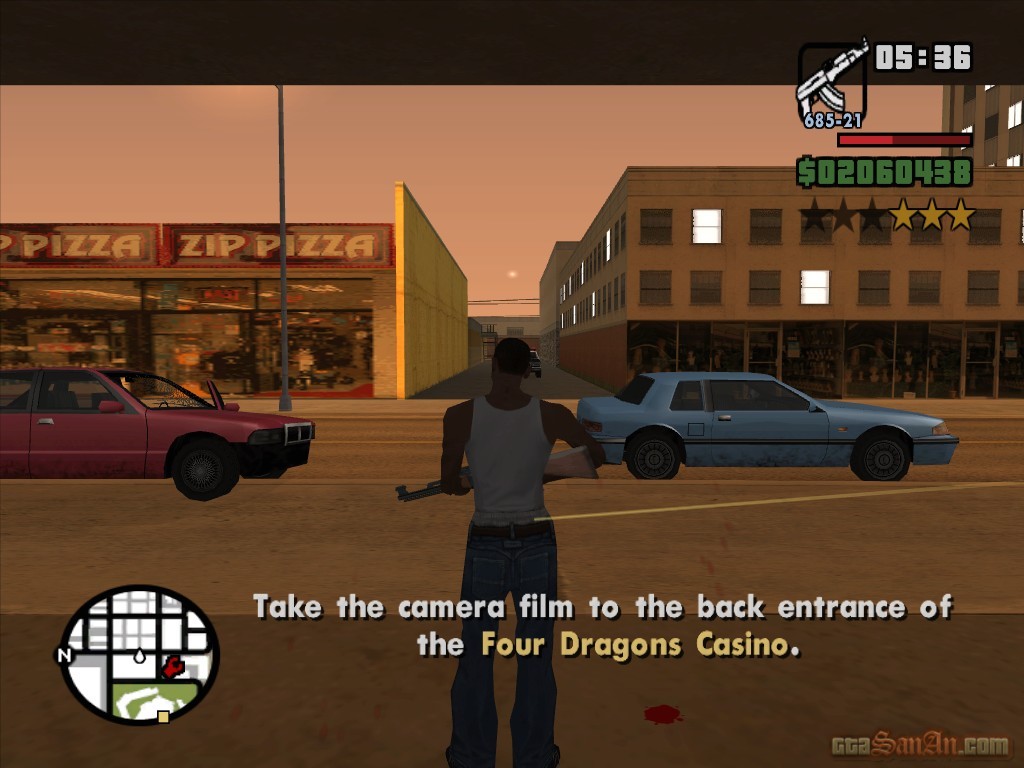
You need a camera to photograph the blueprints of Caligula's. Go and steal one from some of the tourists on the Strip, outside Pirates in Men's Pants. Once you have obtained the camera, head over to the city's planning department. The security is strict, so don't cause any trouble and do not show any of your weapons. Once inside, go and talk to the receptionist. Press 'right' (twice) to respond positively and gain permission to see the blueprints. Go to the very top floor. You can't photograph the blueprints with the guards watching, so you'll need to divert their attention. Go downstairs and destroy the old air con units with your weapons. The fire alarm sounds, and the building is evacuated. That will keep the guards busy. Go back upstairs and photograph the blueprints of Caligula's. You automatically gain a 2 star wanted level. Crouch, select a weapon of your choice and make your way downstairs. There are cops at every turn you make. When you finally reach the bottom of the stairs, choose a weapon you can run with. More cops are preparing an attack, so quickly go through the door and run towards the exit.
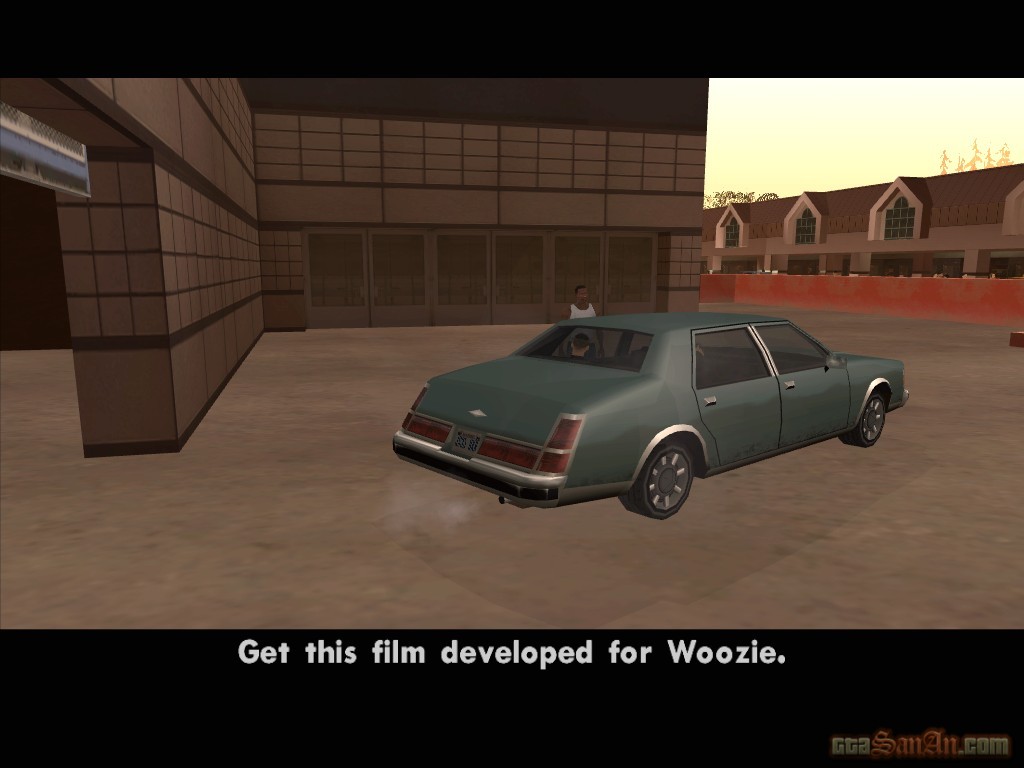
Outside, you'll gain a 4 star wanted level. Grab a vehicle and get the blueprints back to the Four Dragons Casino. Stop in the red marker, and CJ hands the camera to some Triads so that the pictures can be developed.
Respect +
| Key to her Heart | |
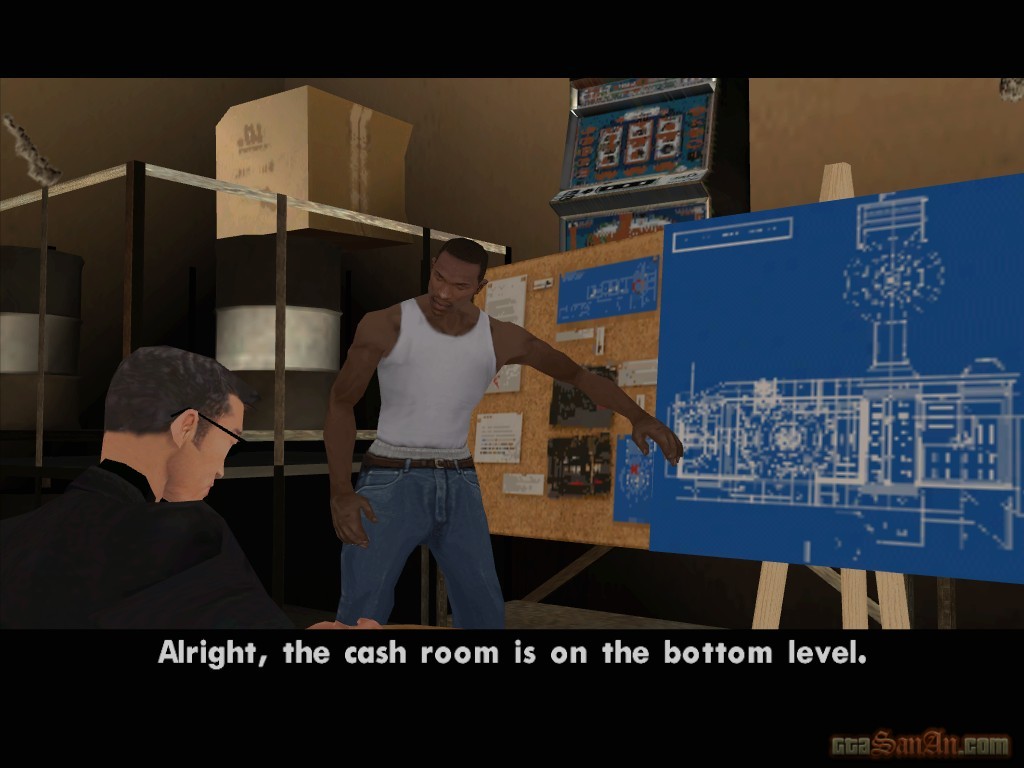
Carl presents the plan to Woozie. The security at Caligula's consists of CCTV, key code access and a swipe card. One of Woozie's men walks in with a package for CJ. He see's the plan, which upsets Carl. Woozie says he will be your first recruit. Zero has sent a security card reader. Now you just need the card..
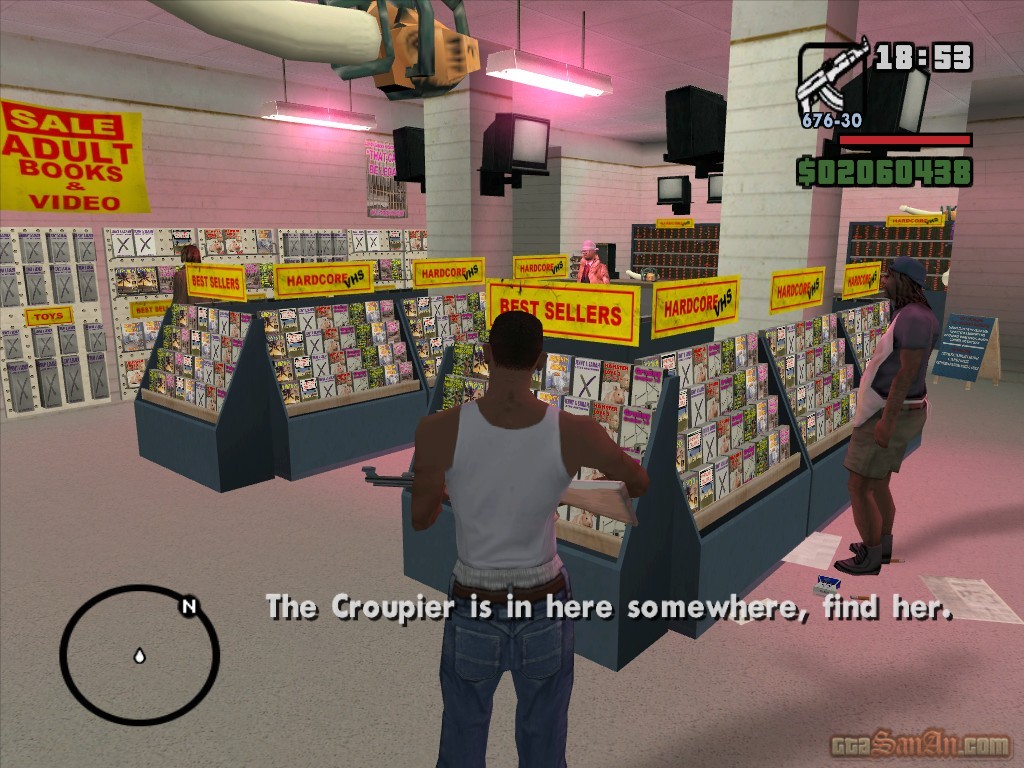
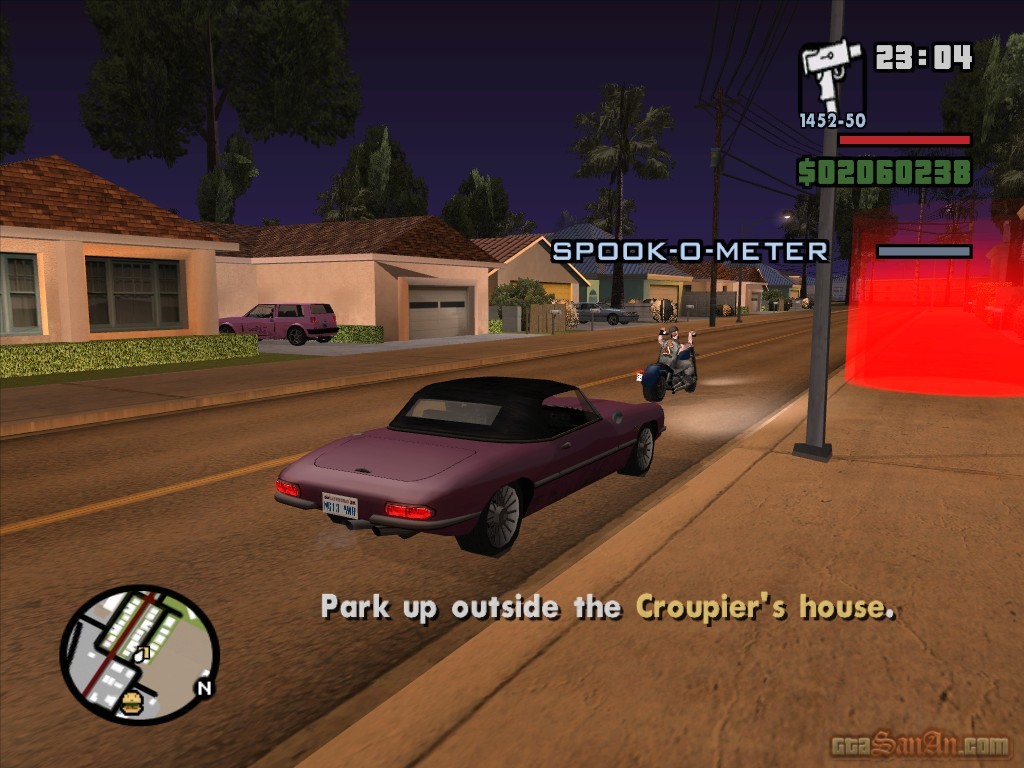
Luckily, there's always one guaranteed weak link in any security set up. The human heart. Goto Caligula's casino and stop in the red marker. The croupier has a keycard and knows the code. Follow her -- don't get too close or you will spook her and don't let her get too far infront or you'll lose her. A spook-o-meter appears on-screen. Follow Millie to the sex shop, and go inside. Walk into the red marker, and a cutscene begins. Millie is trying on some new clothes. Benny, her "master", calls. She's expecting to meet him at her house later on today. After Millie leaves the shop, walk into the changing room and put on the gimp suit. Leave the sex shop, and follow Millie home. Park in the red marker outside her house. Go infront of her house and look west. Kill Benny -- the pedestrian carrying the dildo. Go and ring Millie's doorbell. Watch the cutscene, as Carl gets to know Millie a little bit better.
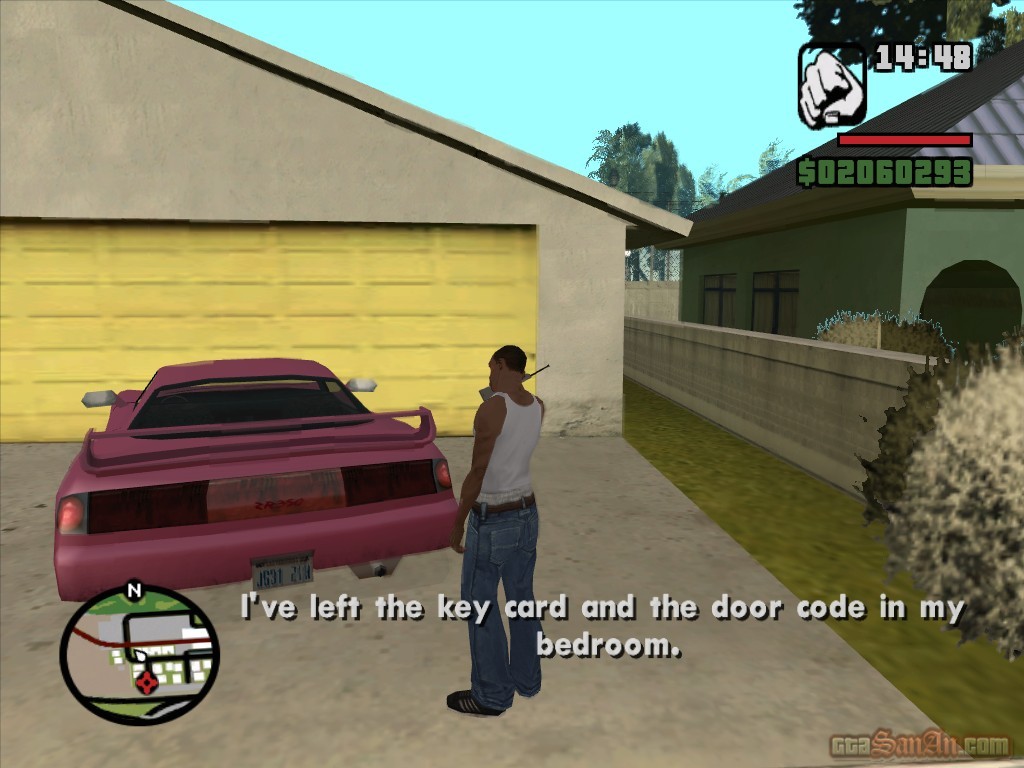
Millie is now your girlfriend and you need to wine and dine her before she'll give you the keycard. This may take an awful long time. If you're not upto it, simply wait infront of her house until 12.00 and a red marker will appear. Walk into it, and wait for Millie. Gun down Millie, and a message will appear to say that you have killed your girlfriend. Shortly after, Woozie calls, and Carl explains the situation. Woozie suggests looking for the keycard in Millie's house, so do just that. Pickup the keycard, and Woozie calls again to make sure you have it.
Respect +
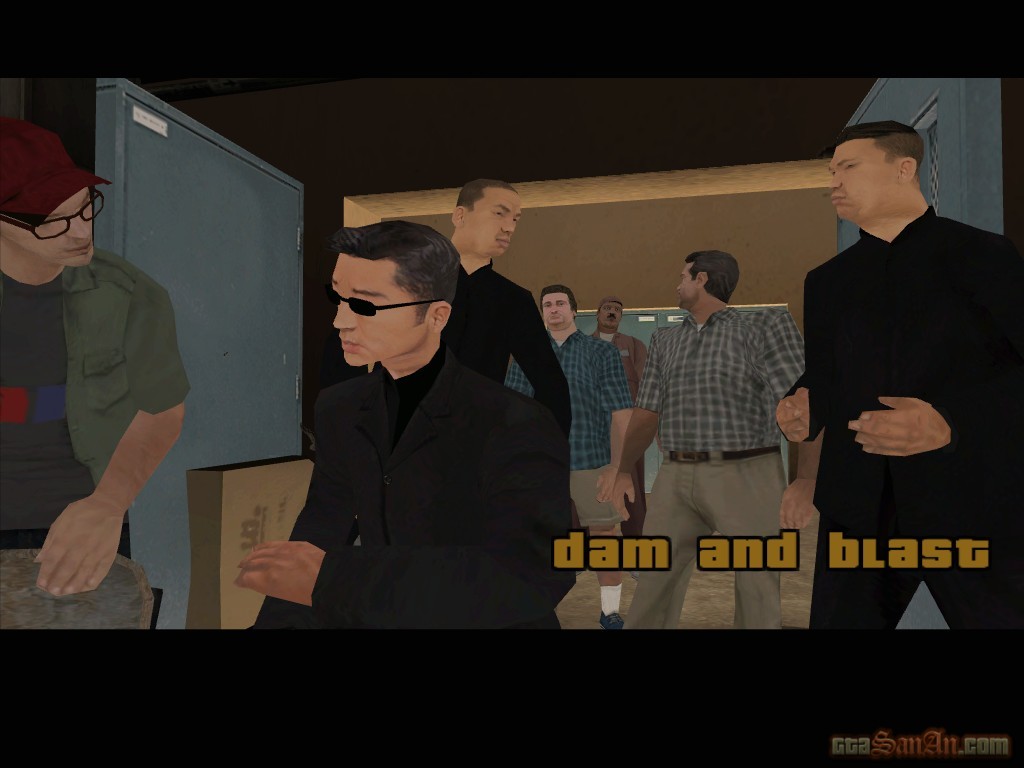
| Dam and Blast | |
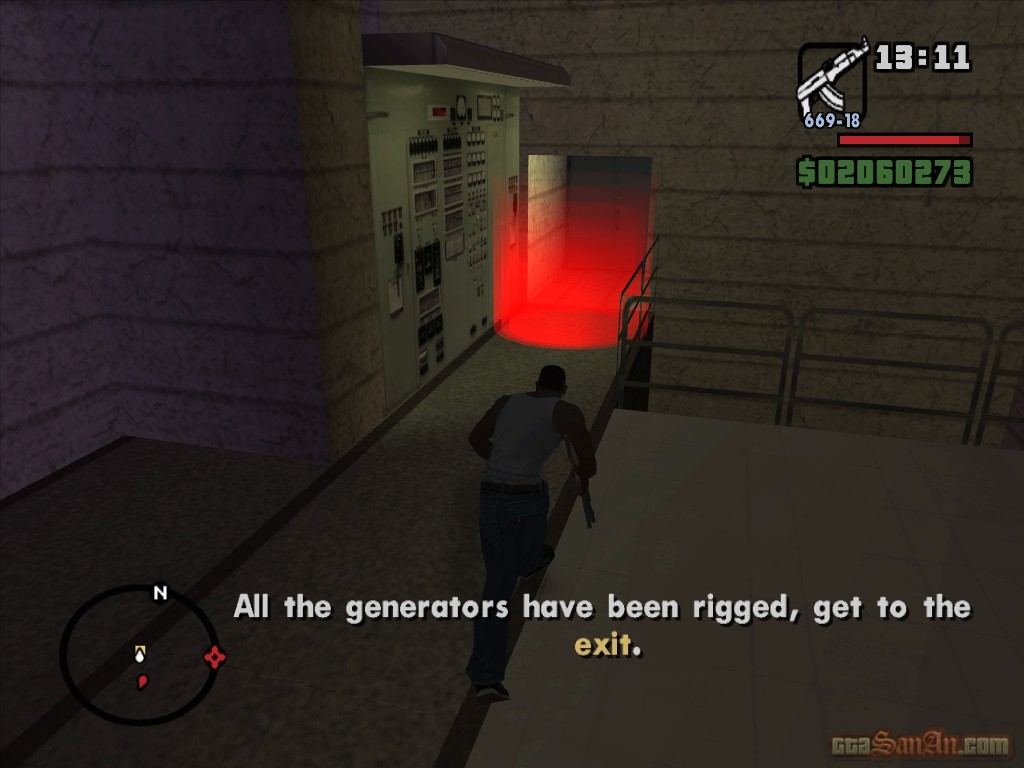
The basement far more populated than it was last time, and CJ isn't happy about it. CJ cannot get any co-operation because of the overcrowded basement. He leaves, saying that he's going to shut off the city's power source.
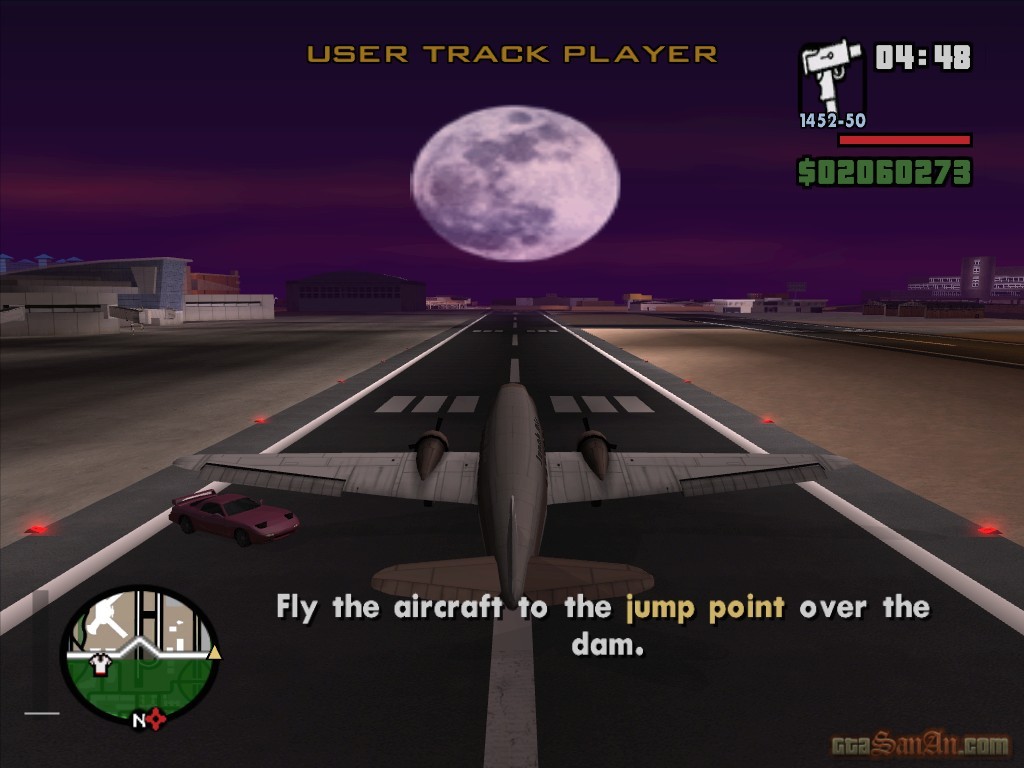
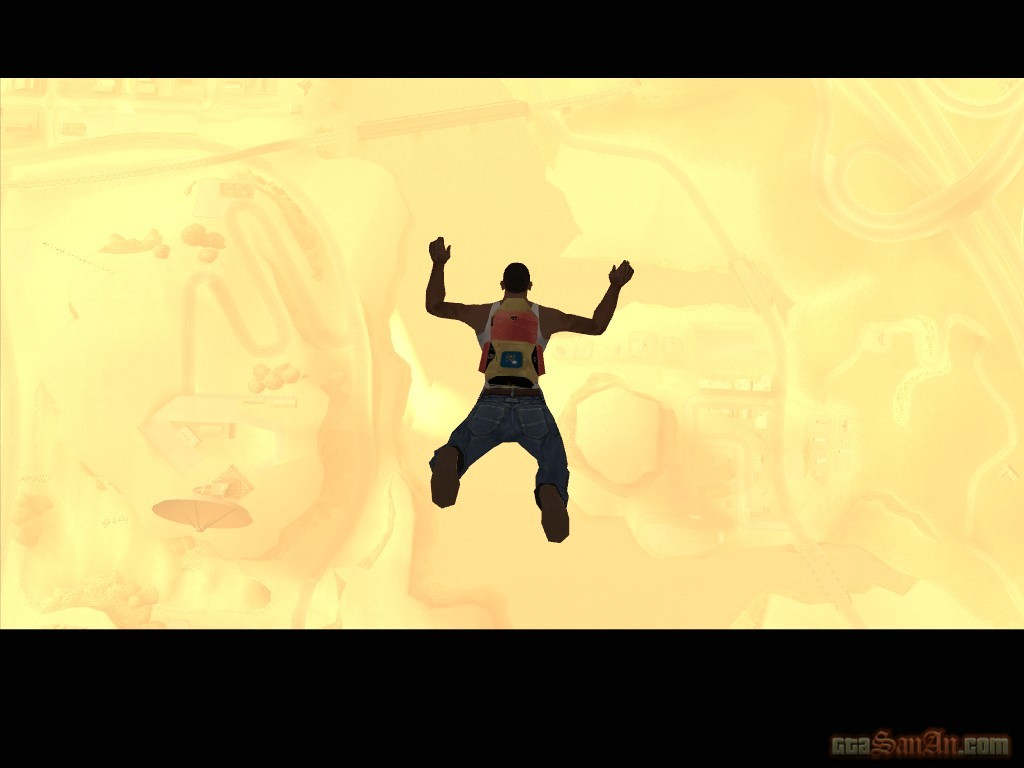
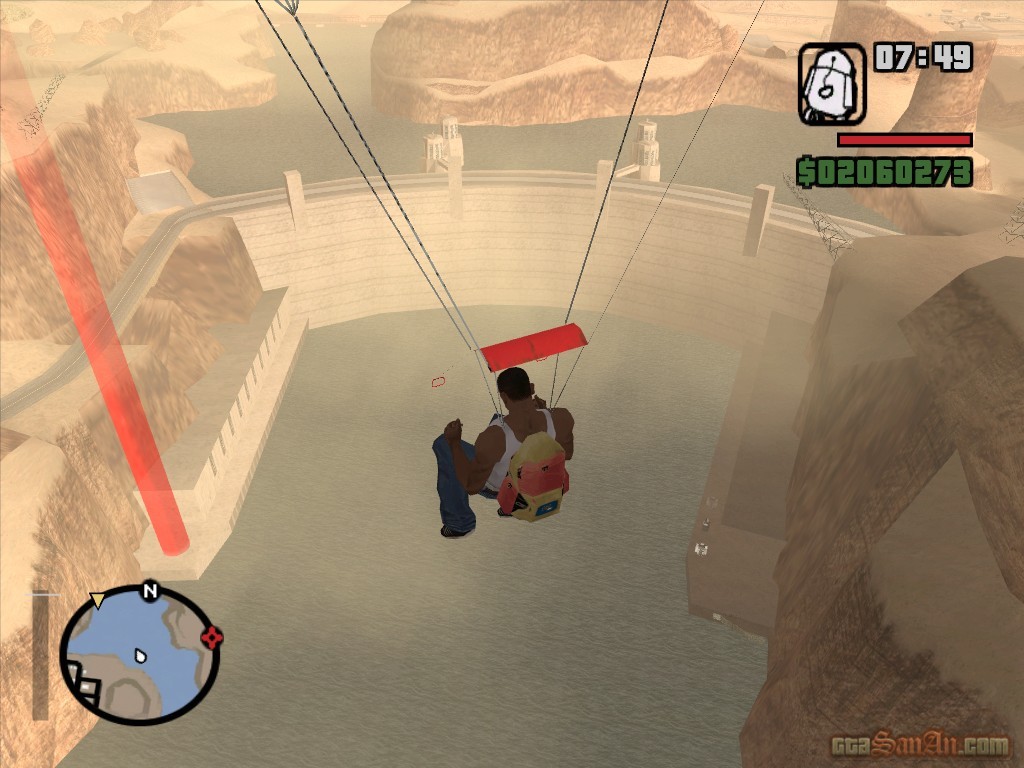
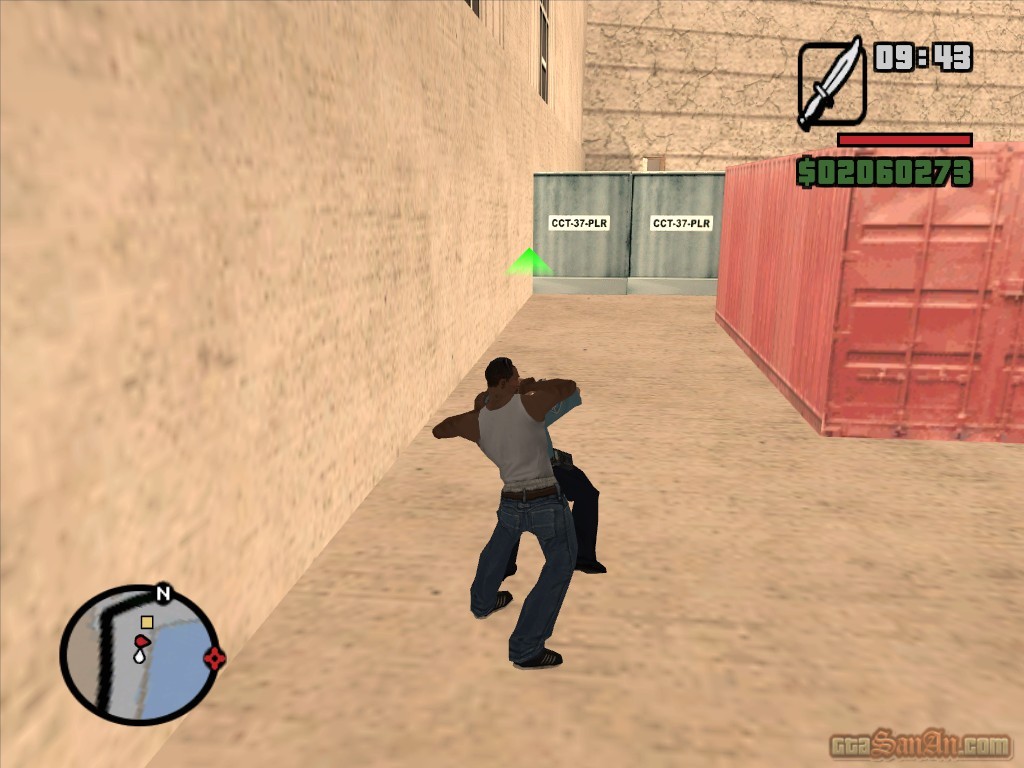
Goto Las Venturas airport and get in the plane at the end of the runway. You are going to have parachute onto the dam quay. Gain as much height as you can when flying -- you're going to have to fly above the clouds, at least. Goto the location marked on the radar and press 'Triangle' as soon as you fly through the red corona, to parachute out of the plane. Fall for about 5 seconds, and open your parachute. Land on the red marker at the dam quay and a cutscene begins. The next bit involves stealth. There are 2 guards patrolling the area. When the nearest guard is facing in the opposite direction, quickly run up and grab the knife that is next to the container. Examine the guard's route and perform a stealth attack by targeting with R1 and pressing 'Circle' as you walk up behind him. Waste both guards, and walk upto the red marker at the end of the dam qauy.
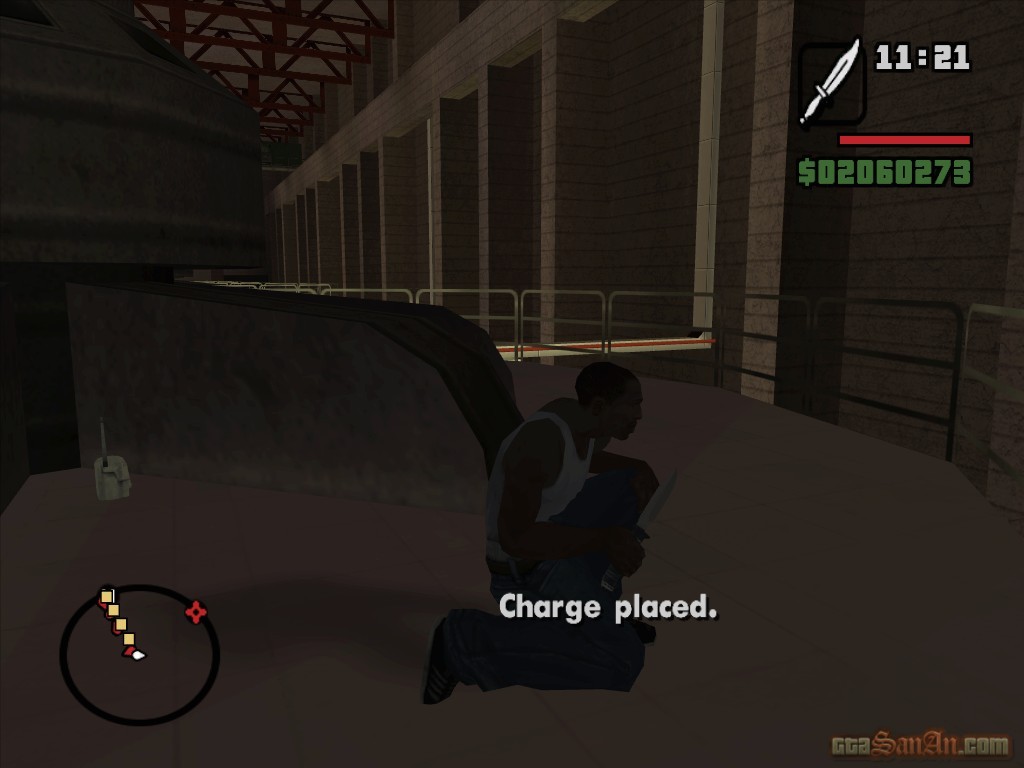
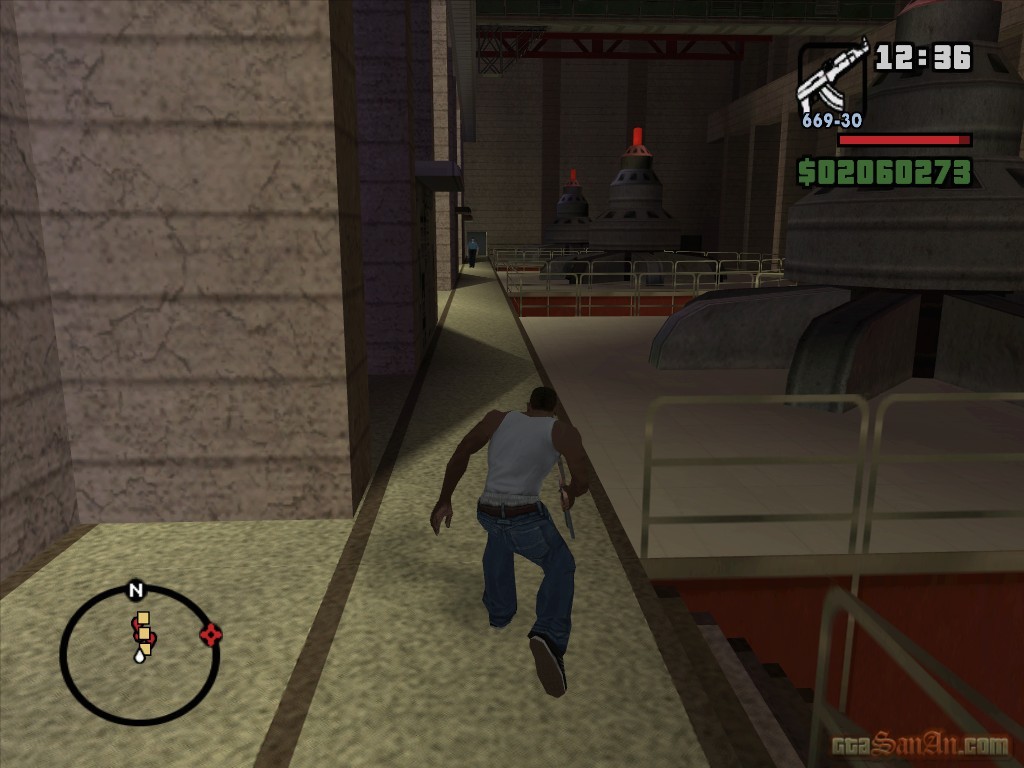
More guards have been notified of the disturbance, and the cops are on their way. This is all about stealth. There are several guards patrolling the area, each represented by a red blip on the radar. The blip faces in the direction that the guard is facing. Go up the stairs and walk over to the first generator. There are 5 generators altogether, each marked on the radar by a square yellow blip. Press 'Triangle' to plant the explosives, and move onto the next generator. Examine the route of guards and perform stealth attacks as you make your way across the interior. Plant explosives on all 5 generators, and walk into the red marker at the end.
The cops have arrived, and the hatch has been closed. CJ is trapped, or so it seems. He takes a big run, and dives into the water to lose the cops.
Respect +
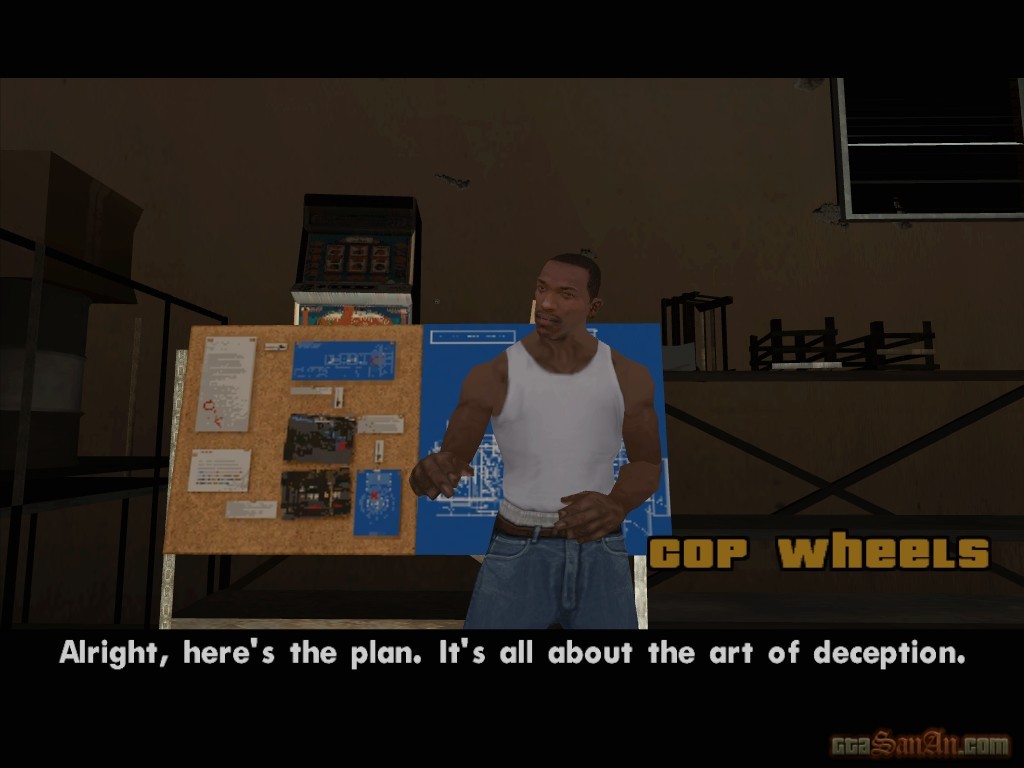
| Cop Wheels | |
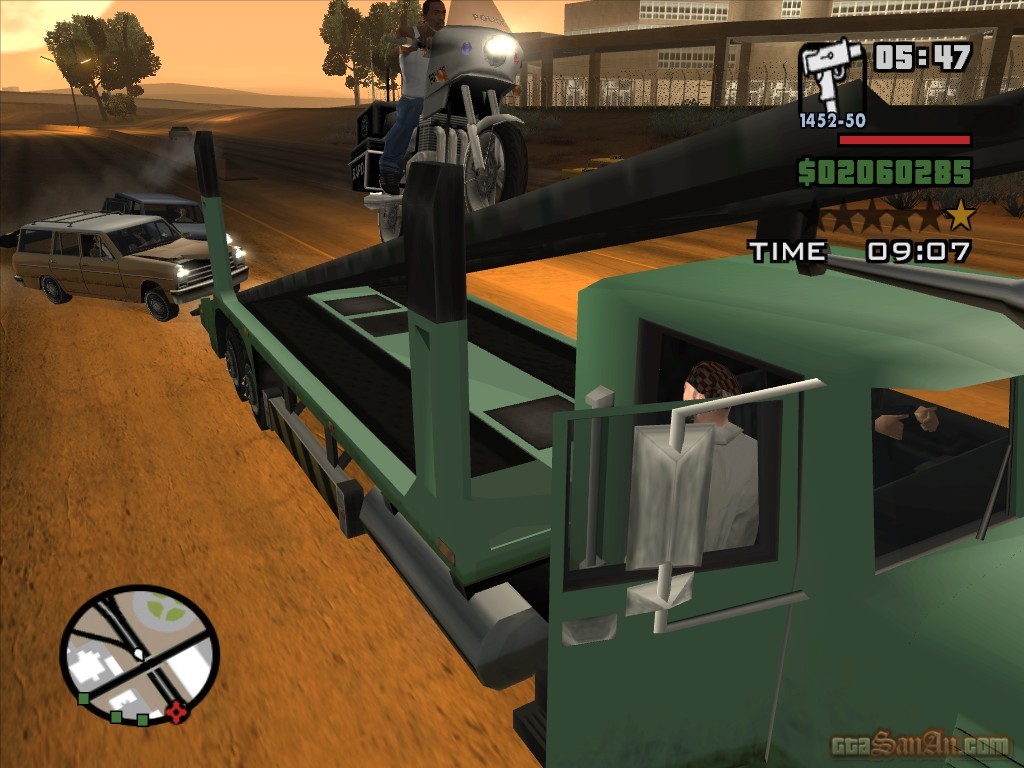
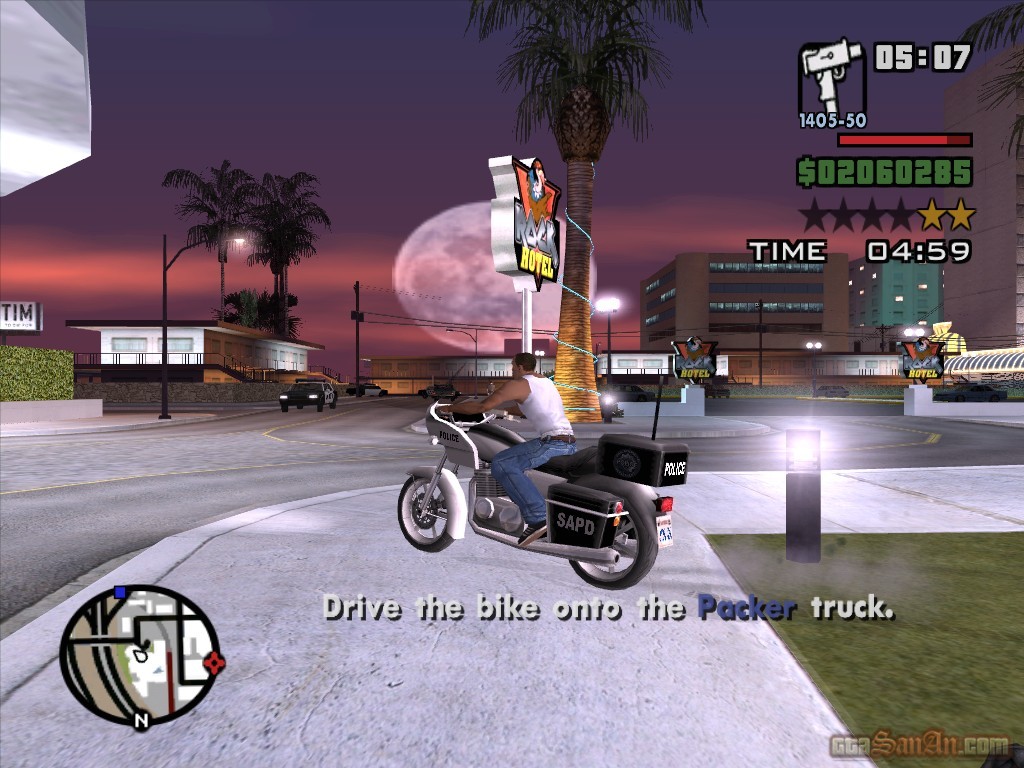
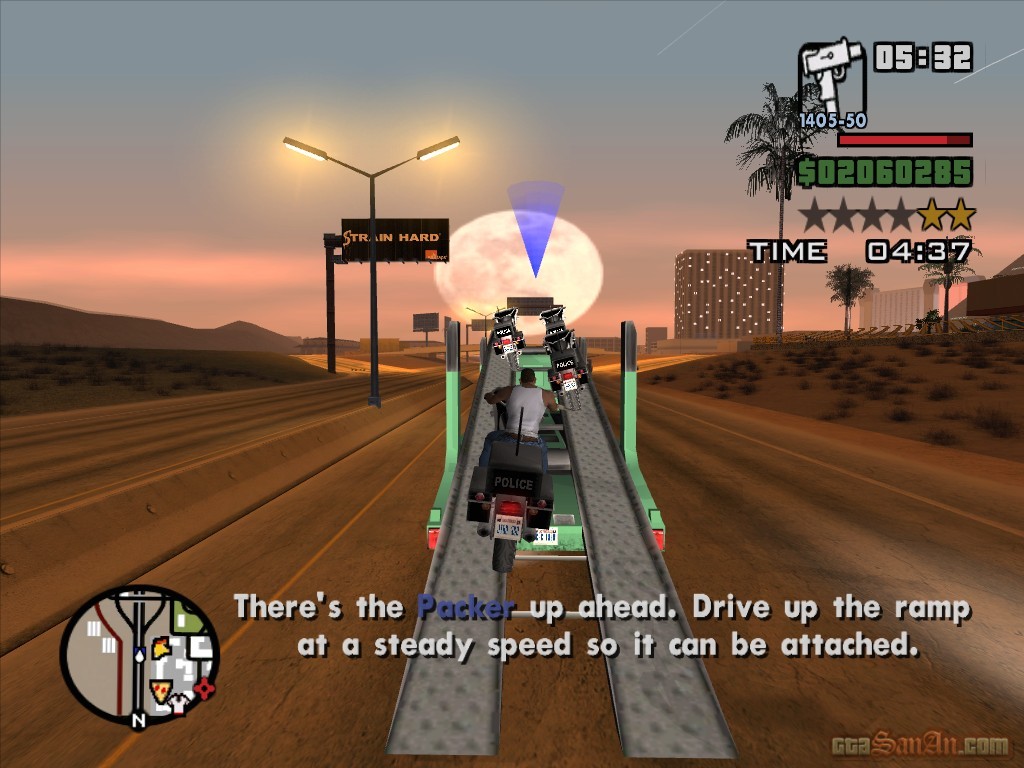
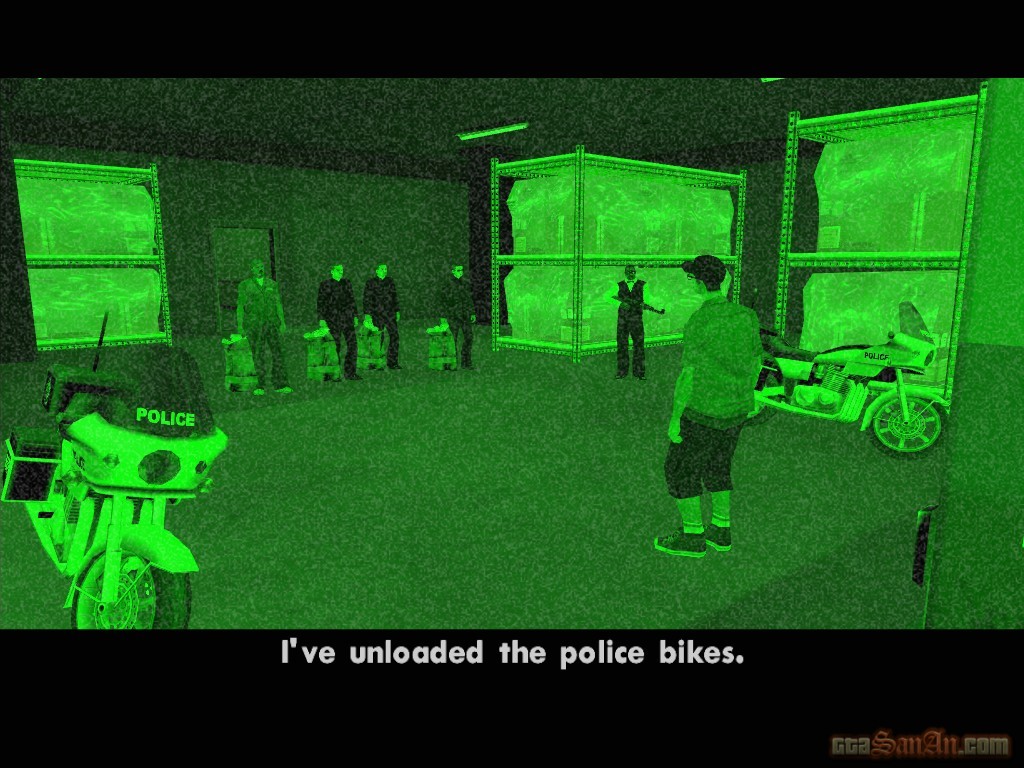
CJ explains how the heist is going to be done. The plan is to get as much heat on CJ as possible while the others get away with the green. Zero talks about an armored van which casino's normally use to transport their cash, and that's what we'll need. The armored vans are also acommpanied by police bikes - outriders. CJ takes one of Woozie's men, to get the bikes.
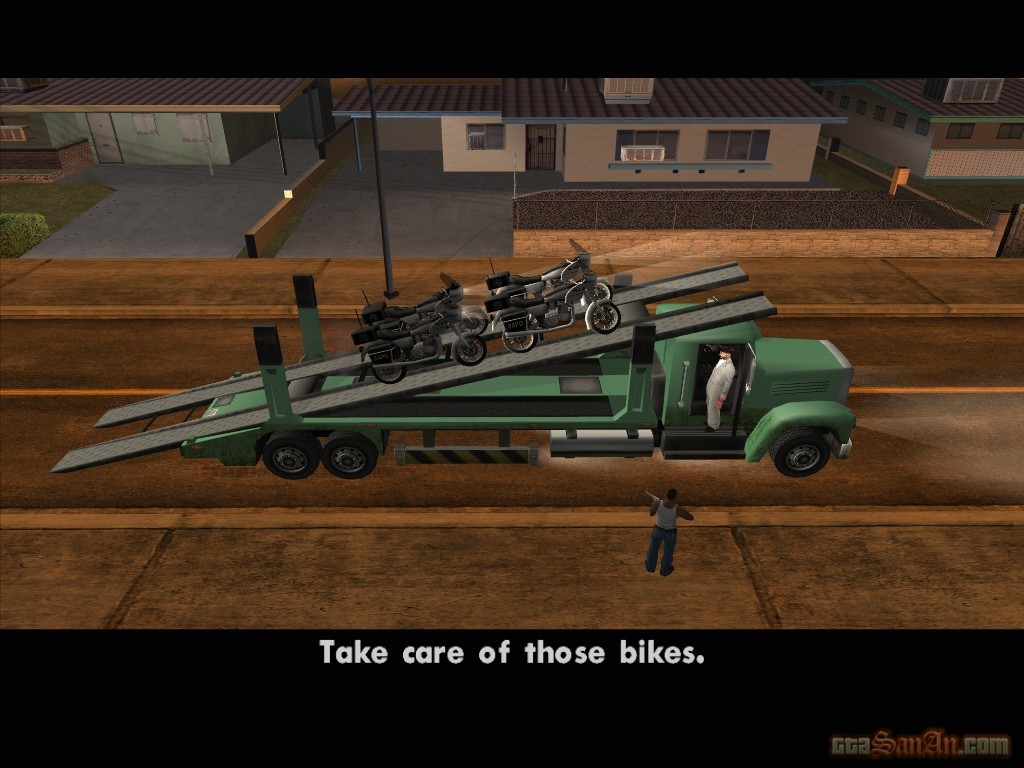
There are 4 green blips on the radar, each representing a police bike that you can steal. The Triad is driving a packer on the Julius Thruway. You have 12 minutes to steal the 4 police bikes and get them safely onto the back of the packer. Some of the cops will try to get on their bikes as you approach them, so make sure you're armed and shoot them before they get away. Get onto the freeway and catch up with the packer. Begin to slow down as you approach it, and drive gently up the ramp to attach it to the packder. When the cutscene begins, the bike is secured onto the packer and Carl is given the thumbs up. Repeat this for all 4 police bikes to complete the mission.
Respect +
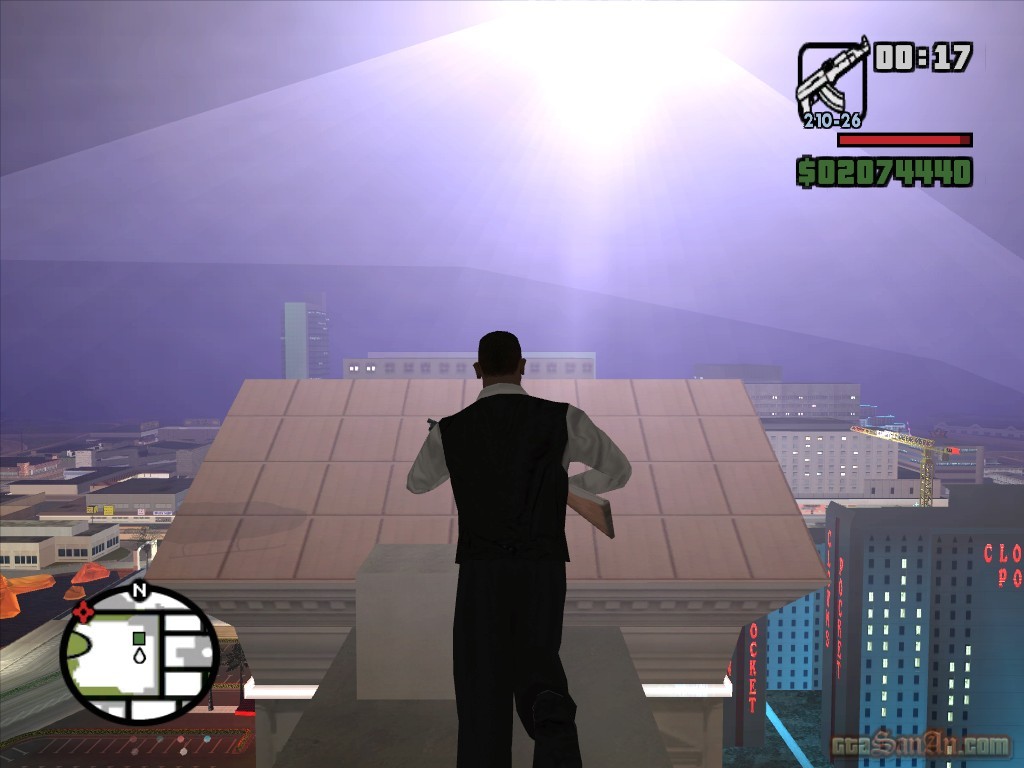
| Up, Up and Away! | |
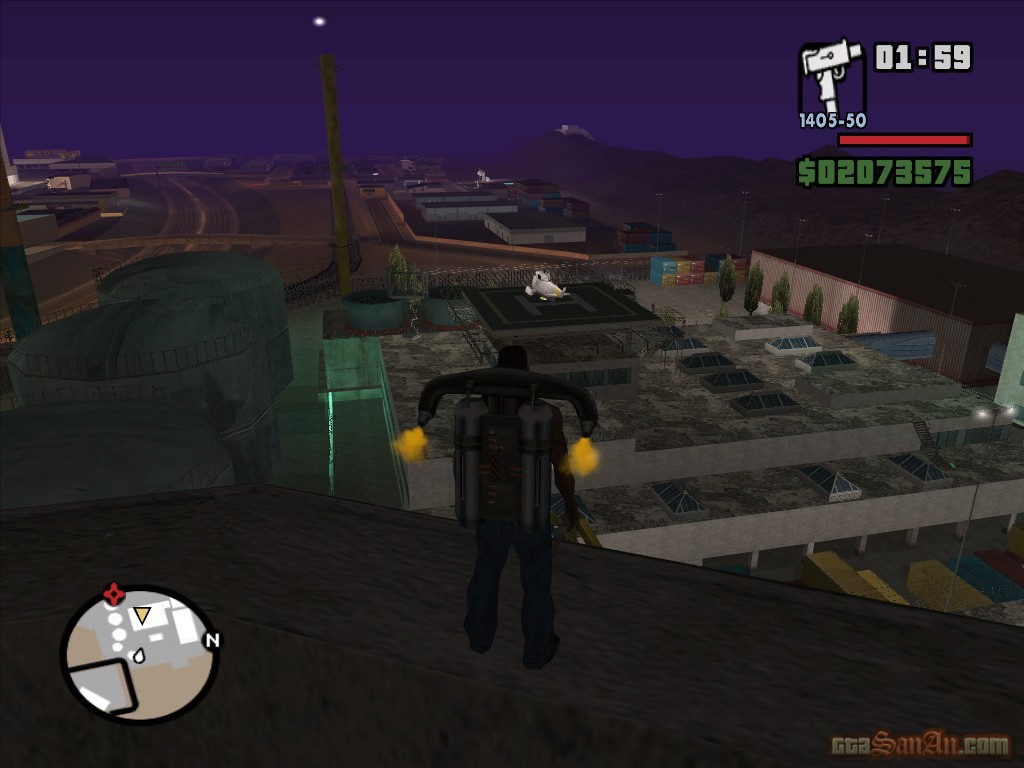
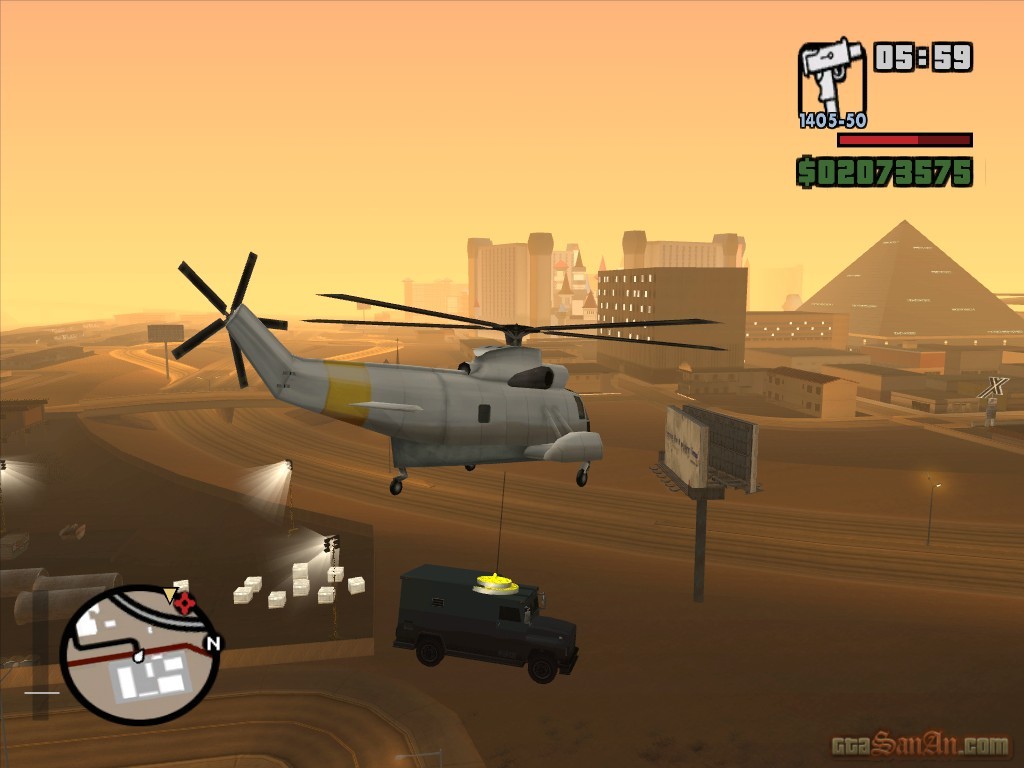
Woozie's taken care of the uniforms, now all we need is that armored van. The plan is to use a sky crane to lift the armored van to a safe place where it can be re-sprayed to include the Caligula's logo. None of your crew are pilots, so to nobody's surprise, Carl will be doing it. "It will be just like fighting Berkley, but much bigger!", Zero says.
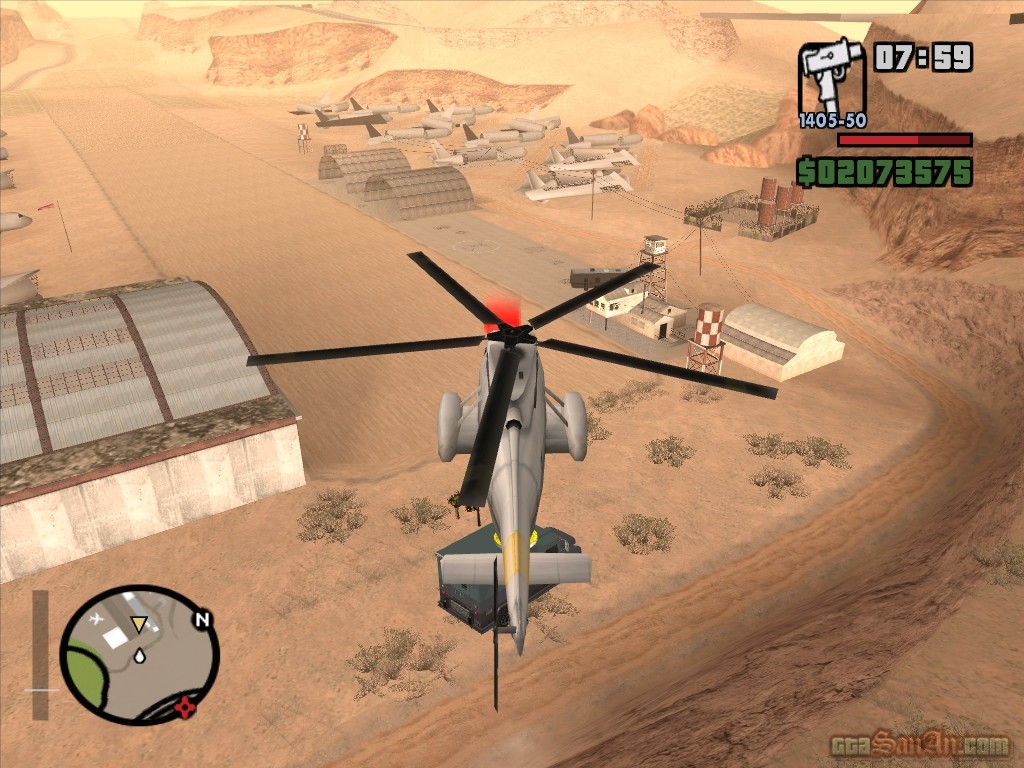
Goto the restricted area marked on the radar. You'll need a military vehicle to get in, or, you could just use the jetpack like I did. Kill any attackers and move towards the west of the compound. Enter the warehouse and waste any guards. There is a health icon and an armor icon here, which you will no doubt need. Move through the warehouse and kill the guard on the stairs. The military have sent two gunships to intercept you. Use the gun emplacement to destroy them - walk into the red marker and shoot down the two Hunter's. Continue moving up the stairs, and eliminate all threats. Steal the helicopter and leave the military fuel dump. Now fly to the location of the armored van in West Venturas. Lower the helicopter over the bank van and use it's winch to pick it up - press 'Circle'. Fly at a reasonable height (so as not to smash the van off any buildings) and make your way over to the abandoned airstrip. Lower the copter and press 'Circle' to release the bank van in the red marker. Land the helicopter in the indicated zone to complete the mission.
Respect +
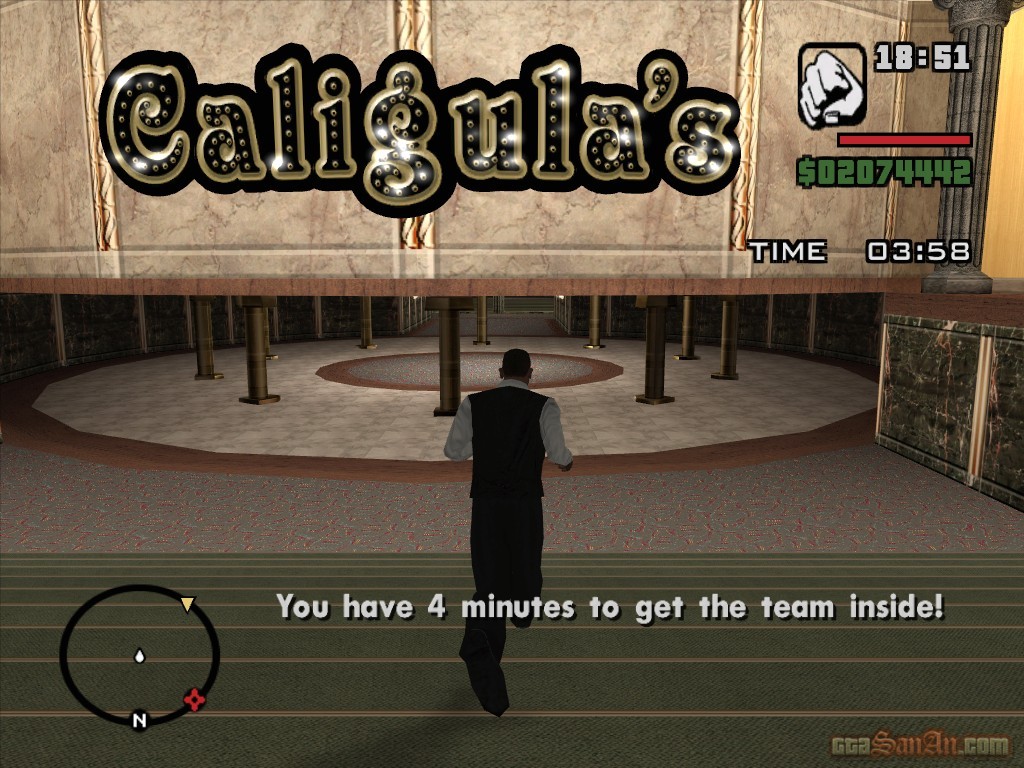
| Breaking the Bank at Caligula's | |
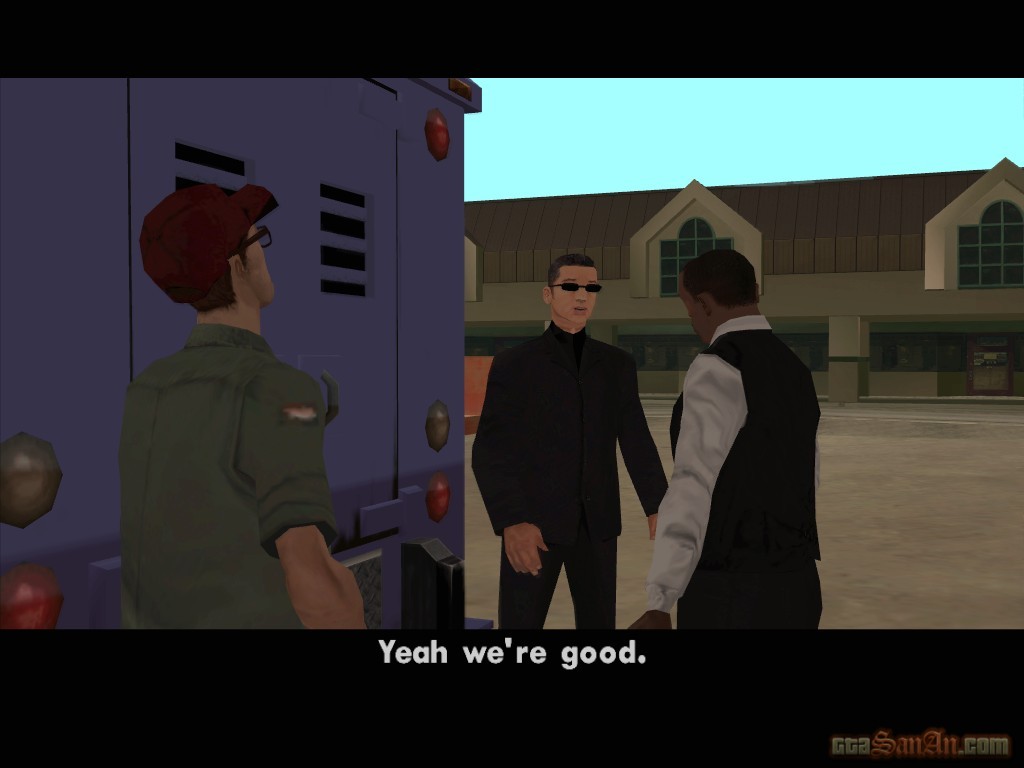
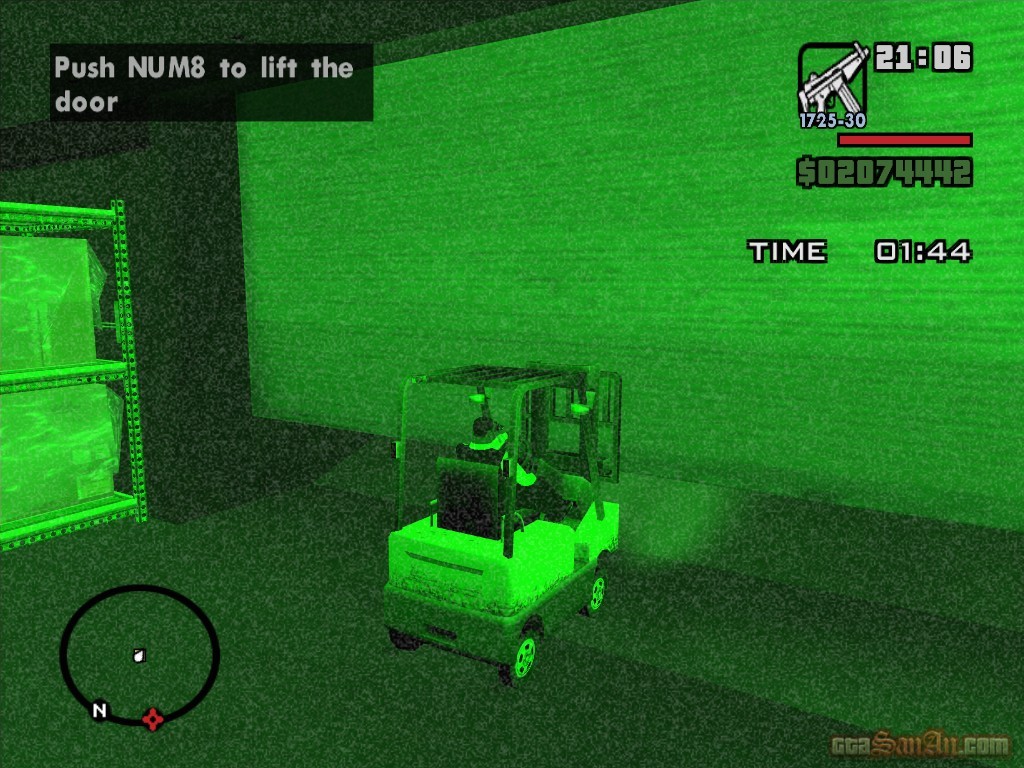
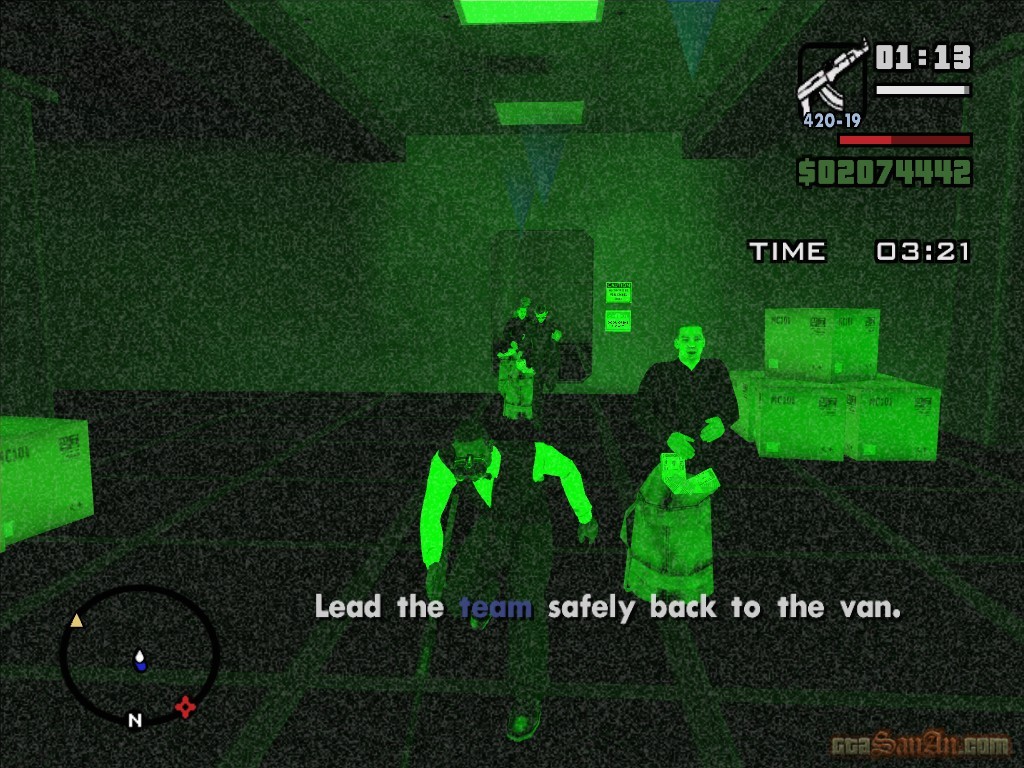
Time to break the bank at Caligula's. A cutscene begins showing Zero and Woozie preparing the armored van. They're en route to Caligula's. Carl is automatically given a croupier's outfit, 10 gas grenades and night vision googles. Make your way to Caligula's Casino!
Goto the staff door. Go downstairs and go into the backup generator room. Throw one of the gas grenades into the ventillation grill at the back of the room. A cutscene begins showing the two guards at the opposite end - choking, coughing and finally dying. Go down to the security door and use Millie's swipe card to open it! Zero blows the charges you placed at the dam, which causes the lighting to go out. Scroll through your weapons until you reach the night vision googles, and press 'Circle'. Head over to the service bay, where the crew are due to arrive. The gate is locked. Get inside the forklift and use the right analog stick to raise the gate. The crew enter in the armored van.
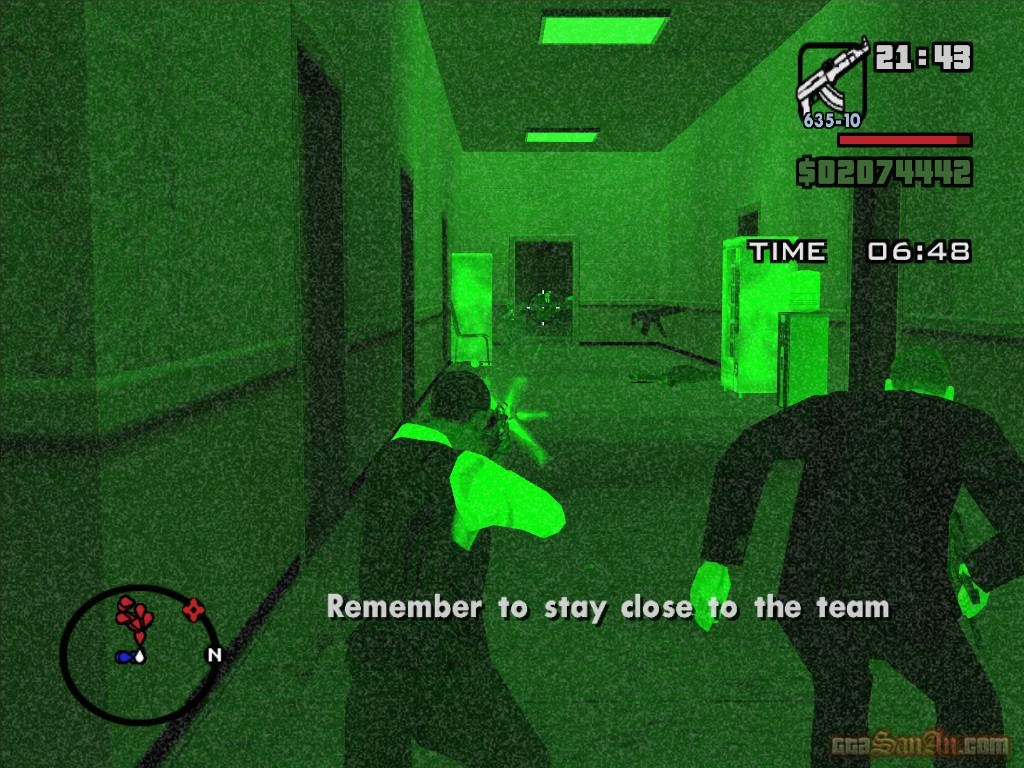
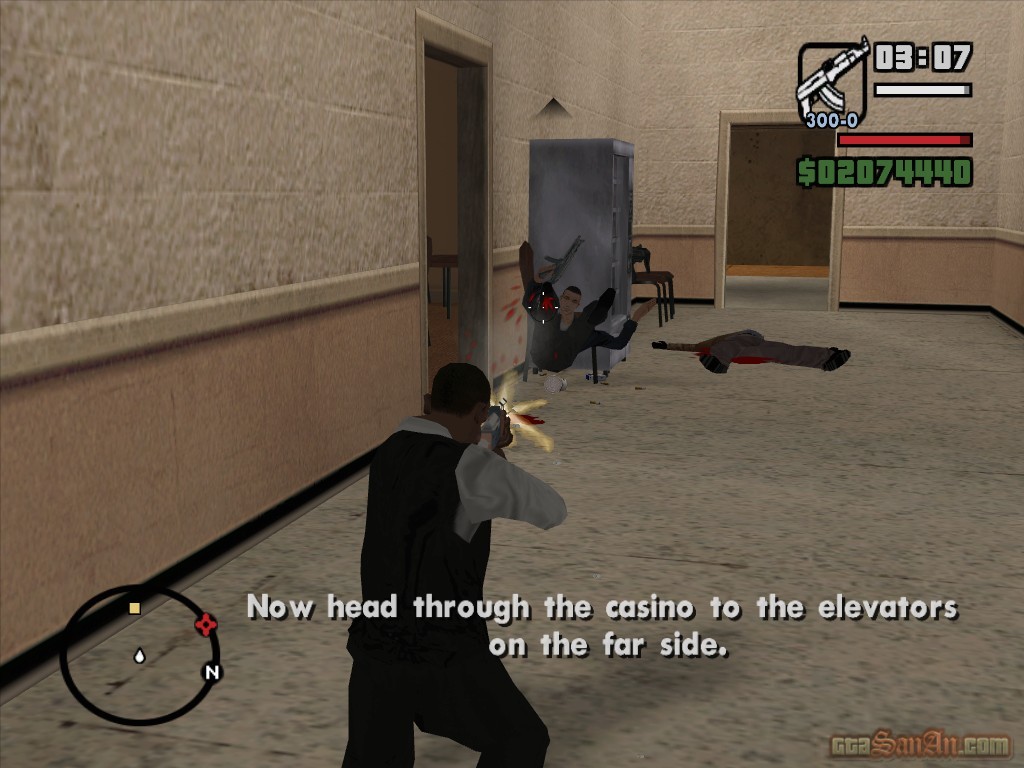
Follow Woozie's assitant to the bank, and waste any Leone attackers. Watch as the crew plant charges on the door. Zero announces that somebody is trying to bring the generators back up. He blames it on Berkley, who, for some unknown reason, found out that Zero was going to be involved in today's heist. Pickup the satchel charges beside the dead guards, and go upstairs. Put satchels on the two generators and go back down stairs. Use the detonator to destroy the generators.
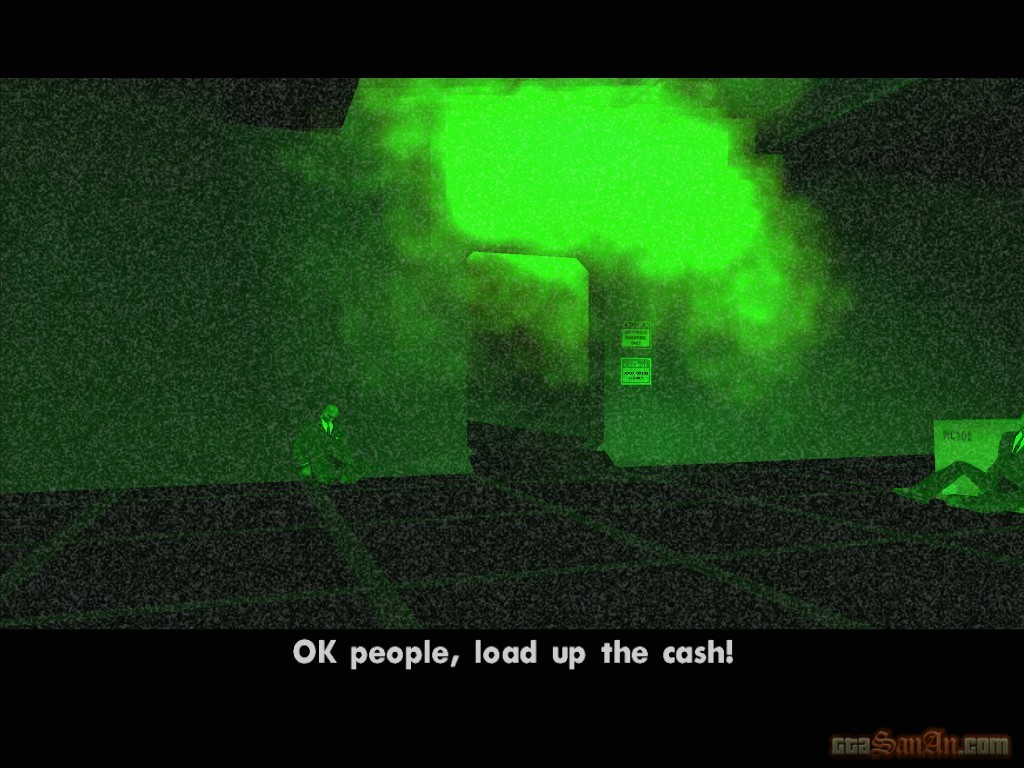
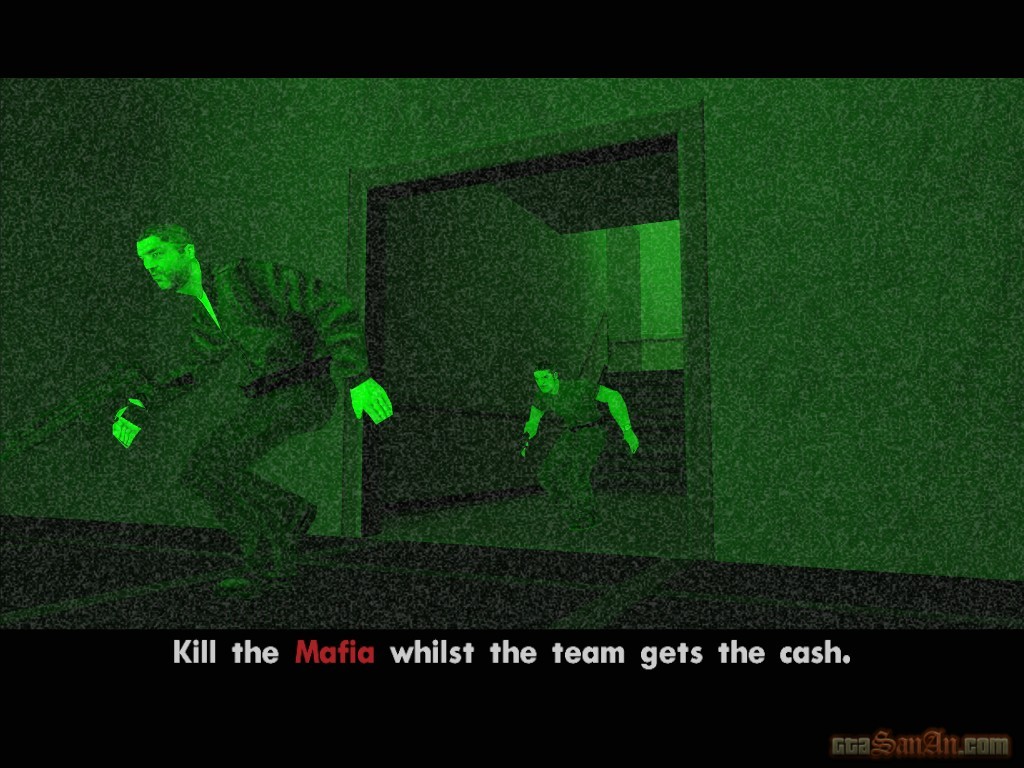
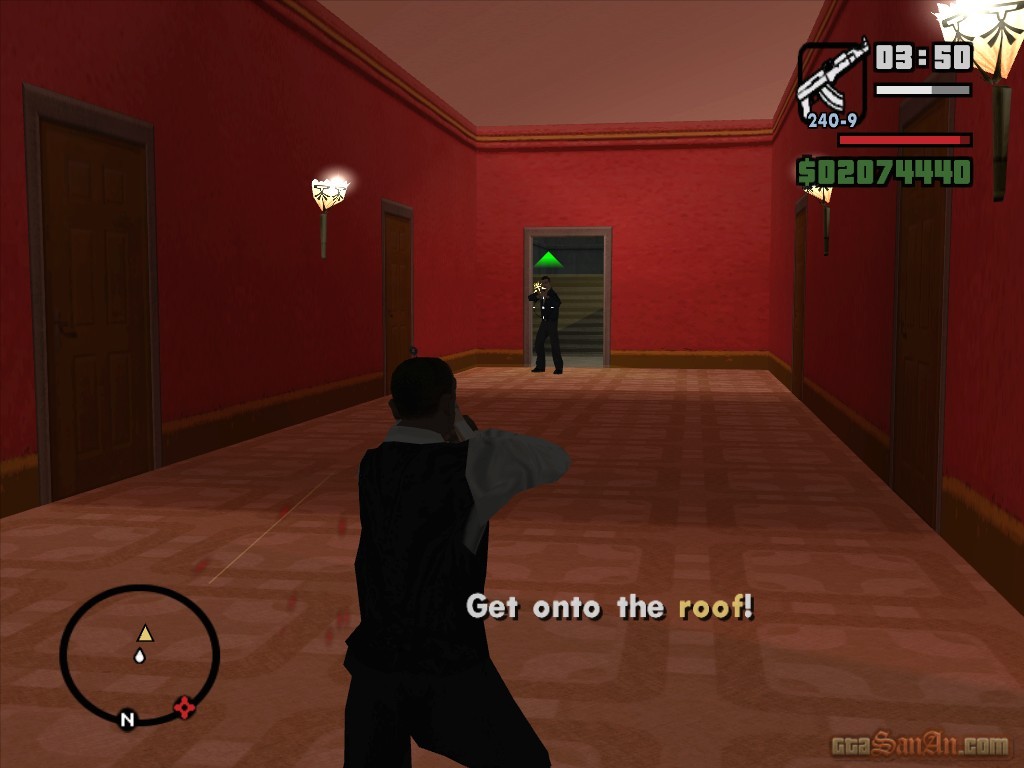
The door is open, and the crew gain access to the safe. The money is taken, and Zero warns Carl of a some mafia gorilla's that are about to give them some company. Protect the crew and waste the Leone's. Guide the crew back to the service bay so that they can escape with the money. The Mafia will continue to attack as you make your way through Caligula's. Go back (wasting any attackers as you do so) and use the elevator to goto the top floor of the casino. Eliminate the last set of guards and go onto the roof. Climb several sections of the roof and collect the parachute. Jump off the roof and press 'Circle'. Try and land on the roof of The Clown's Pocket, opposite Caligula's. Kill the swat police, and grab the police chopper. Fly to the abandoned airstrip and land, to complete the mission.
$100000, Respect +
*Salvatore calls, and he's furious at your betrayal. He swears to kill you, your family and your grandchildren!

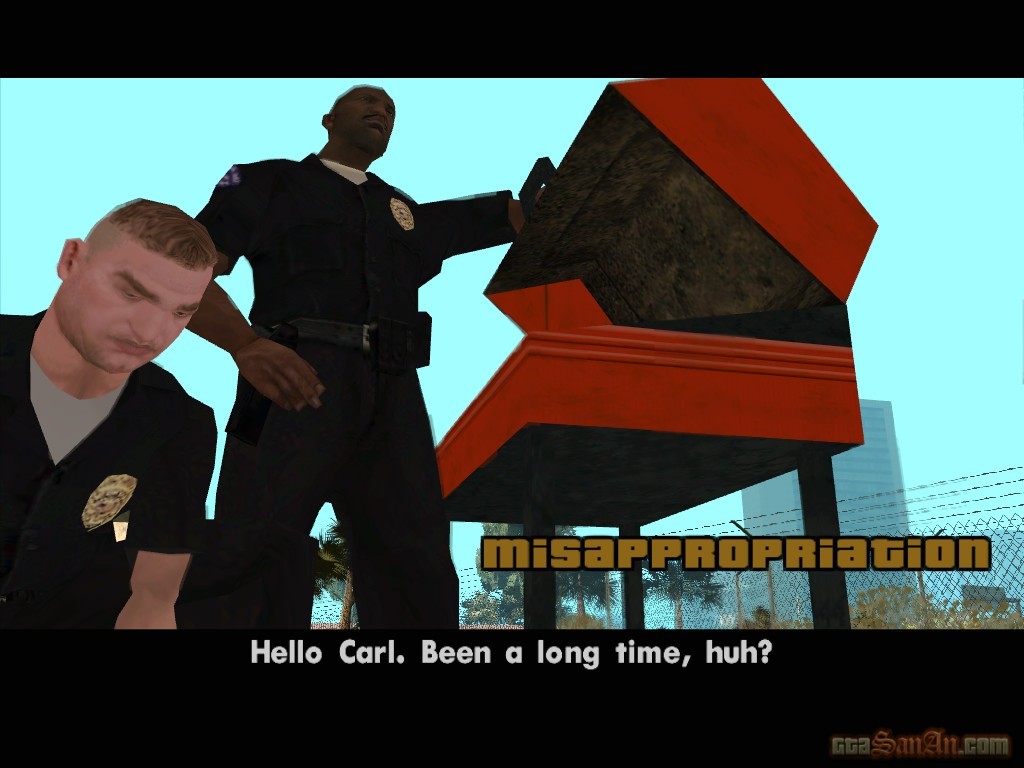
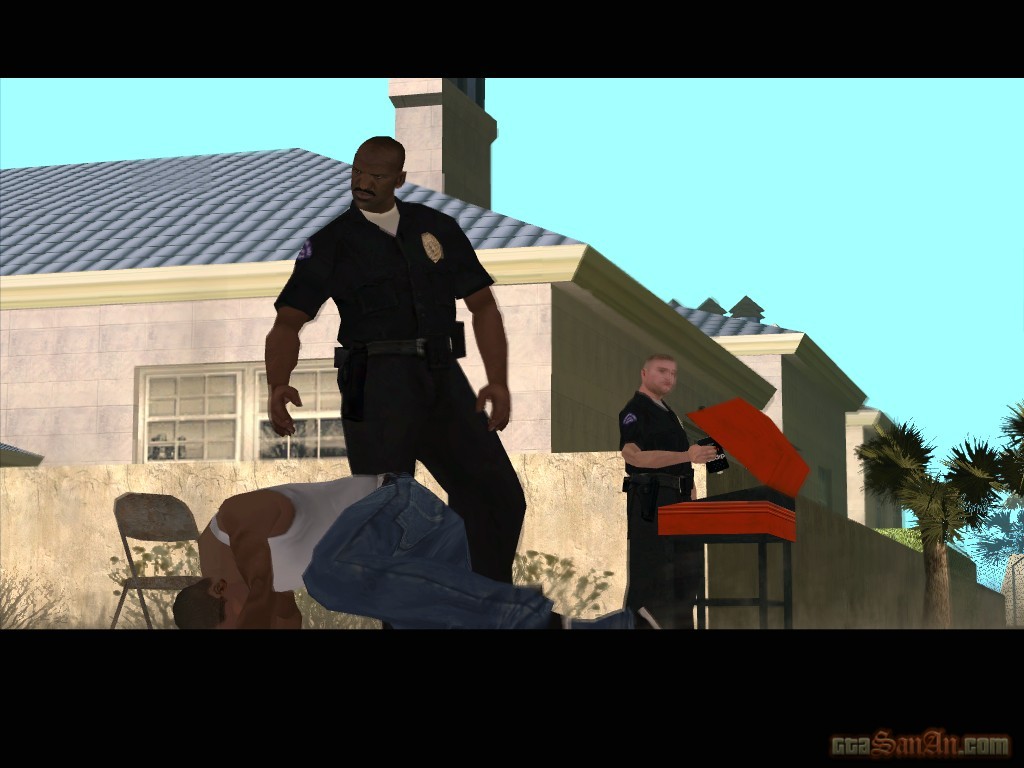
| Misappropriation | |
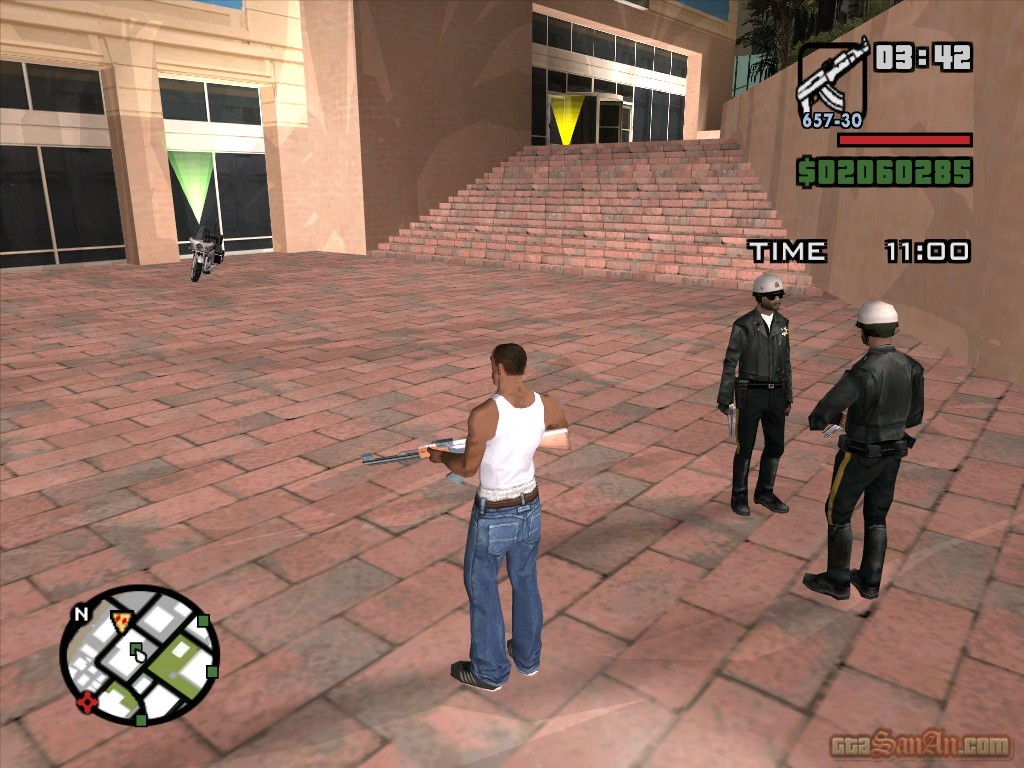
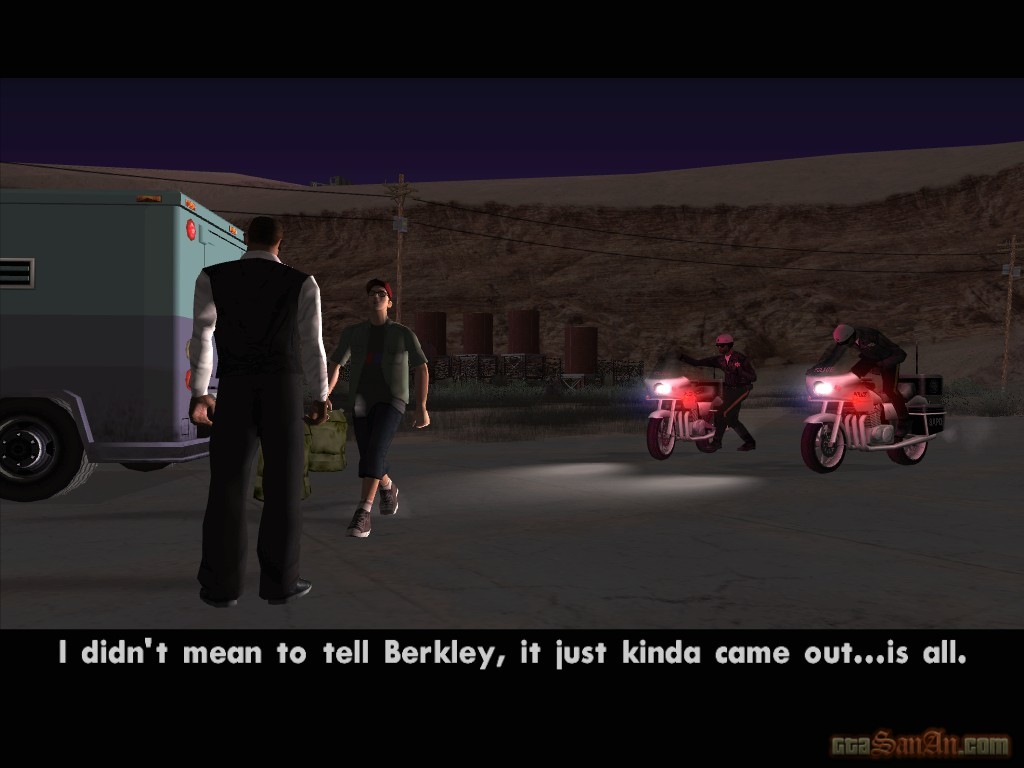
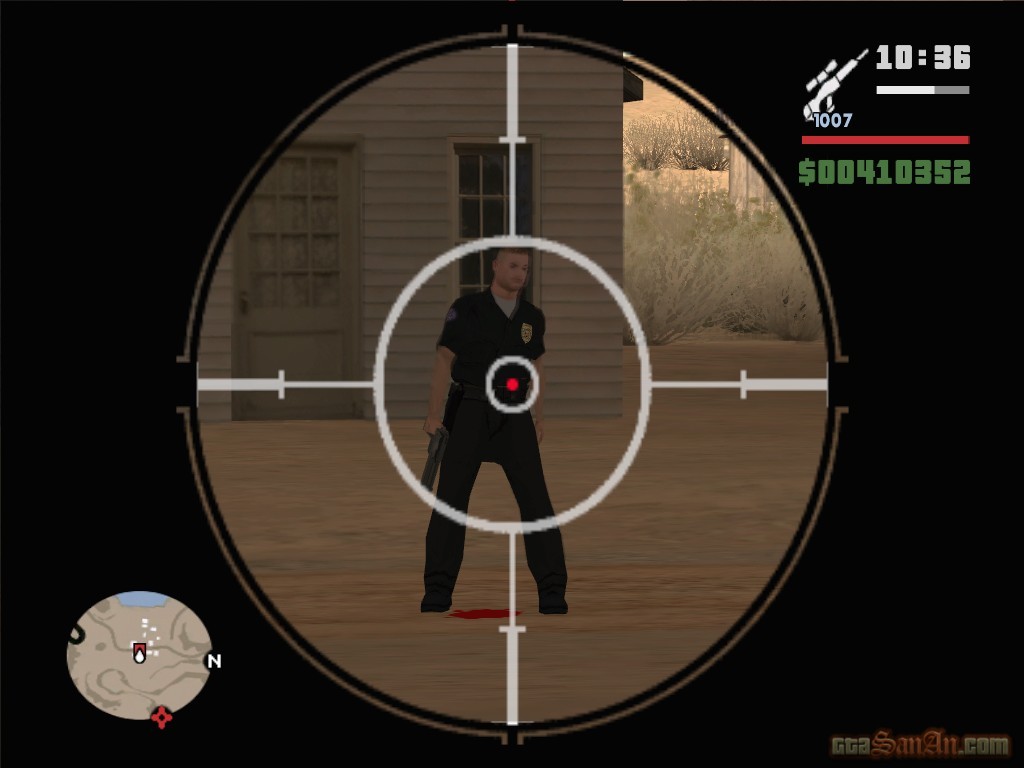
Tenpenny and Pulaski are making a barbeque! One can only guess what they're cooking. It's been a long time.. Tenpenny explains. Things have developed since they last met. Despite their best efforts, the gig is nearly up, and the pair may lose their badges. CJ laughs at how edgy the officers have been, and Tenpenny replies with a punch in the stomach. There's a ruined town out west, Aldea Malvada. A DEA officer is meeting with an FBI agent to hand over a dossier. Make them disappear and get the evidence dossier for Tenpenny.
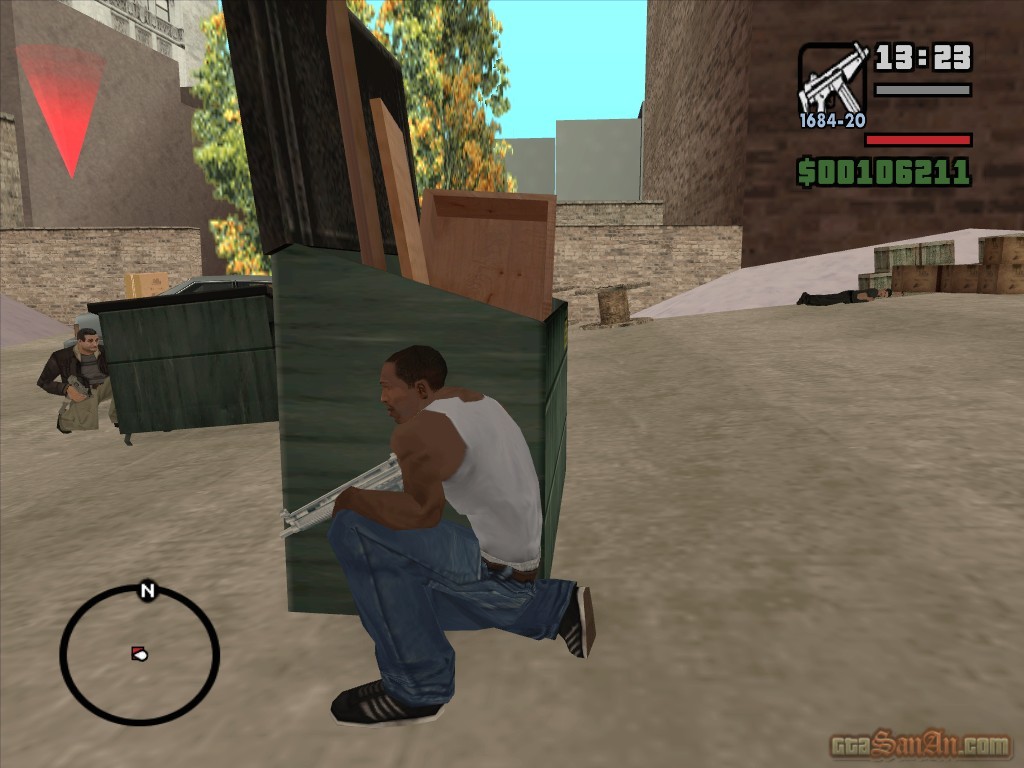
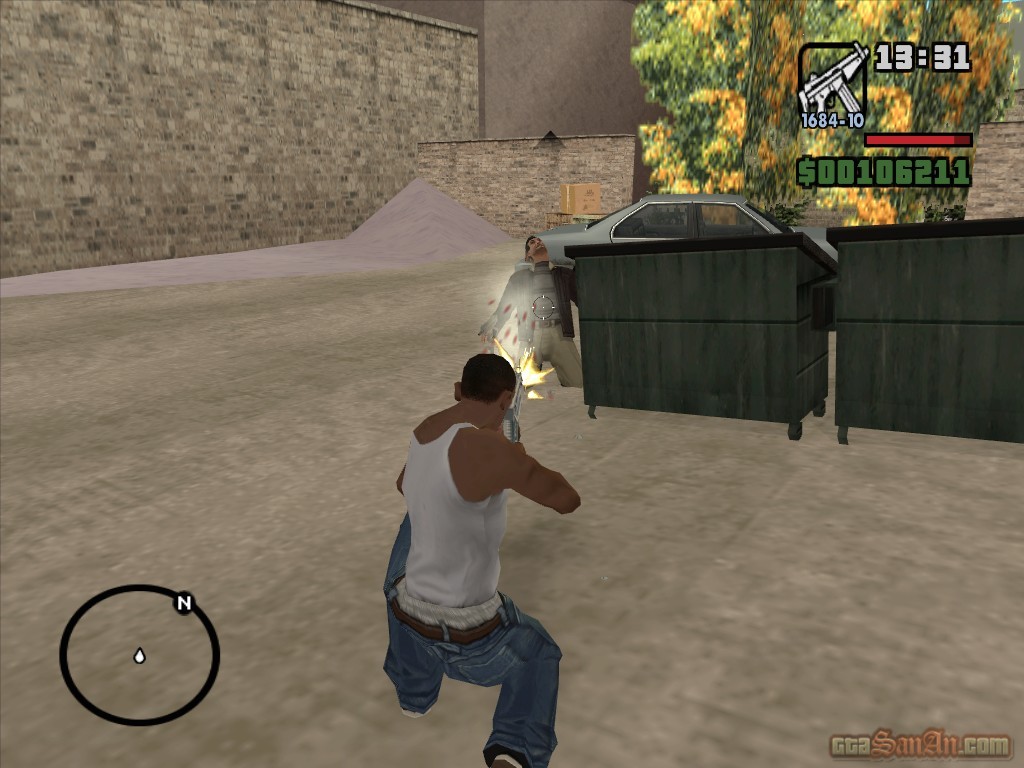
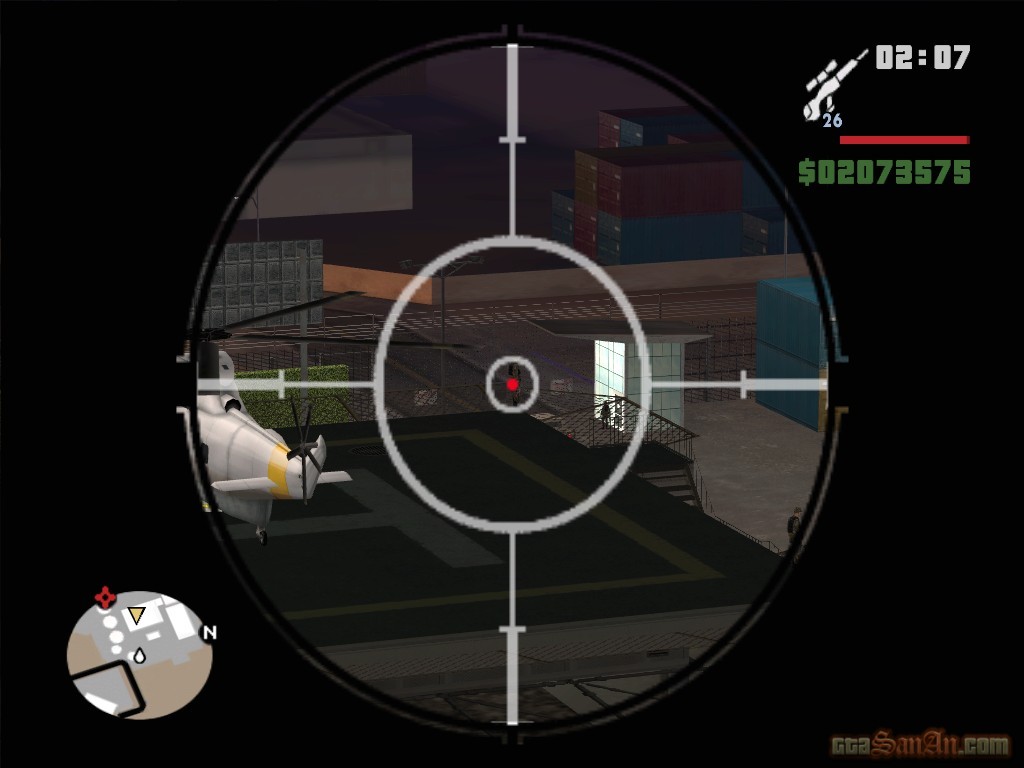
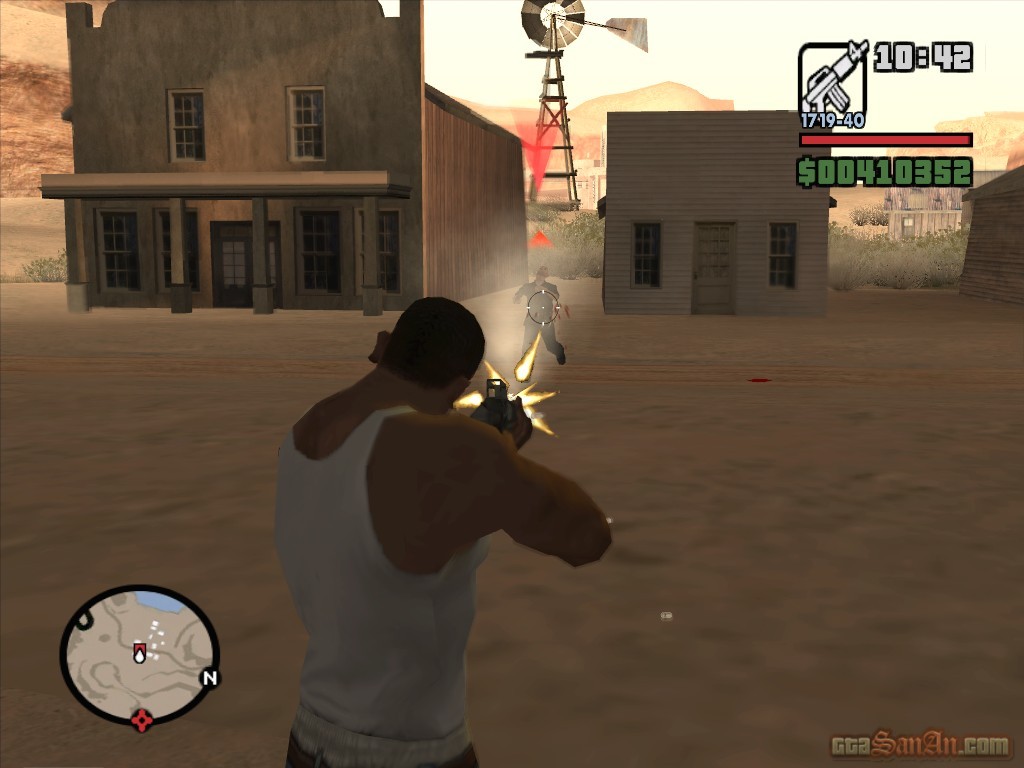
Get a sniper rifle or a rocket launcher. Head out to Aldea Malvada, but don't go upto the target just yet - stay at a safe distance for now. When you arrive, stand in the position shown in the screenshots below and snipe your target, or, blow up the two choppers as quickly as possible using the rocket launcher. The agent has a red arrow above his head. When you kill him, he will drop the dossier and more agents will try to collect the dossier and escape (via the chopper). Kill anybody who gets in your way and snatch the dossier to complete the mission. If the agent manages to get to his chopper, you're going to have to give a lengthy chase, but if you use my method correctly you shouldn't have to. Use one of the chopper's to get back into town.
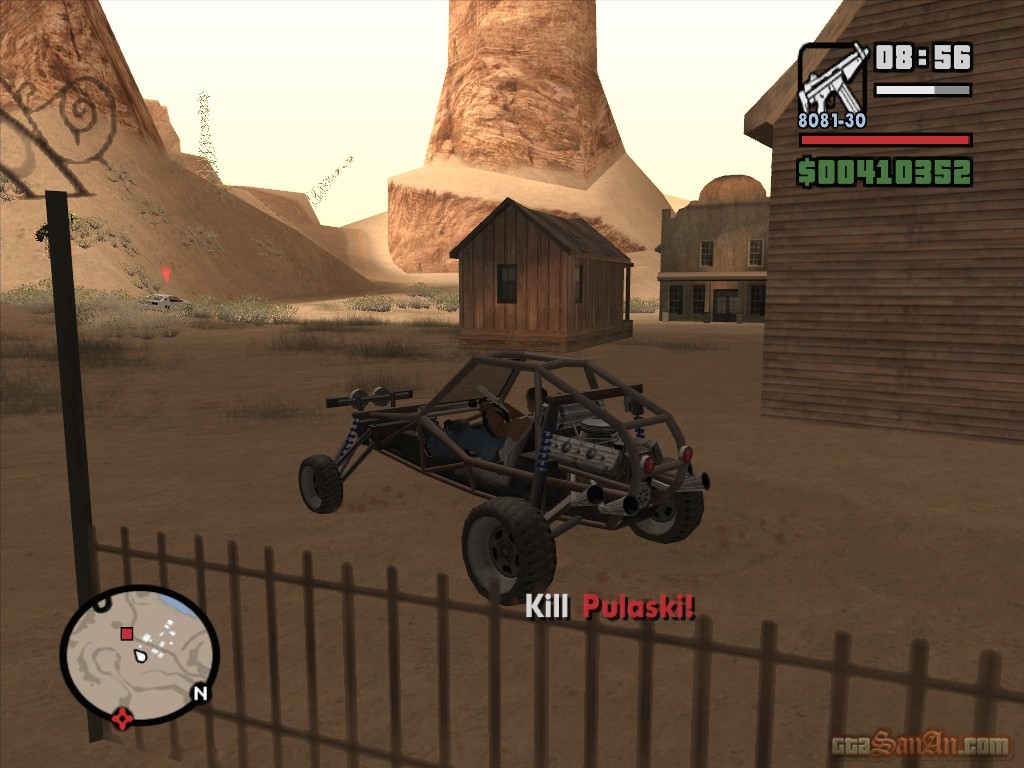
| High Noon | |
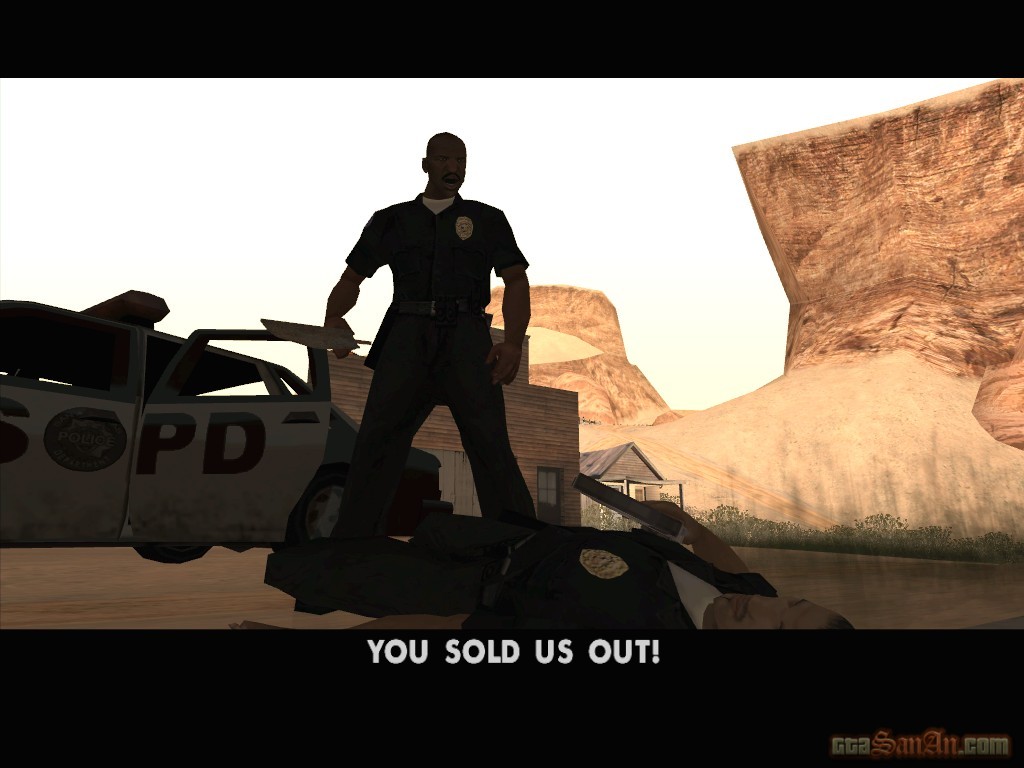
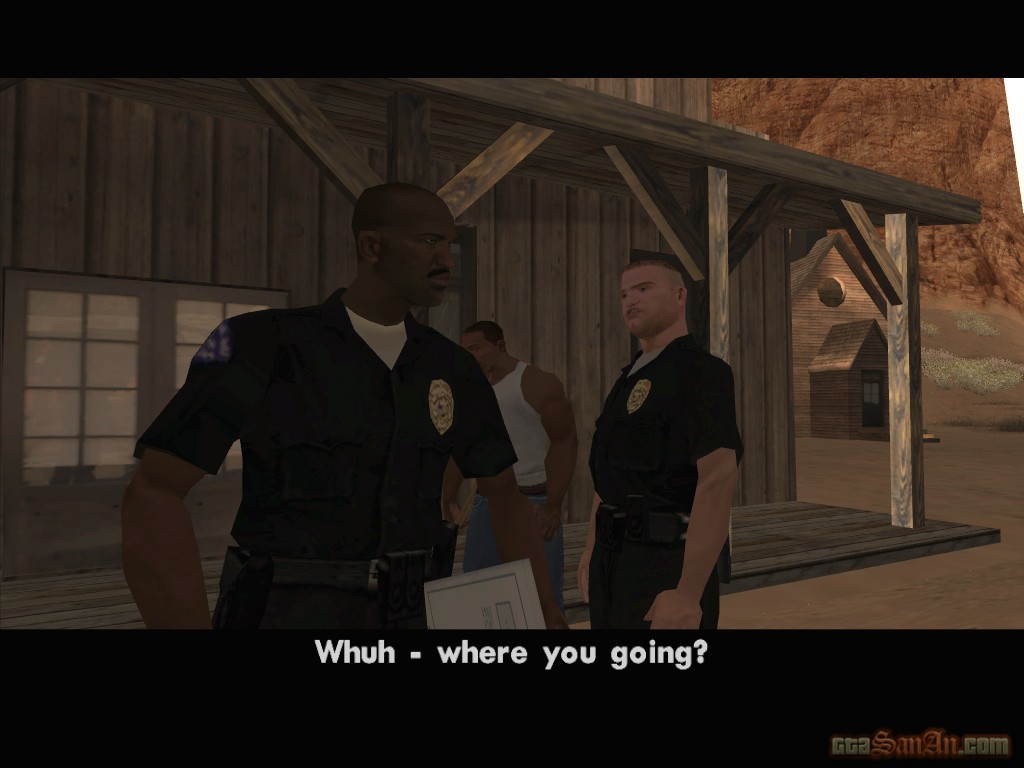
Make sure you have a sniper rifle before starting this mission. An LSPD car pulls over, with Tenpenny, Pulaski and Hernandez inside. Pulaski, who seems surprisingly cheerful today, collects the evidence dossier. Carl asks if everything is cool now, when suddenly, Tenpenny pulls a spade from the hood of the car and whacks Hernandez. It is now known that Hernandez tried to expose Tenpenny and Pulaski, but somehow Tenpenny found out. "YOU SOLD US OUT", he screams. The C.R.A.S.H team are now clearly corrupt, and their use for Carl seems to be at an end. Tenpenny hands the spade over to CJ, and tells him to dig his own grave. Pulaski is told to take care of things, whilst Tenpenny leaves to "get drunk and get laid". He takes the dossier with him. Whilst digging, Carl tries to persuade Pulaski that Tenpenny is just using him. Pulaski points a gun towards CJ's head. The shooting is interupted when Hernandez climbs to his feet and makes one last attempt to cap his corrupt partner. Pulaski finishes him off and knocks him into his own grave, but Hernandez' gun has falls into CJ's hands..
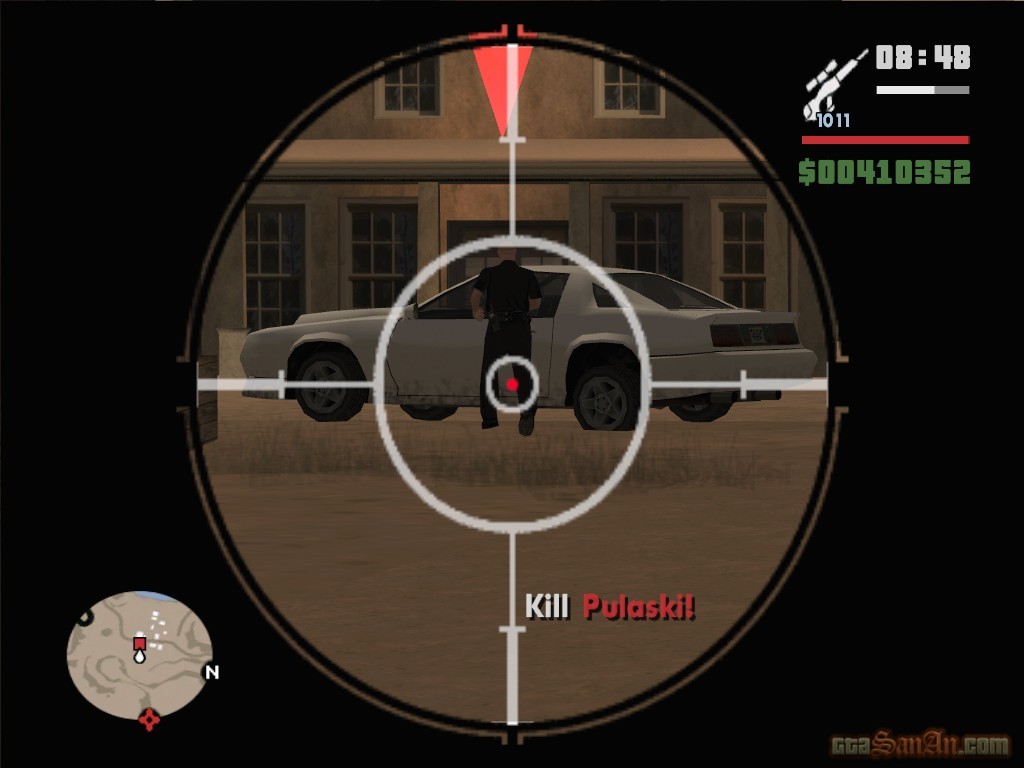
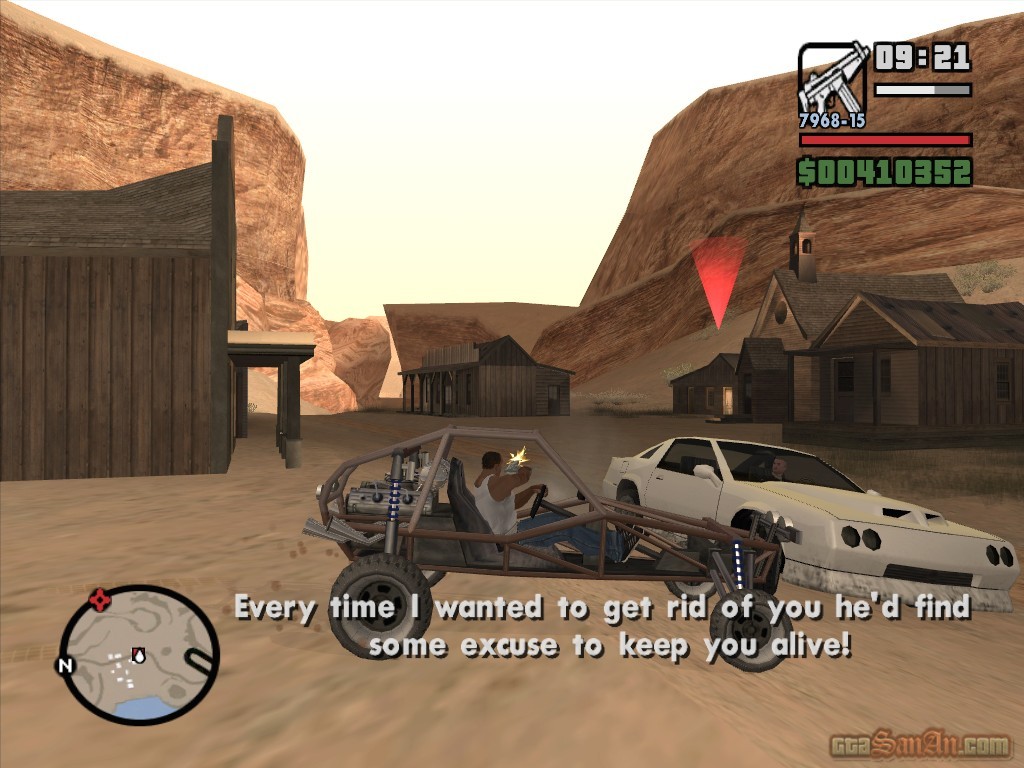
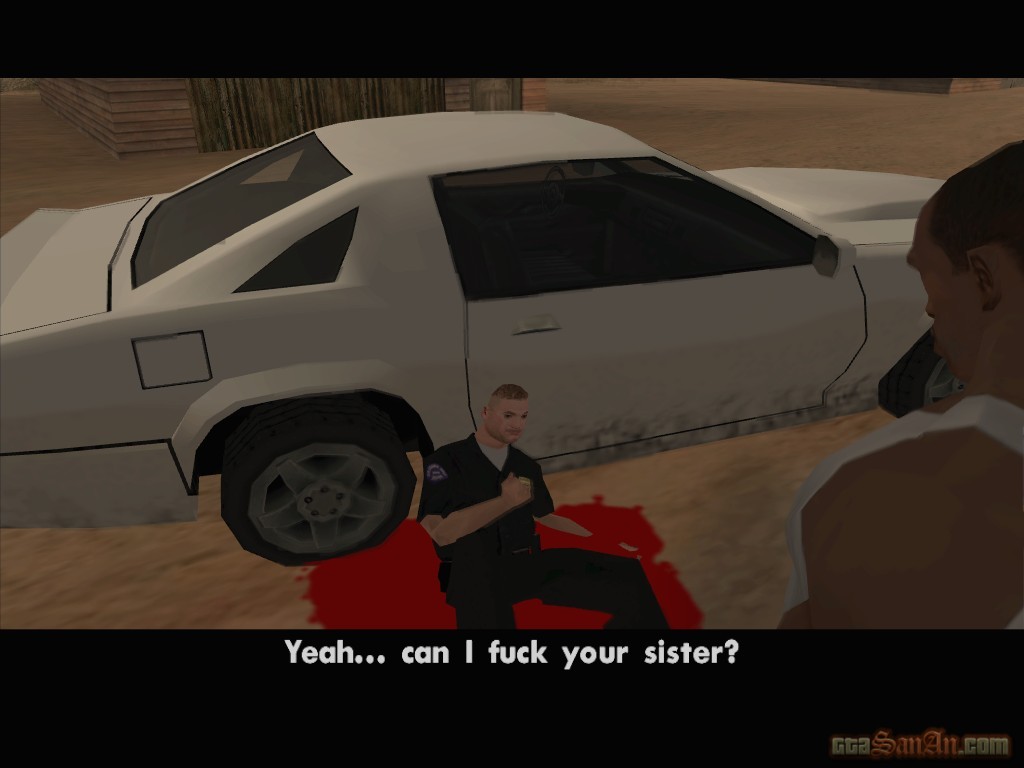
Pulaski (a coward) runs for his car and attempts an escape. Here's the message you have been waiting to see for a long time - Kill Pulaski! Quickly use the sniper rifle to puncture 2 of Pulaski's tires, and get inside the bandito. Give chase, and watch as Pulaski makes hopeless attempts to control his vehicle. Don't attack his car just yet. Pulaski says that he has wanted to kill you for a long time, but Tenpenny always finds an excuse to keep you alive. Wait until he stops talking, then pull alongside and perform a drive-by until the vehicle catches fire. Don't let him get too far away, or he will escape. Pulaski jumps out of the burning vehicle, and a shootout begins. Don't mess around, Pulaski has a strong weapon and it will decrease your health quicker than you think. Gun him down, and watch the cutscene. Pulaski's last request is that he "f---'s your sister". Carl finishes him off with a powerful stomp to the head.
If you're having difficulty in the "gunning him down" stage, try ramming his vehicle off-road early on in the mission. With any luck, he'll fall over the canyon - therefore destroying his route. If the vehicle is in good condition after the fall, Pulaski will repeatedly drive into the wall in order to get back on his original route. Pull him out of the vehicle, and waste him. If the vehicle lands upside down and catches fire, Pulaski will flee and again simply gun him down. Also, Pulaski is a poor swimmer, so you can push his car into one of the rivers, but unfortunately this method disables the final cutscene which shows CJ finishing him off.
» Continue to Final Missions
|
 |
Search News
|
 |
|
|