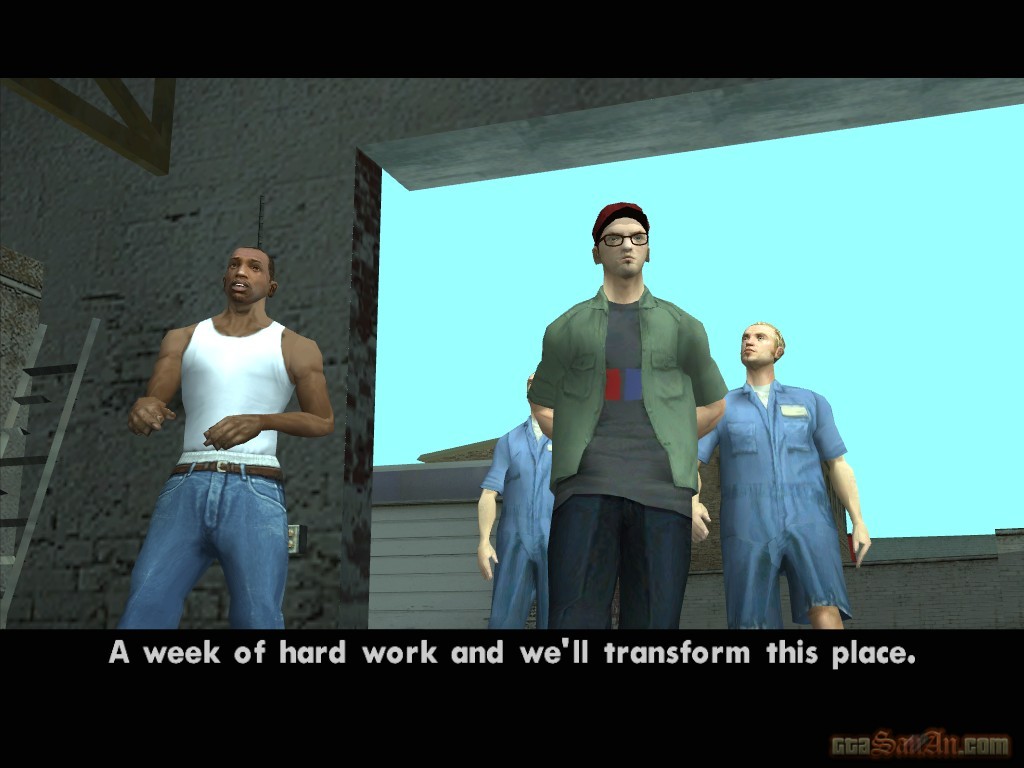
| Wear Flowers in your Hair |  |
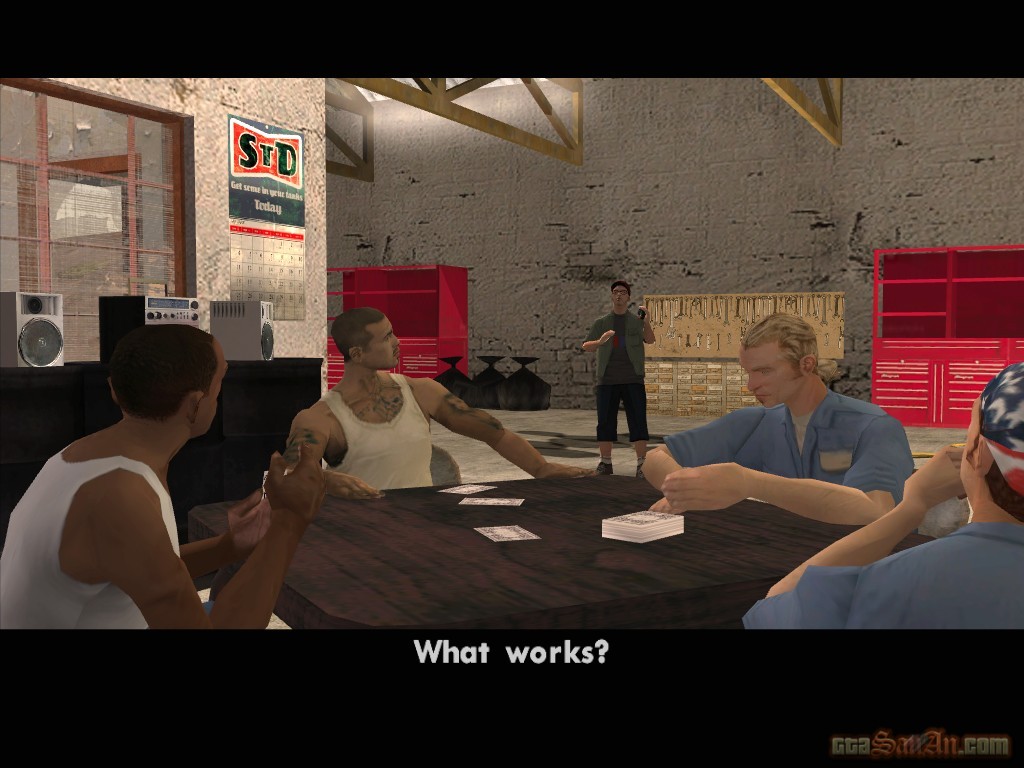
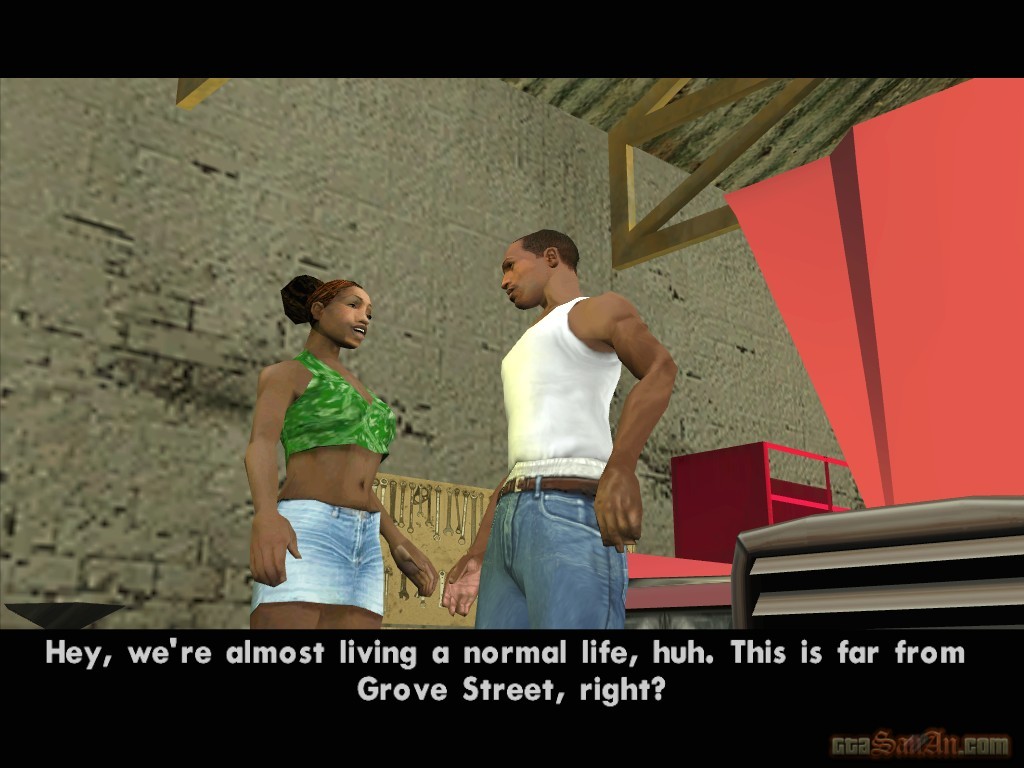
Carl, Cesar, Kendl and Truth enter the garage in San Fierro. CJ is furious that Claude gave him this heap of rubbish instead of a pink slip. It clearly isn't a garage, but Kendl is determined to make it into a garage. It would take a lot of hard work, but she manages to persuade CJ, and they decide to give it a go. If you are going to make this place into a garage, you will need a few workmen. Truth knows a few guys, so lets go for a ride. Get in the car with Truth. First, you are going to pick up two guys, Jethro and Dwaine, whom Truth met in the '89 Fierro Lovin, apparently. They used to work on marine engines until the mob (Vercetti) bought out their business in Vice City -- now they will take any old job. Goto the garage in Easter Basin (blue blip on the radar) stop in the red marker and beep the horn (L3) to pick up Jethro, who at the time, is busy working under a car. Truth explains that this is Viatnamese gang territory, belonging to Da Nang Boys. Truth wants you to swing by the hospital, but he won't say why. Stop in the red marker, and a van is seen passing by. That's all Truth wanted to see. Now go and pick up Dwaine, who is working at a Hotdog Van near a tram terminal in Kings. Again, stop in the red marker and sound the horn. Dwaine has some things to deal with first, so Carl describes the location of the garage and he agrees to meet them there later. Truth now wants you to goto the cop station in downtown. Stop in the red marker, and the same van that was seen at the hospital passes by. Next, goto Zero's RC shop. Zero is the electronics guy, a real genius. When you arrive at the store, Zero is outside playing with his RC chopper. Stop in the red marker, and after some talk, Zero climbs in. Get back to the garage in Doherty, and stop in the red marker. A cutscene begins, and everybody is introduced. Kendl explains her new ideas to CJ. In order to make money, she wants to do property development, like this garage for example -- they develop it, and then sell it. Or, they simply develop the property and run it as a business.
*Zero phones to tell you that his landlord is selling his RC shop. CJ is looking to invest, so stop by later to discuss.
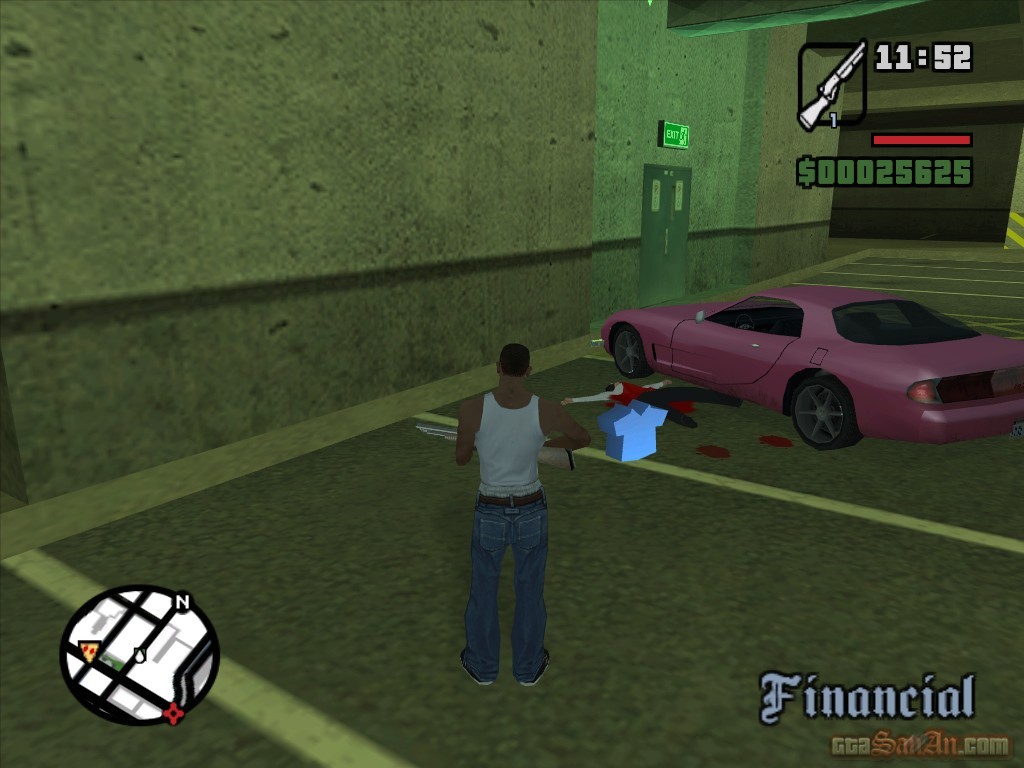
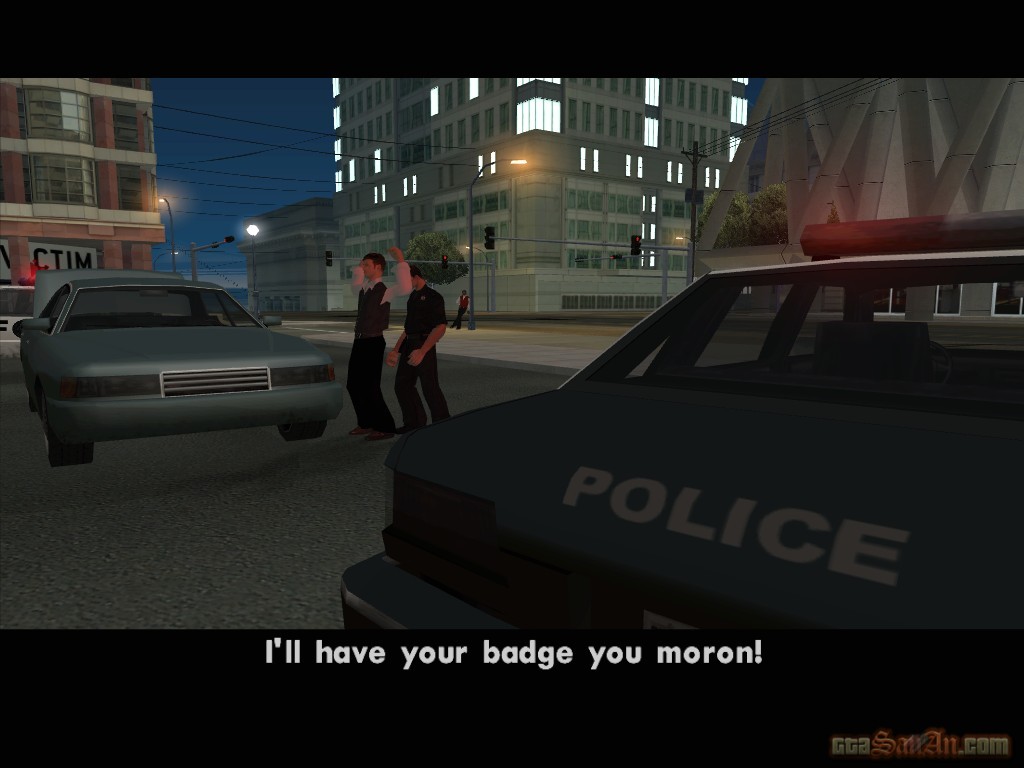
| 555 WE TIP | |
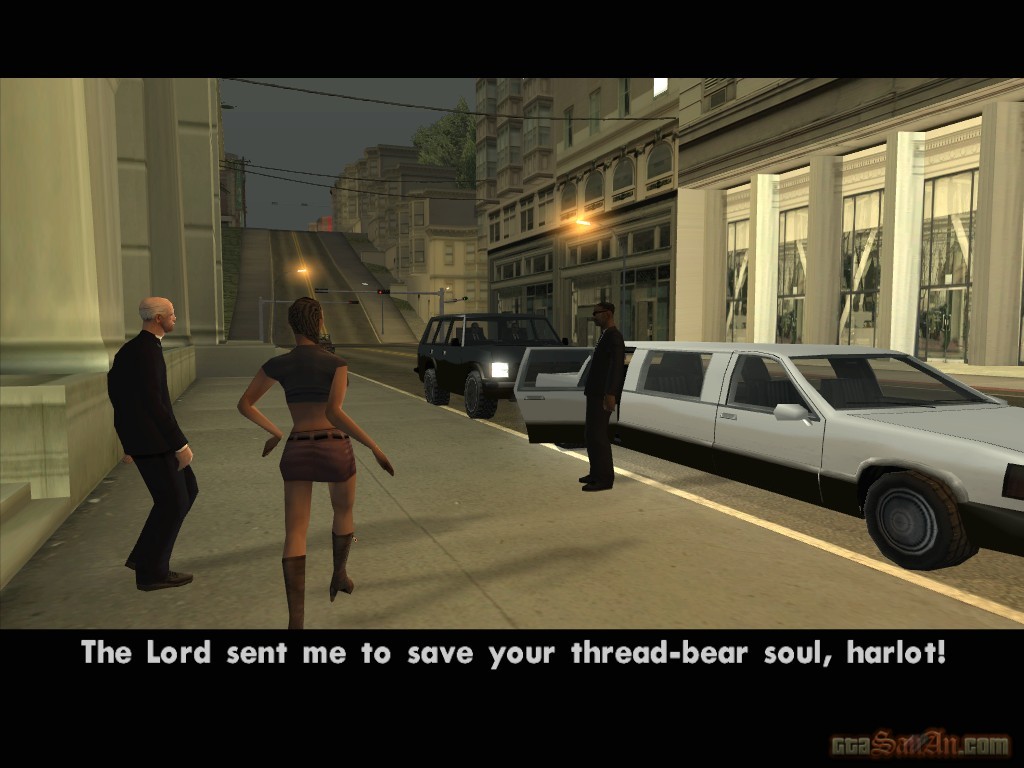
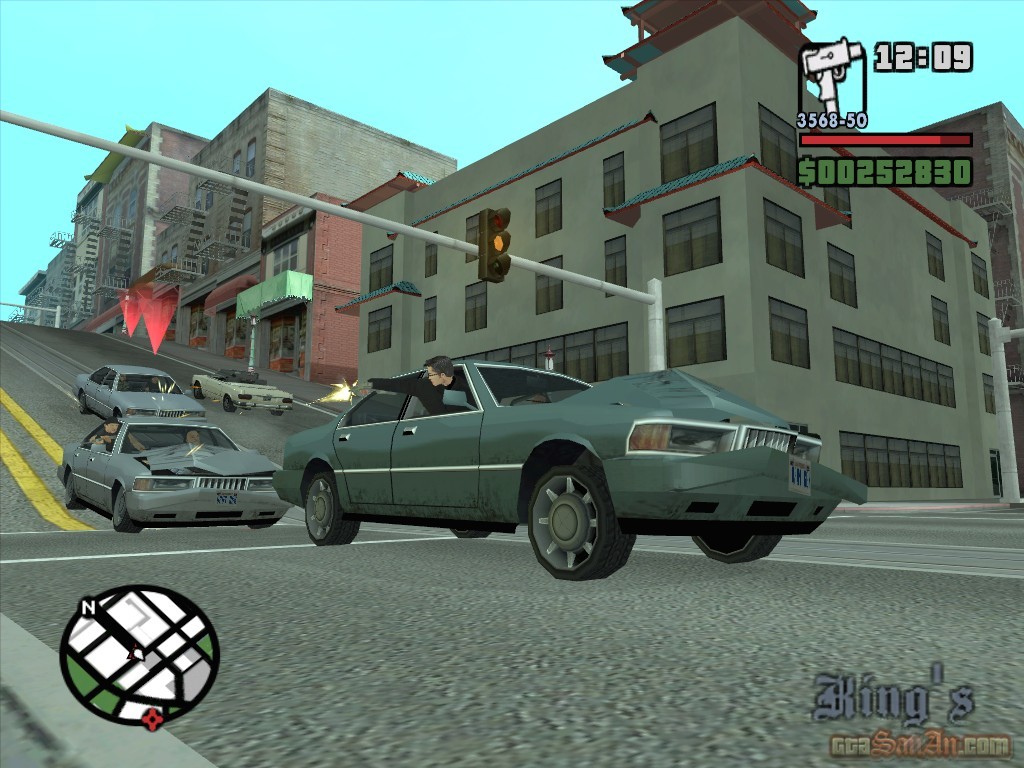
Carl recieves a phonecall from Tenpenny. He reminds you of the weed that Truth supplied earlier to frame one of the C.R.A.S.H team's enemies. Tenpenny wants you to put the weed in the guy's car, and give WE TIP a call. Carl snaps, and immediately refuses to snitch, but Tenpenny explains that the man is a D.A, so Carl is willing to do it. The D.A is on his way to the Vank Hoff Hotel in Downtown San Fierro. Stop in the red marker outside Big Pointy Building, and some instructions are given. The hotel operates a valet service. The D.A will be there shortly to drop off his car. Follow the valet to the underground car park and waste him, but make sure nobody is watching. Collect the valet's uniform, get to the valet port and wait with the other valets. The D.A is driving a blue merit -- remember what it looks like, as you will need to indentify it when it arrives. Make sure the other valets don't service it first. When the D.A arrives, another valet will make a comment. Get in the D.A's car, and speed off to the Doherty garage. A time limit appears on-screen, and you have 2.30 minutes (2.30 game hours) to complete the whole thing. Stop in the red marker, and the drugs are planted. You must get the car back to the valet spotless, otherwise the D.A will notice. If at this point, you have under 40 seconds remaining, you won't make it. Take your time, and concentrate on your destination, not the clock. If the car is damaged, you will need to go all the way back to the Doherty garage and get it repaired. Park the car in the space shown. A valet is coming to collect it, so go back up and call WE TIP. The police arrive, stop the D.A, and find the drugs inside his car. The D.A is arrested. The valet missions are now unlocked, and also the valet uniform which you can collect from your wardrobe.
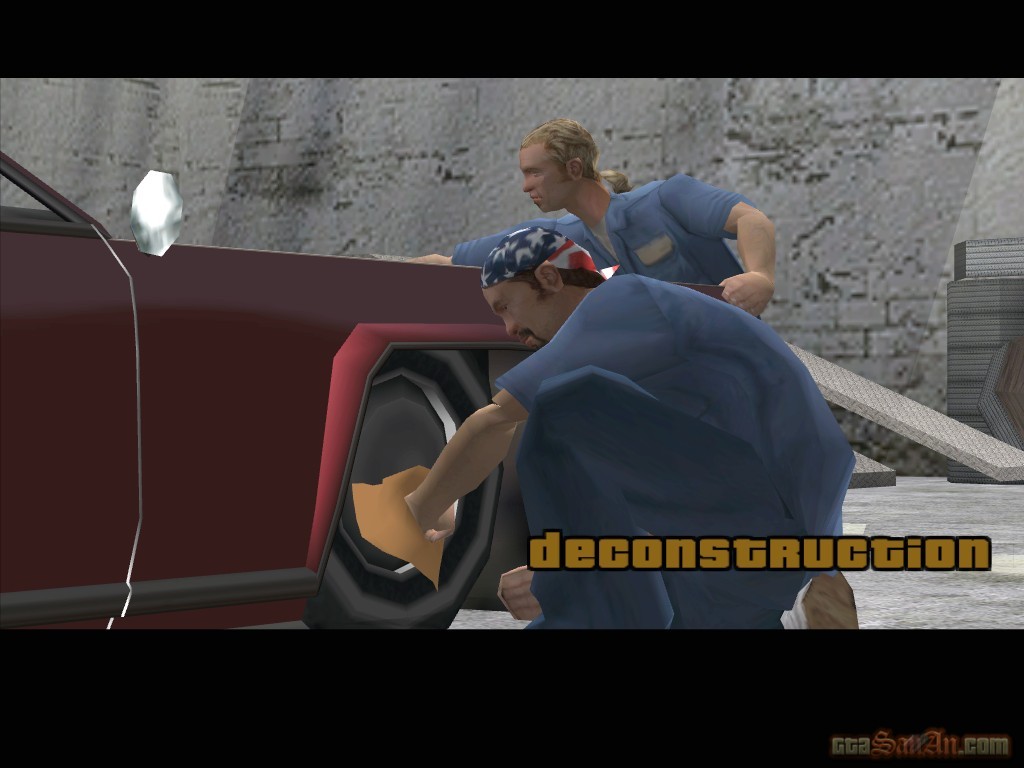
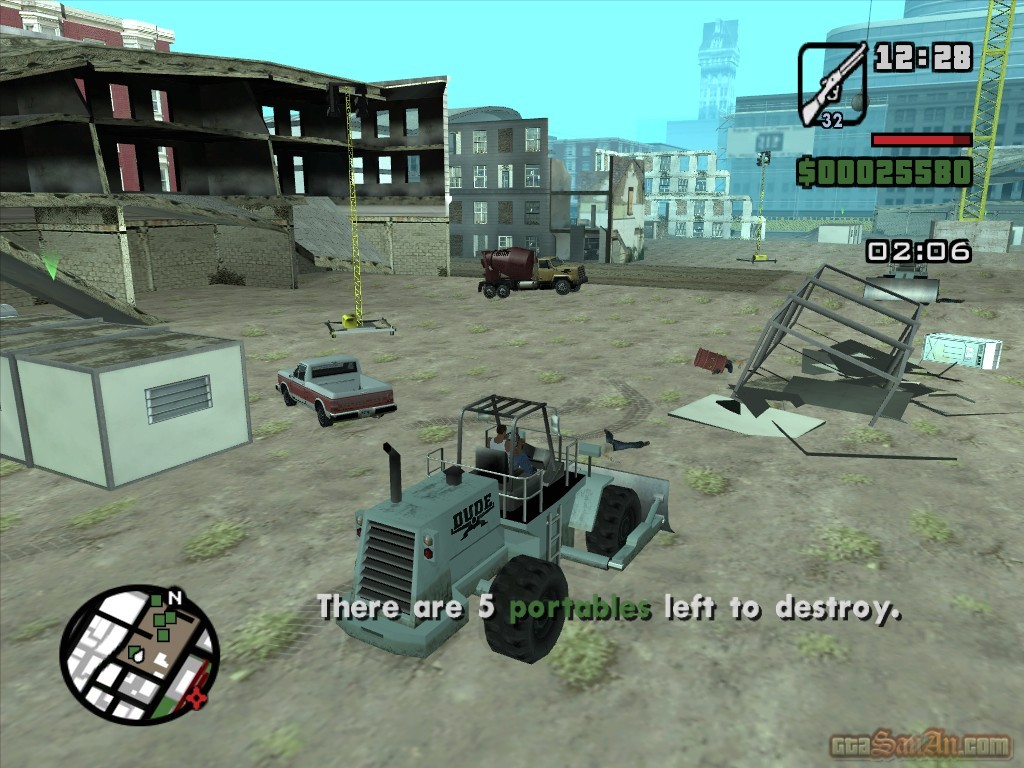
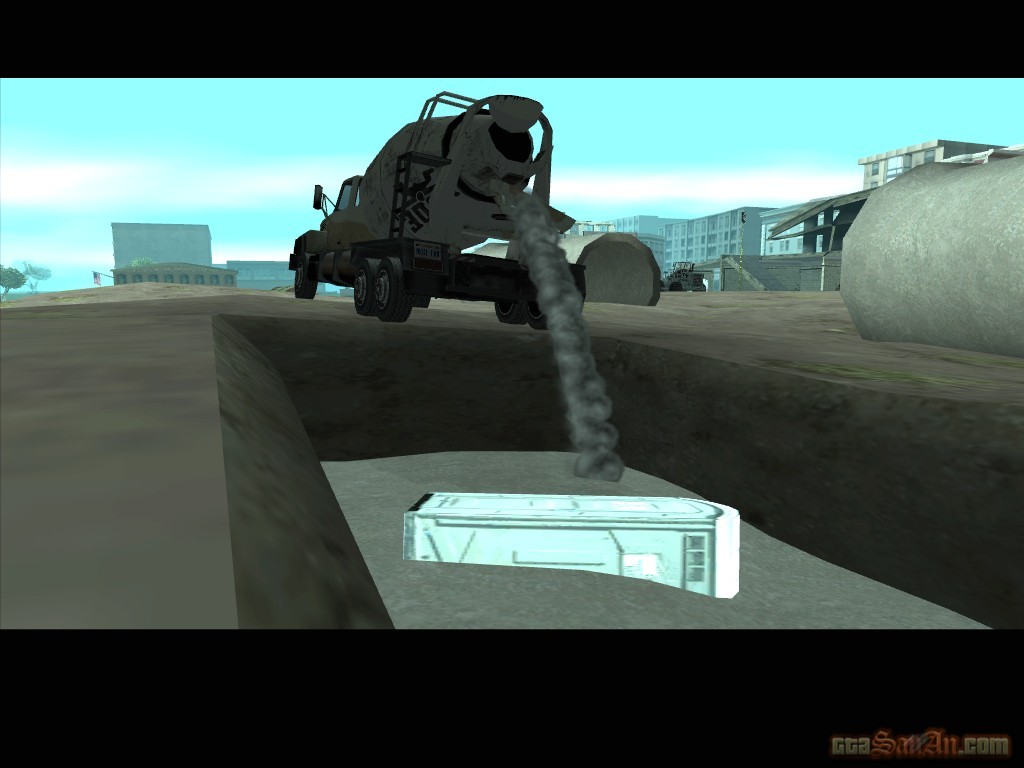
| Deconstruction | |
The construction site workers have been mocking Kendl, and she isn't a happy lady. Cesar wants to teach them a lesson, but Carl insists that he does it, as he needs more land anyway. You must scare off the construction firm. Destroy all of the portables and kill the foreman. Construction machinery will help destroy the portables (Dozer). You must destroy all of them before the cops arrive, and a 3 minute timer starts as soon as you destroy the first. Simply drive into the portables, and they will collapse, but make sure you don't hit the explosive barrels. The site is populated by workers, many of whom carry weapons. They will attack as soon as you enter the dozer. Drive over them, or get out the vehicle and attack, to stop them interefering with your task. The foreman comes out of the toilet, to see the mess you have created. He runs back inside. Still using the dozer, push the mobile toilet into the ditch and bury him under the concrete. To bury him, get in the cement mixer and position it in front of the hole. Watch, as the foreman is buried alive.
*Jethro calls to tell you about a driving school thats just down the road from the garage. You might want to visit sometime.

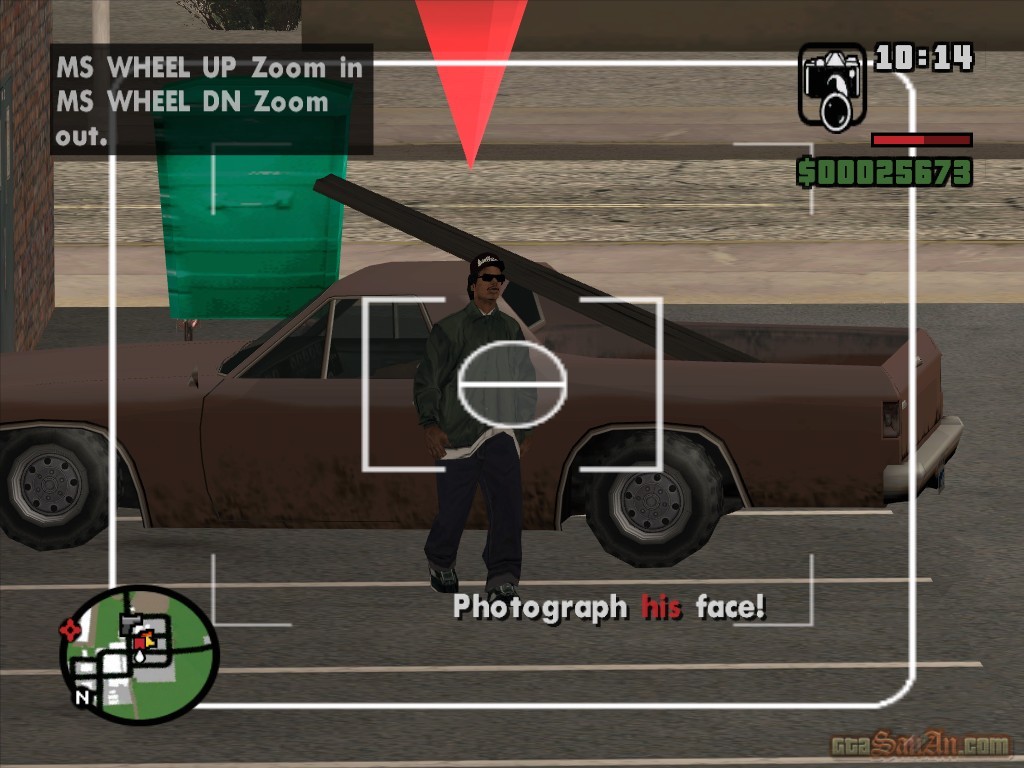
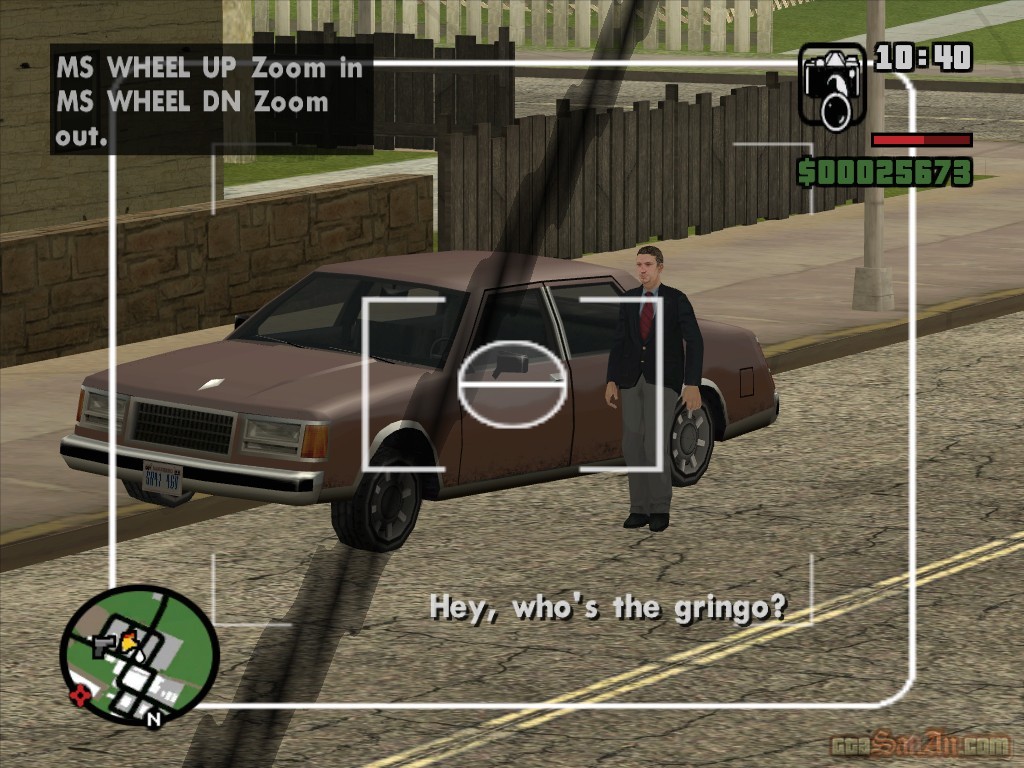
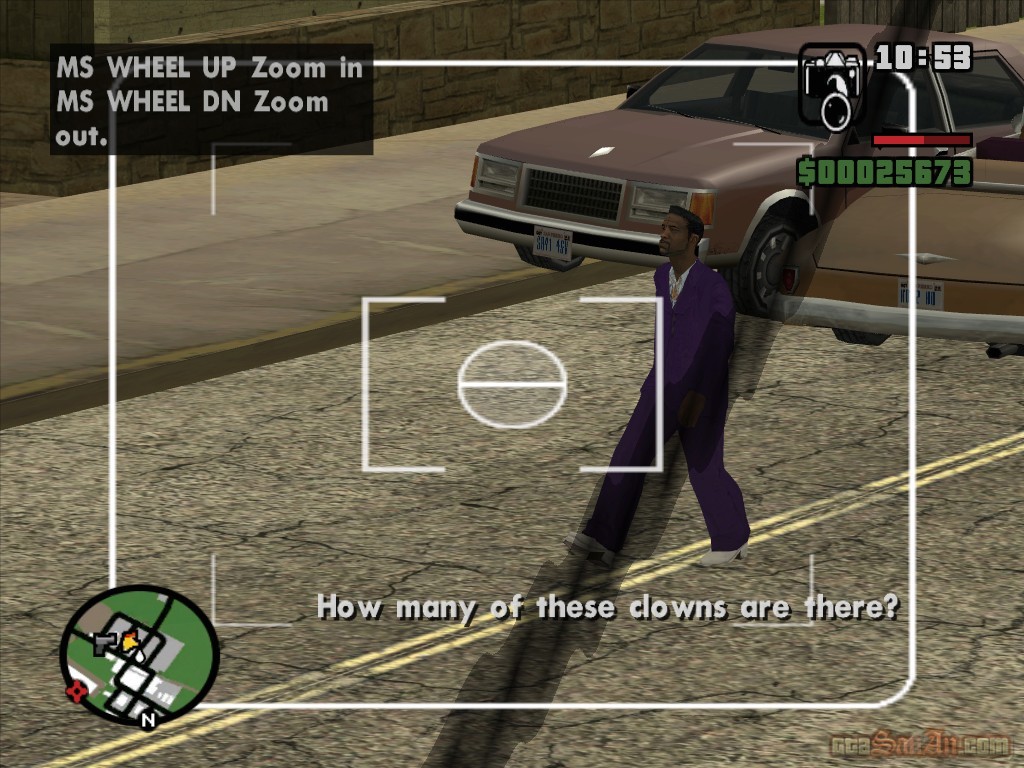
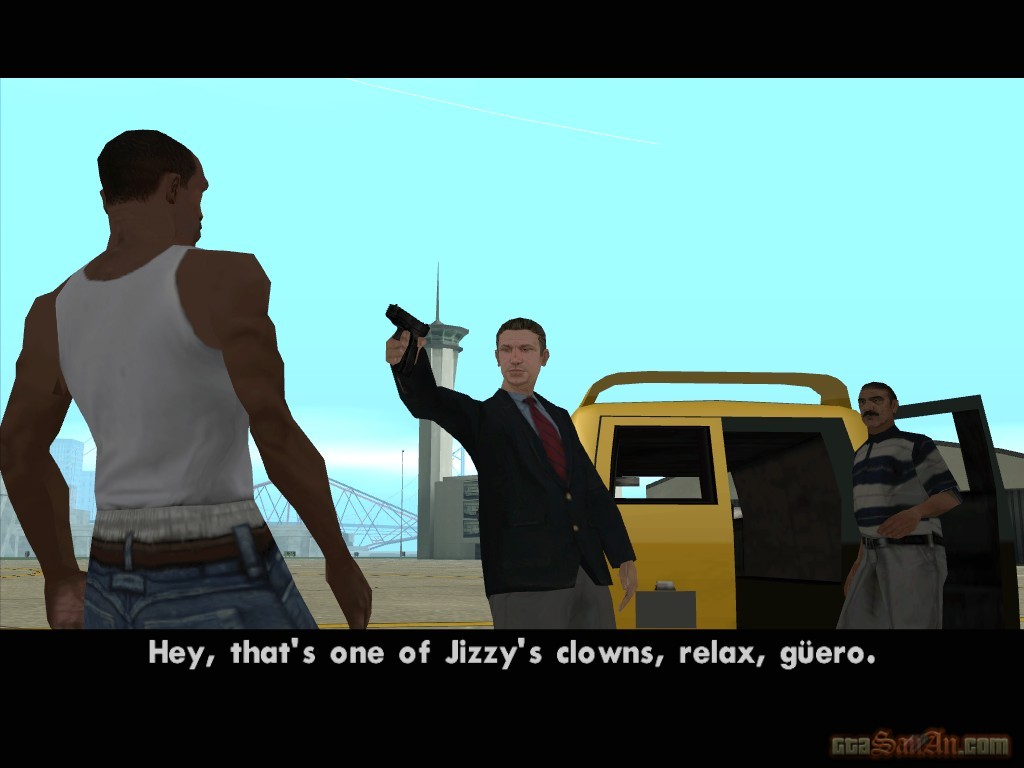
| Photo Opportunity | |
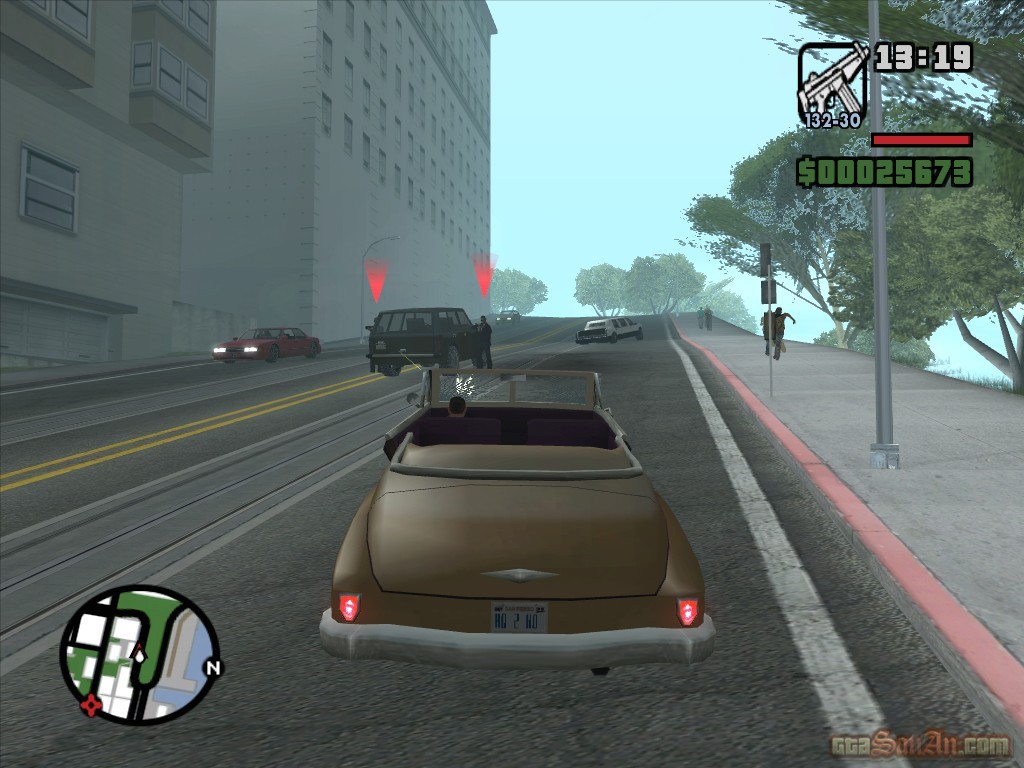
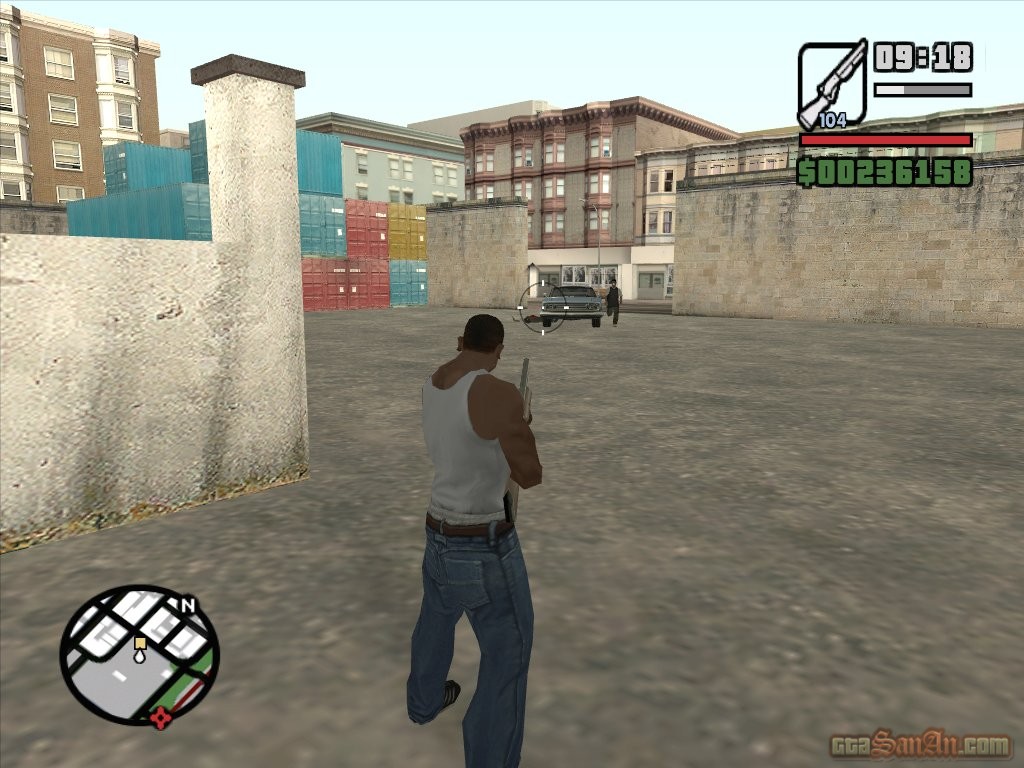
Carl is talking to Cesar on the phone. Cesar's cousin called and gave him a tip about a Ballas car heading to San Fierro to score yay. You must find out who is supplying them. Cesar picked them up at the Mulholland Intersection and is trailing them just now. Go and pick up Cesar in Red County. Get in his lowrider, and make your way to Angel Pine, where the Ballas were seen heading towards. Drive carefully as there is no rush. If you destroy the vehicle the mission is automatically failed. Stop in the red marker at Angel Pine, and go up onto the roof. Follow Cesar to the red marker. You are given a camera (with unlimited shots) and you cannot change your weapon at this point. You are looking towards the Cluckin' Bell, and your task is to photograph the face of each target. However, you must be quick. Use the R2 and L2 buttons to zoom in and out. After about 10 seconds, Ryder will enter the Cluckin' Bell carpack via the back. Once he gets out of his car, a red arrow will appear above his head. Zoom in and photograph his face. Shortly after, T-Bone Mendez will enter the carpark the same way Ryder did. Again, zoom in and photograph him when the red arrow appears. Quickly zoom out and look towards the right of the Cluckin' Bell. Here you will see Mike Toreno. Zoom in and photograph his face, and then watch as Jizzy B moves in from the left. Photograph Jizzy's face. Carl and Cesar drive to the garage down the road to avoid being seen. They split up. Notice that you still have the unlimited camera. You can keep this until you overwrite the slot or get busted/wasted.
Respect +
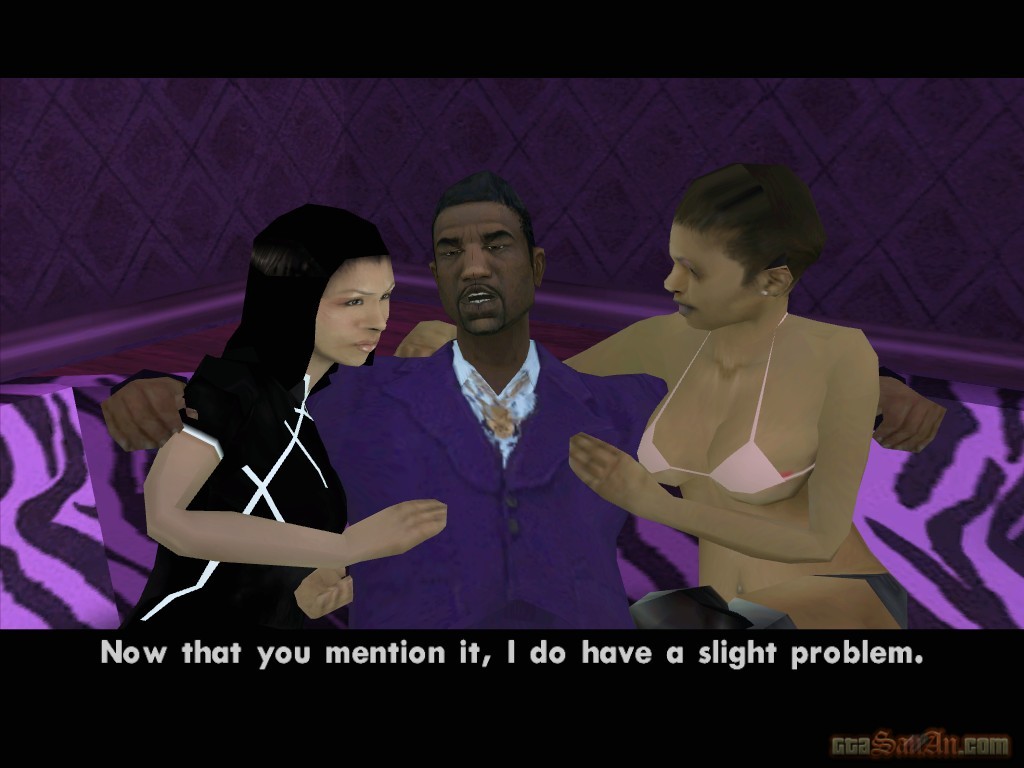
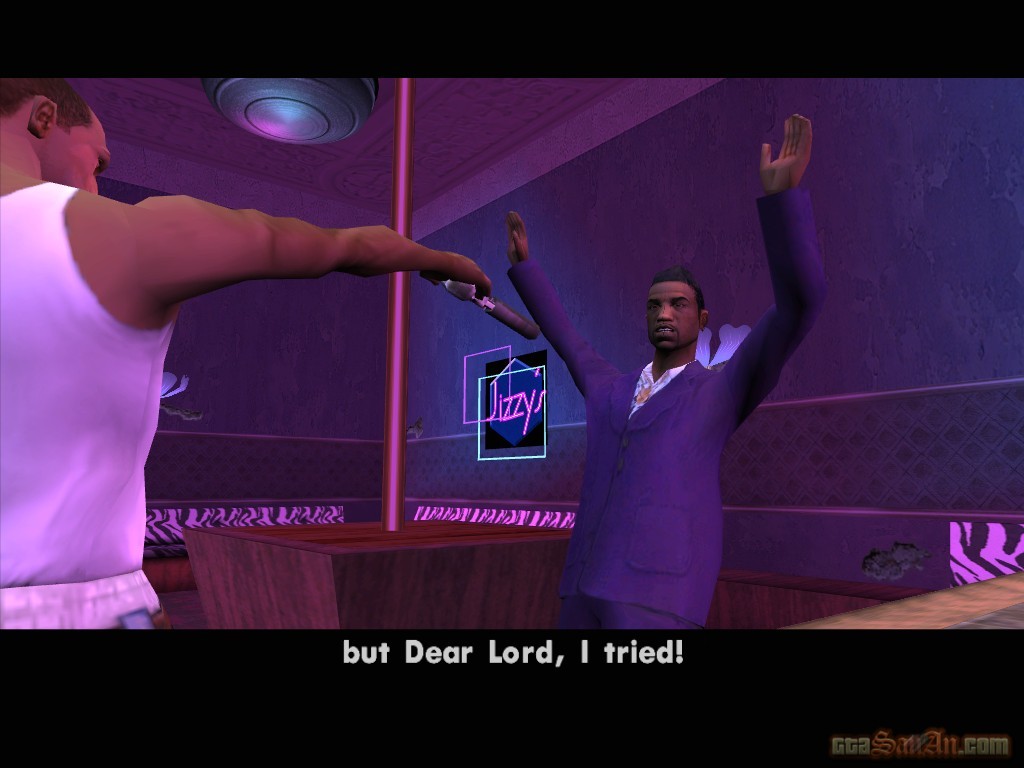
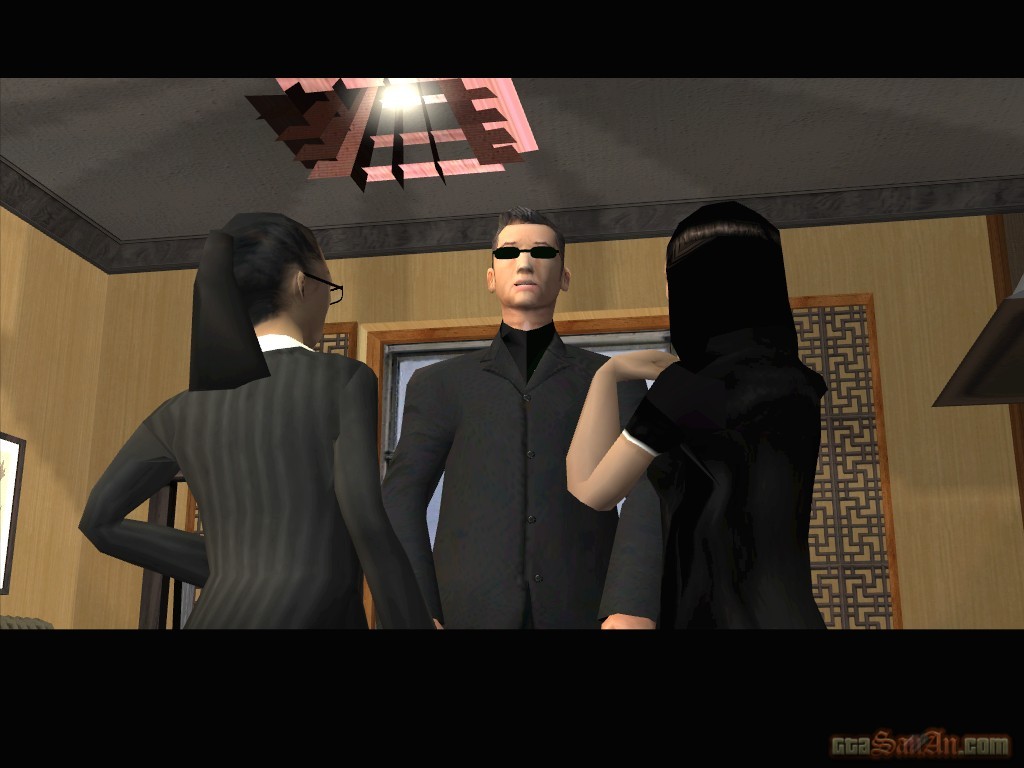
| Jizzy | |
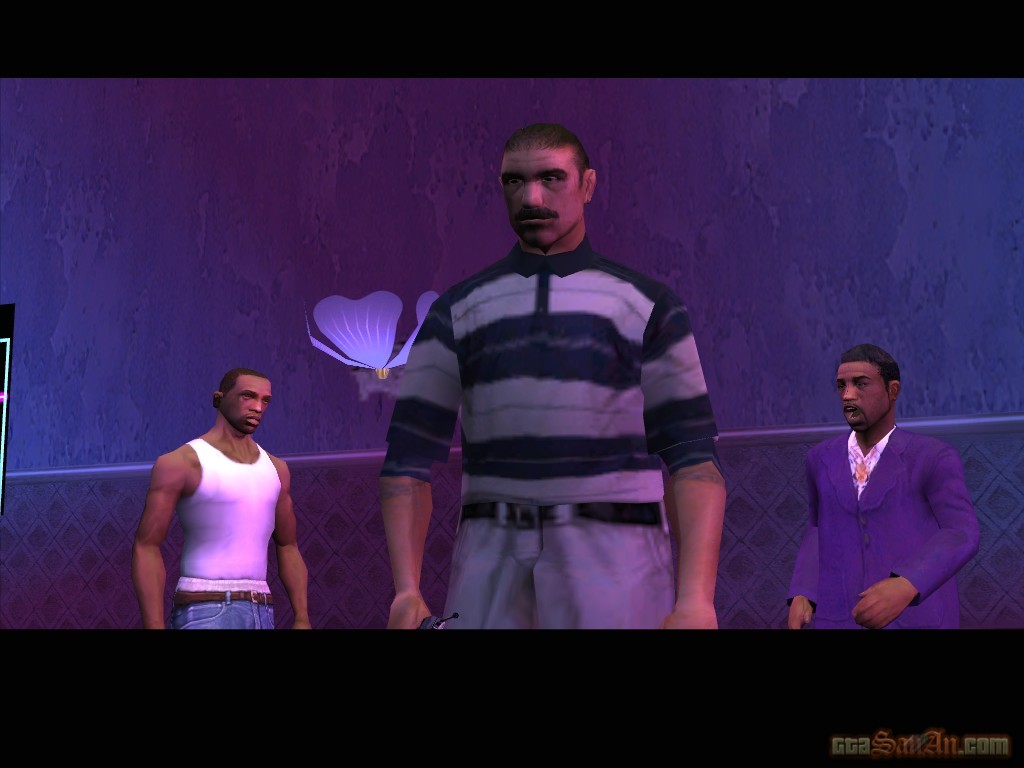
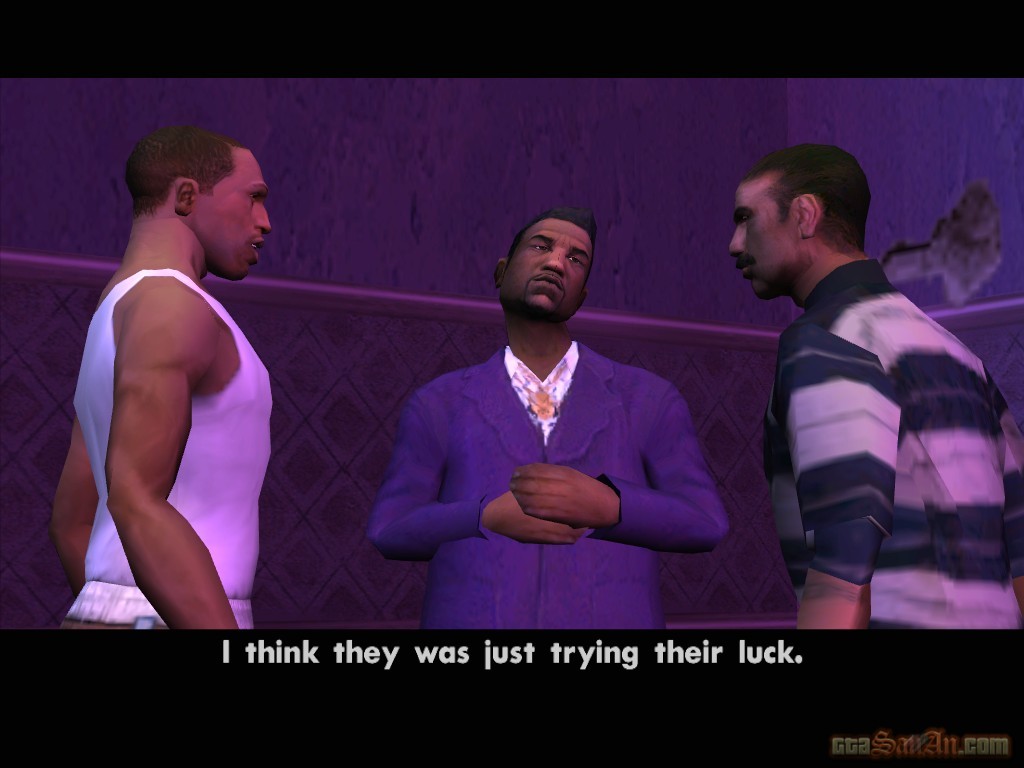
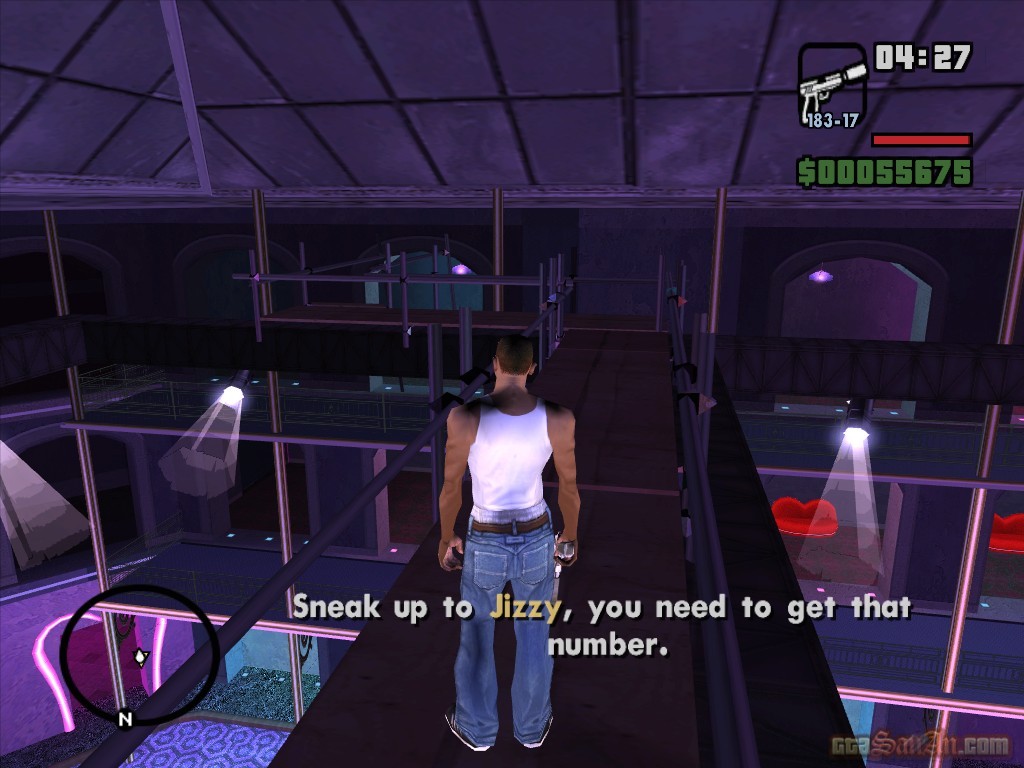
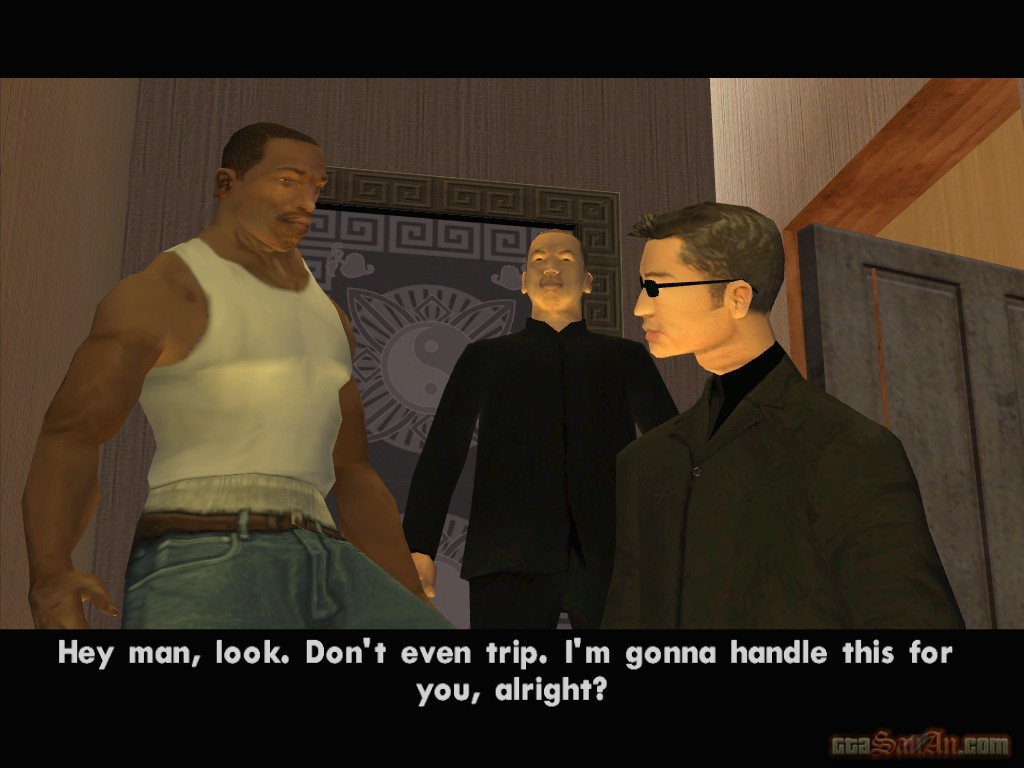
Woozie is explaining to Cesar that him and Carl are friends. Carl asks Woozie to name the people in the photos that you took. Woozie's assistant, Su Xi Mu, jumps in. Thats the Loco Syndicate, he says. The first guy (he points to Mike Toreno) runs things, but he doesn't know his name. The second is T-Bone Mendez, he's the muscle and the third is Jizzy B, the biggest pimp in town. He helps setup the deals. Woozie says that Jizzy runs the pleasure domes club in the old fortress under the Gant Bridge. Goto Jizzy's club, and stop in the red marker. Carl explains to Jizzy that he'd be willing to offer his services. Co-incidently, Jizzy needs a few jobs done. Some lunatic has been messing with his girls, and he killed two of them last week. Find out what it's all about. First, however, you must drop off one of his girls at the hotel in Downtown. Get inside the pimpmobile and drop her off. Jizzy speaks to you on the carphone. Waste the pimp in Hashburry who has been messing with his girls. Stand well away, or the pimp will run and you are forced to chase. Take him out from a distance, and get back in the pimpmobile. Jizzy calls again, and says that some of his girls in Foster Valley have been getting knuckled over. Save Jizzy's girl! A health bar appears for the ho, and you must save her before it runs out. Drive under the intersection where the ho is, and kill the two enemies. Get back in the pimpmobile and once again, Jizzy calls. Apparently you're bad luck to him. The ho that you dropped off at the hotel wants out of the business! Her sugar daddy has persuaded her to stay off the streets. Go and make an example out of them. Stop in the red marker at the hotel in Downtown, and watch as the preacher and his protection leave the building. Kill all of them, by doing a drive-by shooting. Jizzy calls and asks that you keep the car away from him, his girls and his club.
$3000, Respect +
*Woozie calls and asks you to go and see him sometime. He's running a betting store in Chinatown.
| T-Bone Mendez | |
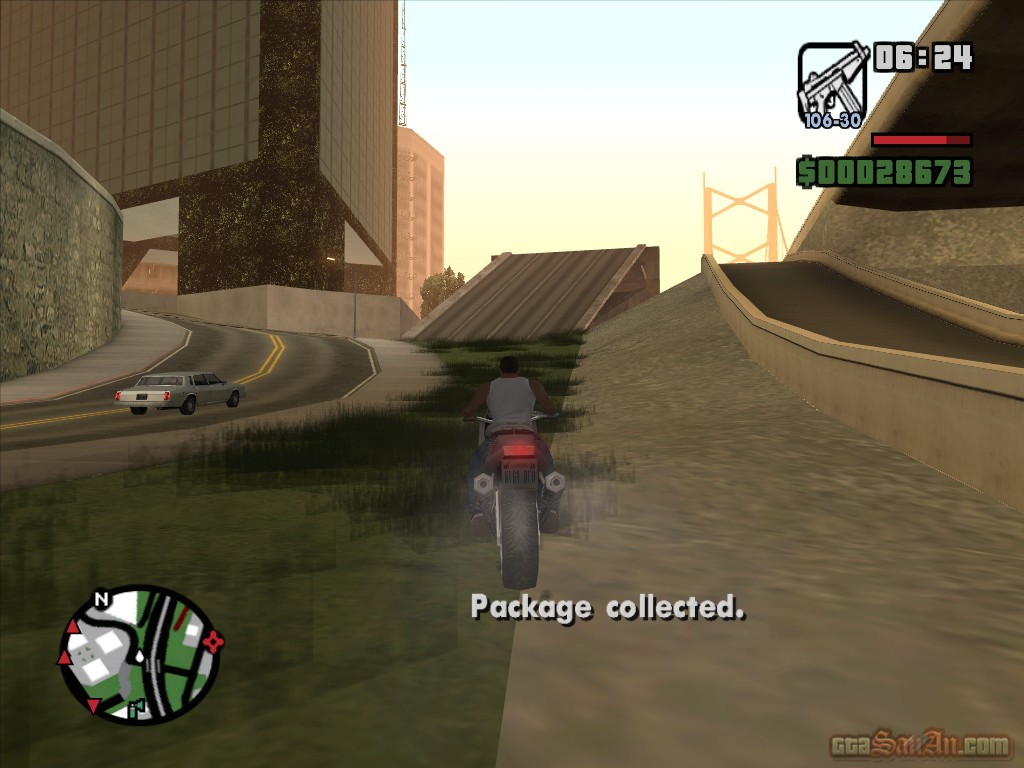
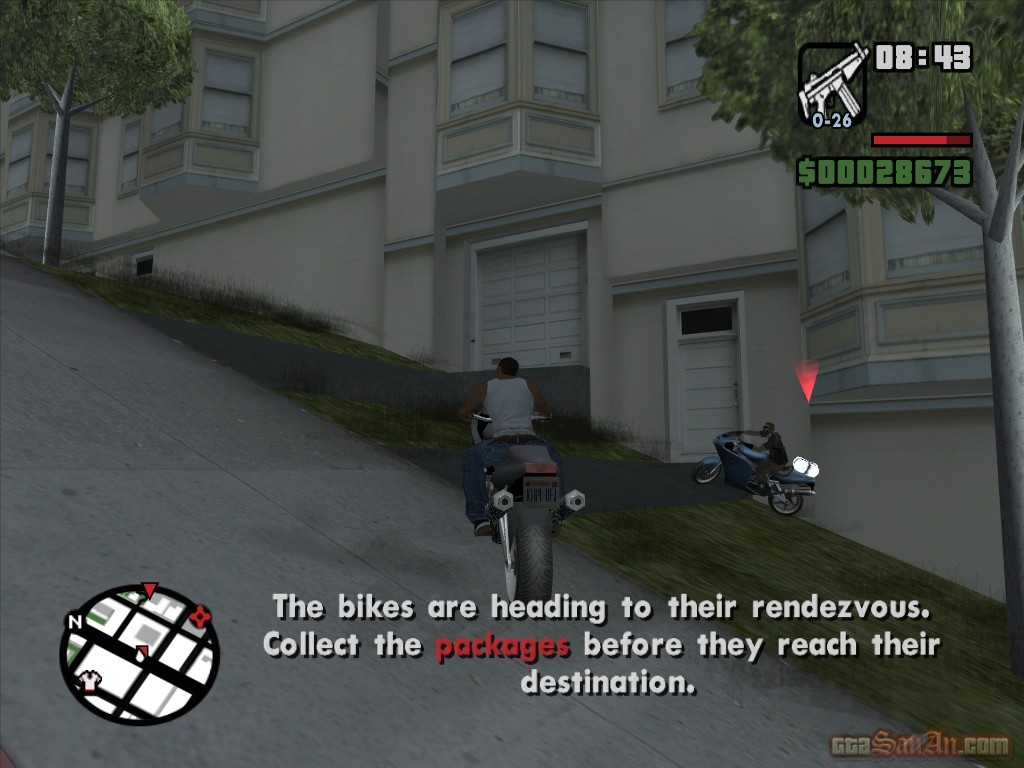
Jizzy is unhappy with T-Bone. There's 3 people involved with the deal, and Jizzy is only getting 20%. T-Bone recieves a phonecall, and apparently the shipments have been ambushed. Get to the ambushed van at the Garver Bridge. The thieves escape on bikes. There are 4 altogether. Grab the bike that is there, and give them a chase. When you are close to the enemy, press L1 to snatch the package. Collect all 4 packages and take them back to Jizzy's club, but be careful as the thieves will continue to chase and attack you.
$5000, Respect +
| Mike Toreno | |
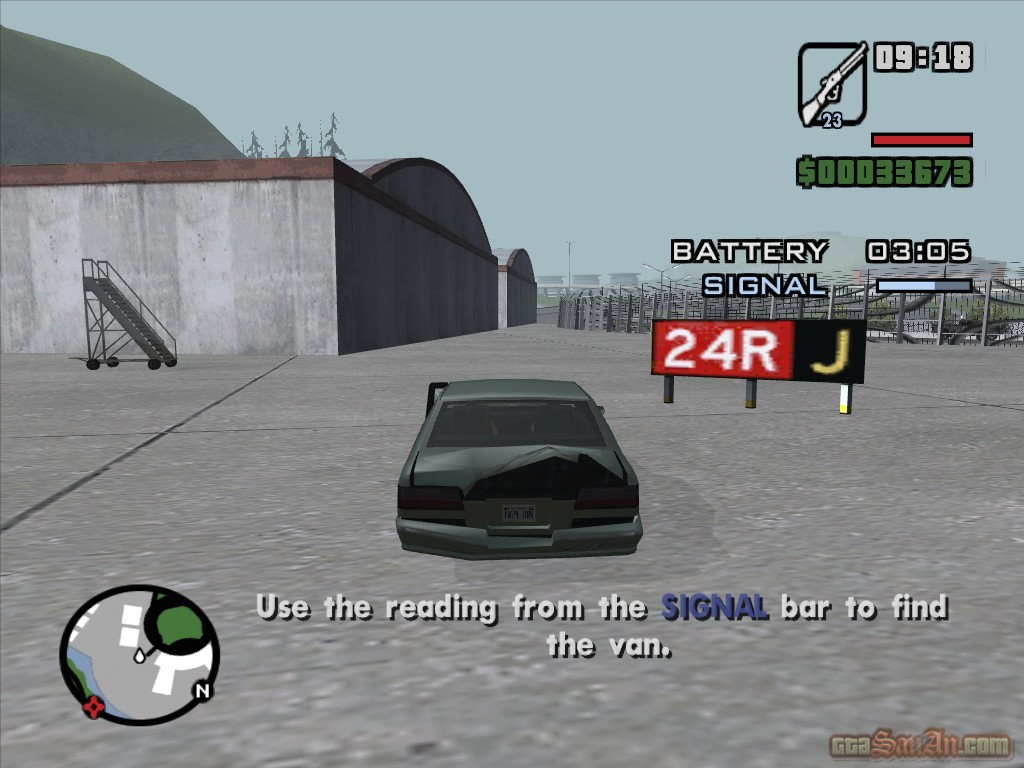
After that last bit of trouble, T-Bone is convinced that somebody is onto them. Mike Toreno calls T-Bone, and apparently he is in trouble. T-Bone tells Carl and Jizzy what's happening -- some thieves have taken the yay shipment and the van, and Mike is still inside. After the cutscene, a timer will appear on-screen lasting 5 minutes and 30 seconds (thats 5 and a half game hours). This is the length of time that Mike's phone battery will last. Mike is giving details to T-Bone, and its your job to drive to the locations that Mike is describing. Firstly, he says that he can hear seagulls and heavy machinery, so they suggest the building site in Doherty. However, ignore that order and head straight towards Easter Bay Airport. On the way there, Mike says that he can hear a truck reversing, so your second target would be the docks down in Easter Basin. Again, ignore that and continue heading towards the airport. The gates are already open by the time you arrive, so head in, go through the tunnel, and onto the runway area. At this point the battery timer will have stopped. T-Bone explains that, after the last attack, Mike hid a transponder in the white. Use the reading from the signal bar to find the van, with Mike inside. The van is towards the east of the airport. As you approach, the thieves will drive away -- a van and two bikes. They drive towards the north of the airport, and stop. If you have a rifle or a sniper rifle handy, stop, get out of your car and stand at a large distance from the van. shoot off the bikists, and get back in the car. Drive towards the van and suddenly 4 guards (Da Nang Boys) will attack. Simply run over them, or get out of the vehicle and kill them with the help of T-Bone. After the 4 guards are eliminated, Mike exits the back of the van. You must torch the van with the white still inside. Unfortunately, Mike and T-Bone don't actually cause damage to the van, so it's upto you. Throw a molotov towards the van, if you have one, but if not, use whatever it is available (if you don't have any weapons, you can ram it off the edge of the airport and into the water). You automatically gain 2 stars. Get inside the limousine with Mike and T-Bone, and exit the airport. Drive through the red marker and you will now have 3 wanted stars. Make your way to the Pay n' Spray to lose the heat -- Mike and T-Bone will perform drive-by shootings as you do so. Get back to the pleasure domes and stop in the red marker.
$7000, Respect +
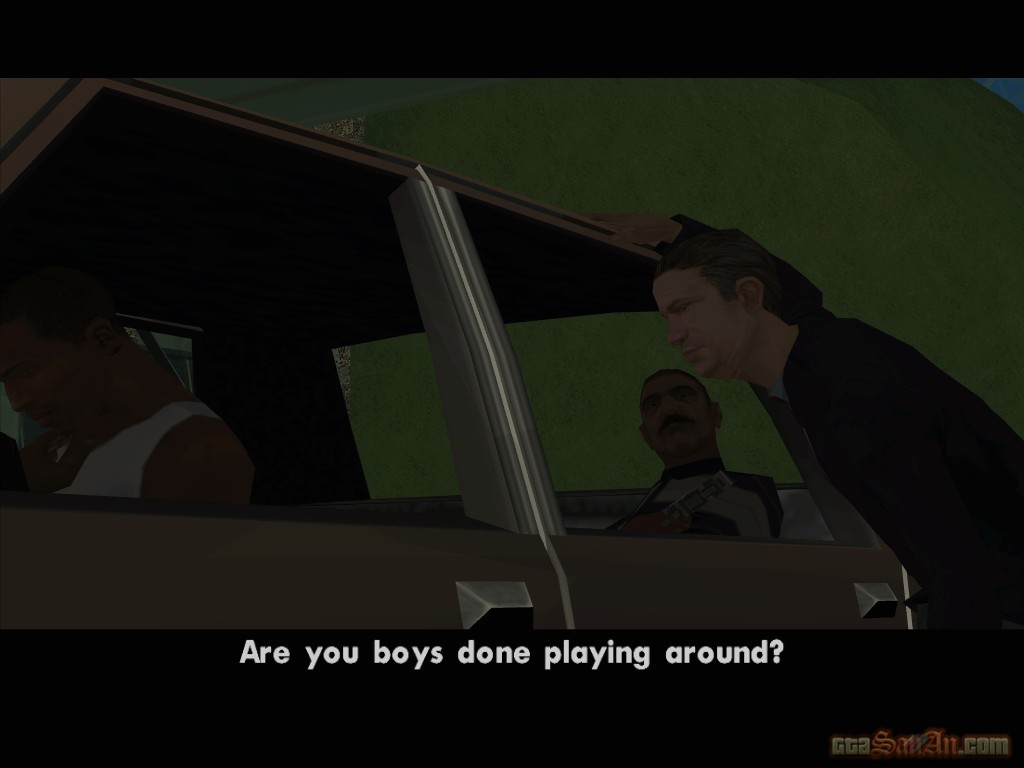
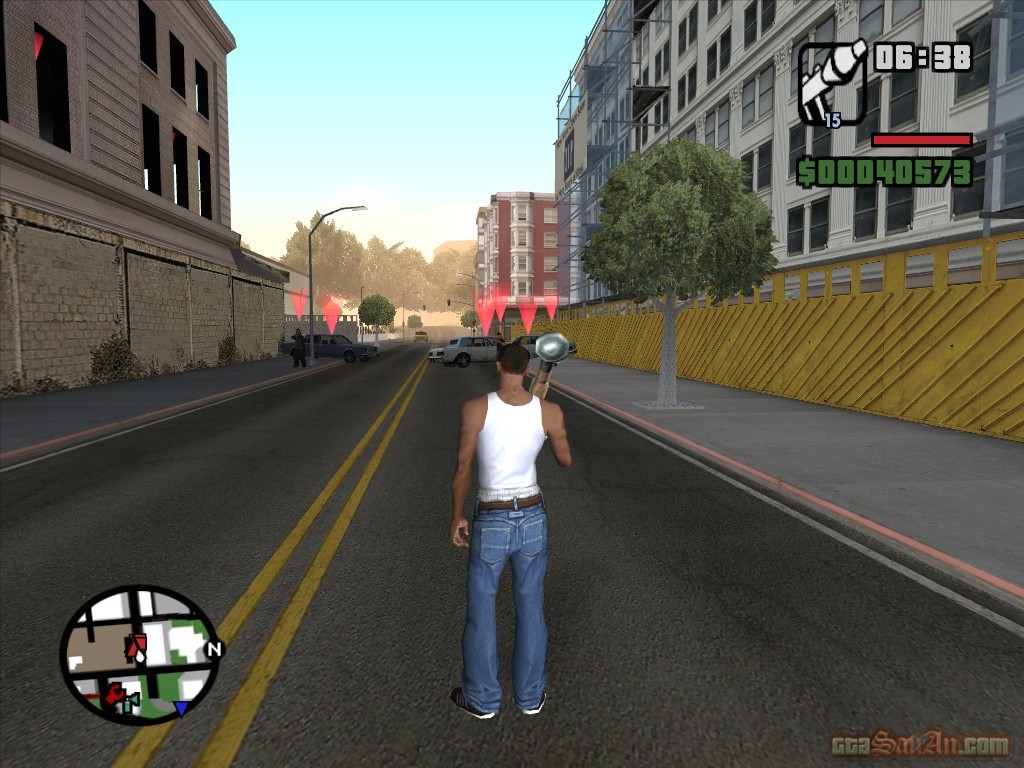
| Outrider | |
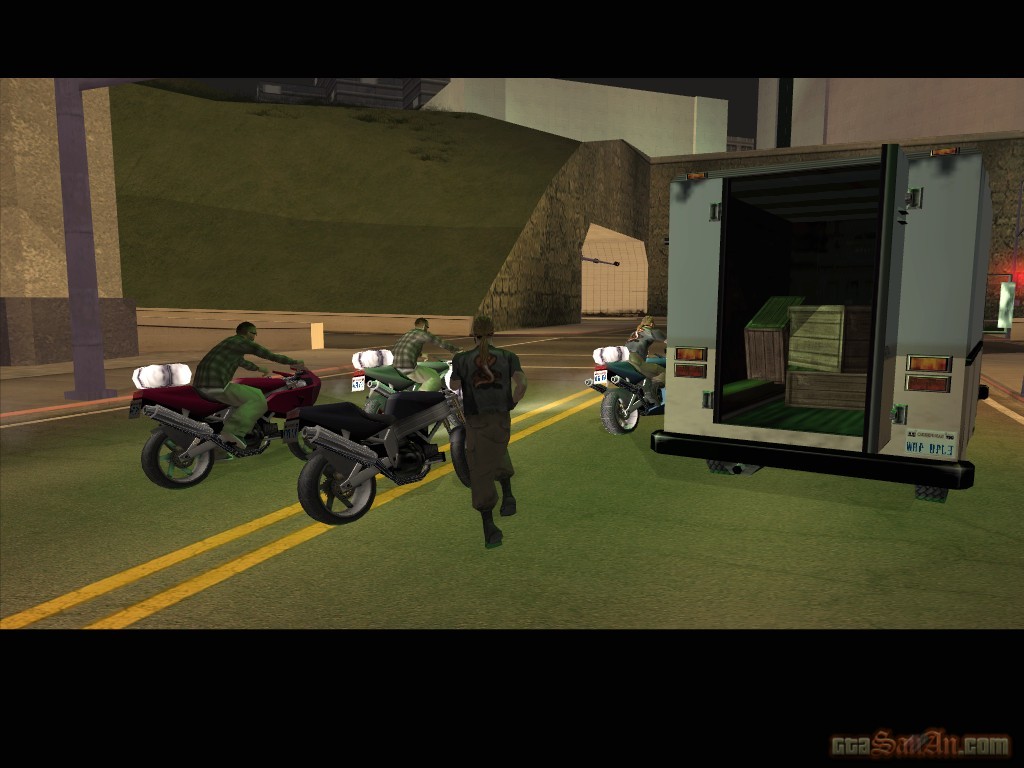
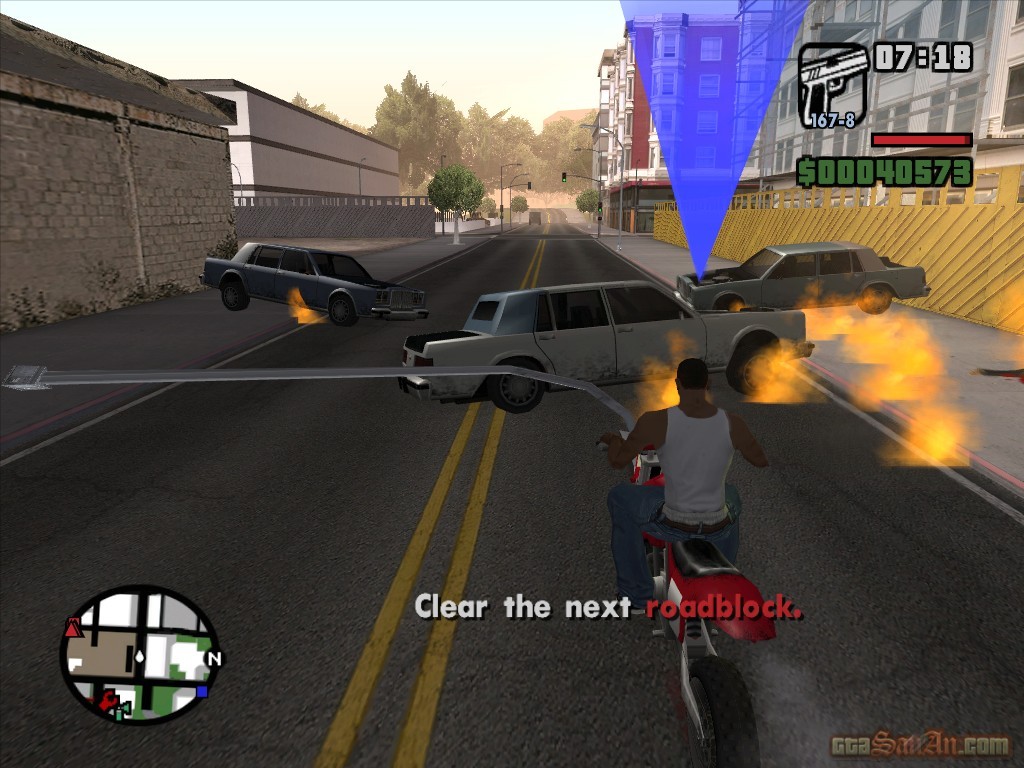
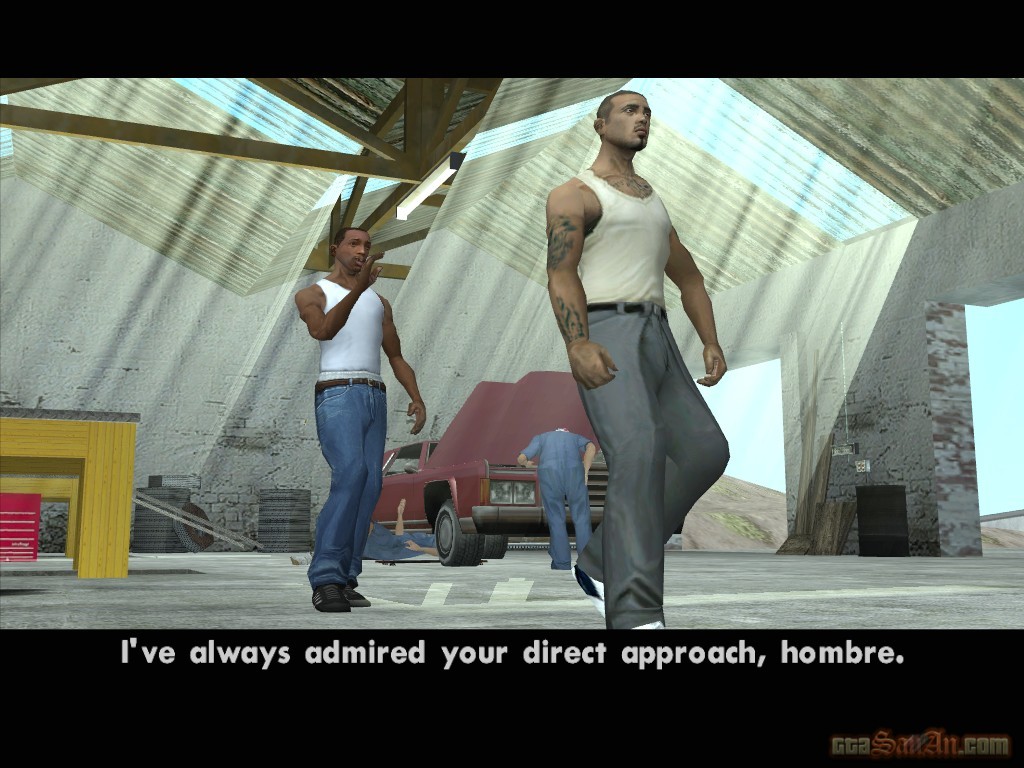
Collect this mission at the garage in Doherty. Jizzy calls - his business associates need some assistance, so meet them at the gas station next to the docks in Easter Basin. T-Bone will be waiting for you in a 4-door sedan. Carl approaches the car, and discovers that there is nobody inside. Suddenly, T-Bone attacks from behind and forces him to say who he's working for. Carl refuses, and makes it clear that he's only in this for a bit of extra cash. Mike arrives -- it's time to meet the shipment. Drive to the van's location and stop in the red marker. T-Bone and Mike warn you that they will be watching. Pick up the rocket launcher and get on the escort bike. Your task is to destroy the roadblocks so that the van can drive safely to the factory. Luckily for you, the van drives very slow, and your bike is very fast. Make your way to the first road block, near the Garver Bridge. Take out the roadblock before the van arrives. Use the rocket launcher to destroy the gang members and their vehicles. Each enemy has a red marker above his head. The next roadblock is straight forward and towards the right. Again, eliminate the enemy to let the van drive through. Watch out for the two enemies standing on the remains of a building. There's no need to go up there, just use the rocket launcher and shoot at them from the ground. Destroy the final road block, which is just around the corner. Again, look out for the enemies that stand on the remains. Make sure the van reaches its destination safely, to complete the mission. Completing this mission will earn you 3 wanted stars, and a C.R.A.S.H mission is now available.
$9000, Respect +
| Snail Trail | |
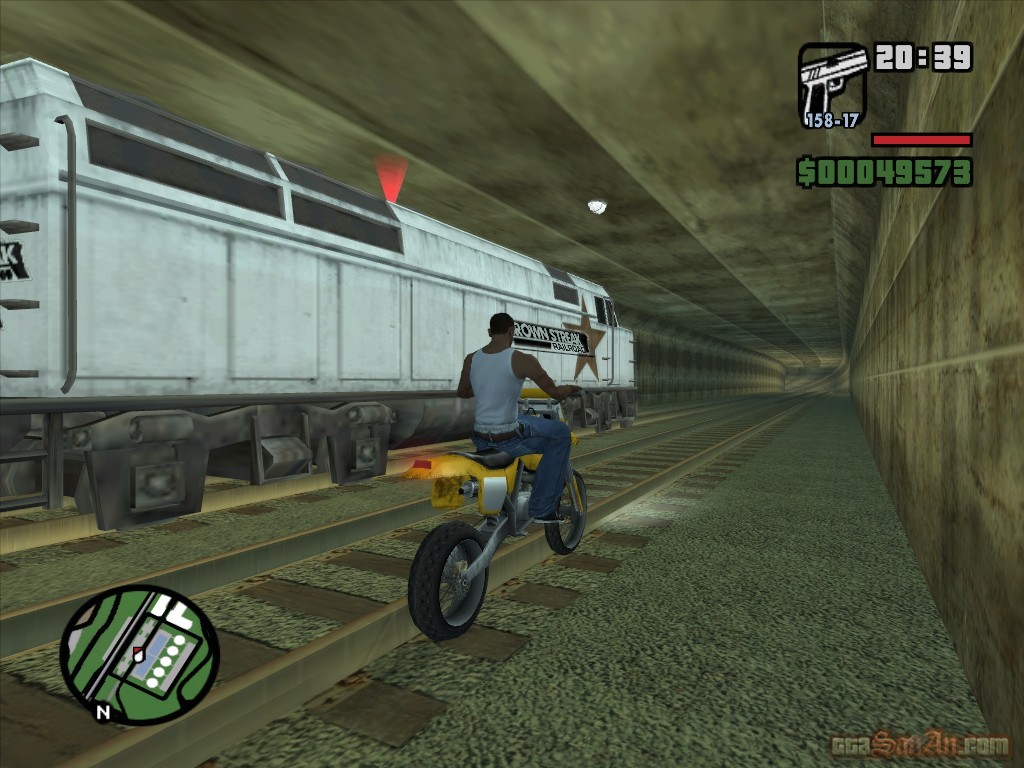
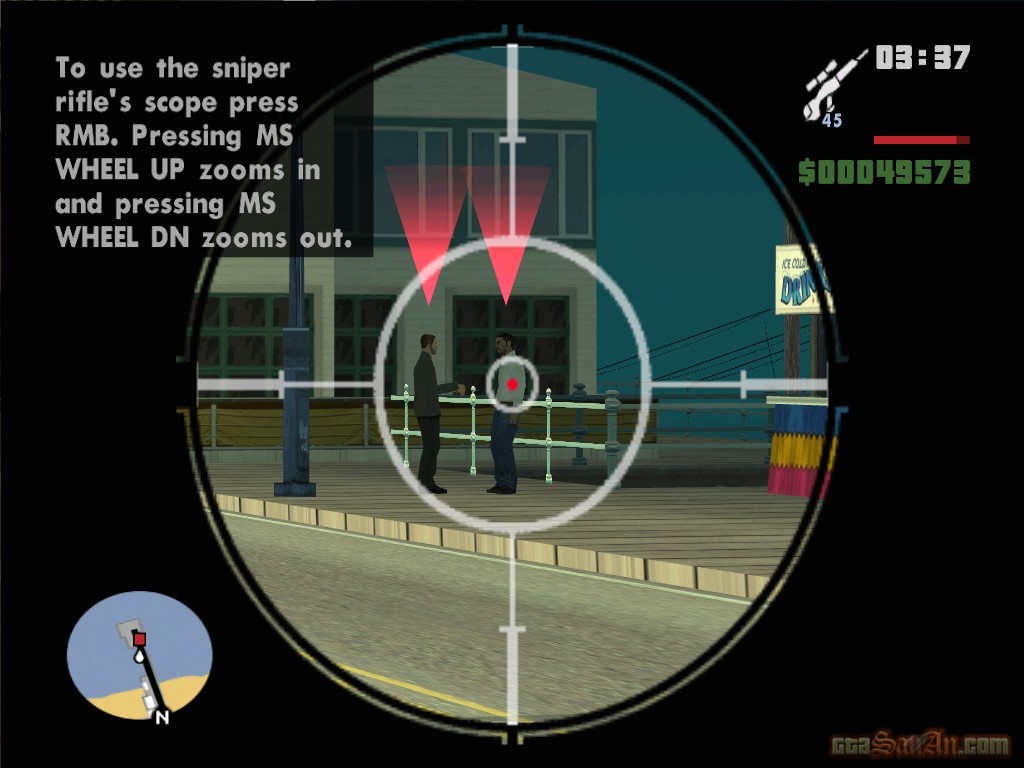
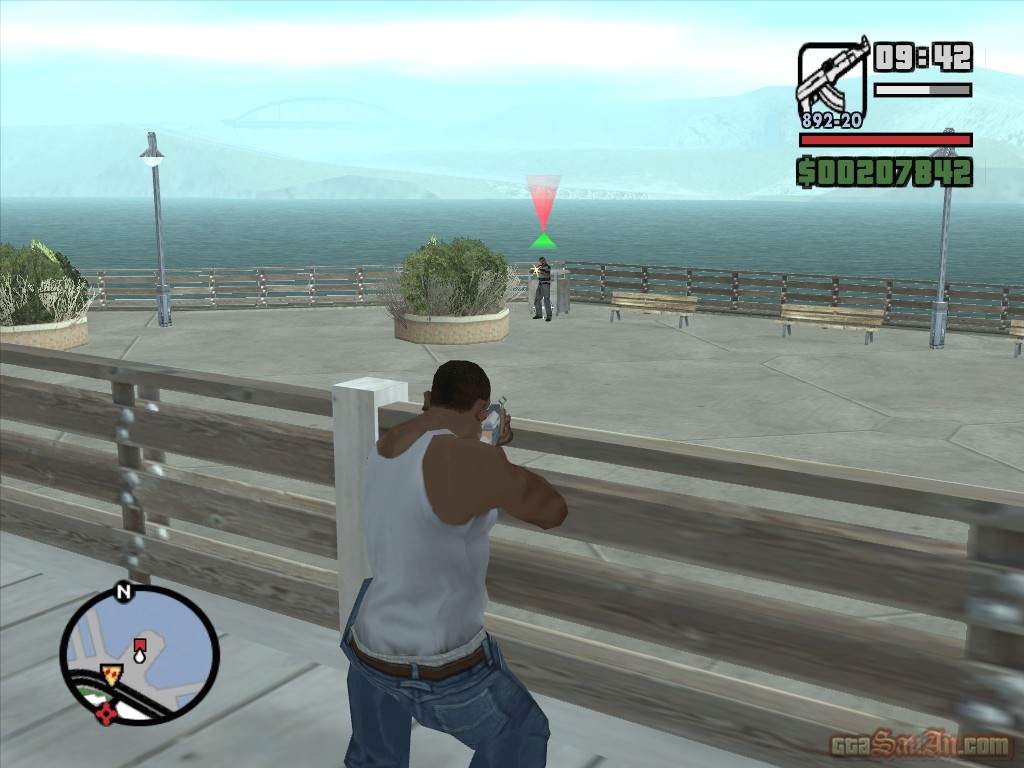
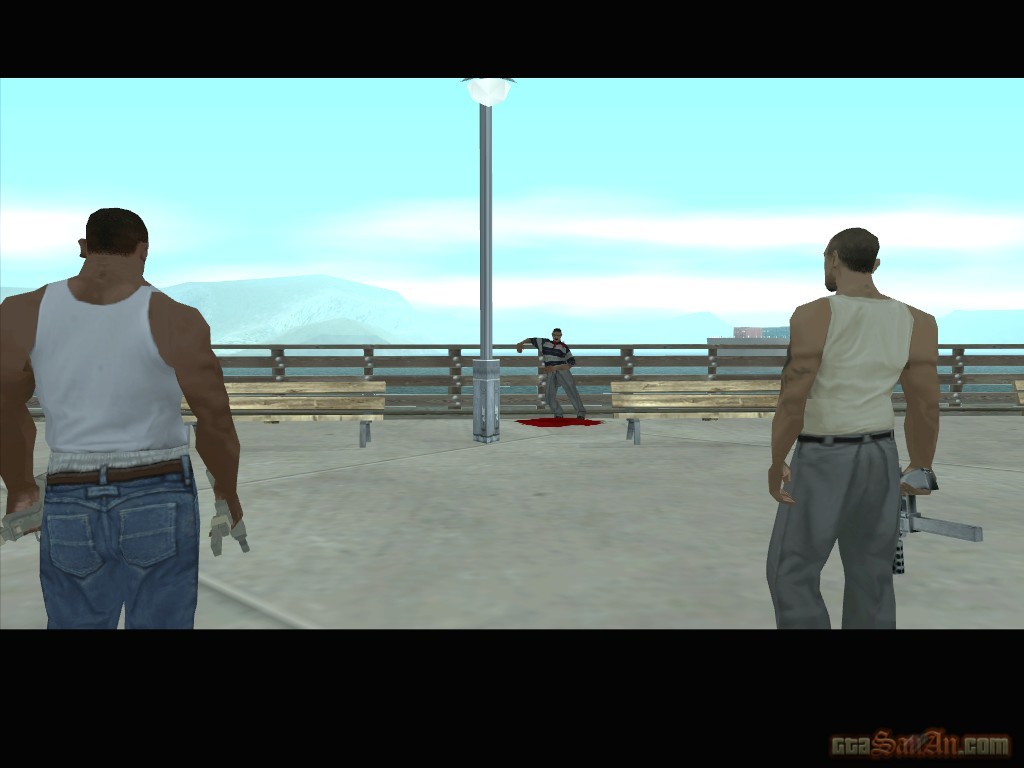
Tenpenny and Pulaski are waiting for you at the garage. They have job for you. There's a young journalist trying to make a name for himself by taking down C.R.A.S.H. Your task is simple - shut him up. Pulaski also wants you to kill the person who has been digging up dirt on him. He's meeting the reporter in Los Santos. Tenpenny has hidden a sniper rifle in the construction yard near by - go and pick it up. The reporter is at Cranberry station. Head over there, and the train will begin to move. The reporter is on the train. Grab a vehicle (a bike, preferrably) get on the tracks and follow the train to Market Station, Los Santos. Watch out for the oncoming trains, and take it easy at sharp turns (on bridges) or you may not be able to get back on the tracks. When you arrive at Market Station, go outside and a spook-o-meter will appear on-screen. You must stay at a reasonable distance from the reporter or he will cancel the meeting and the mission is automatically failed. He'll fetch a taxi. Pickup his trail and follow the reporter to the target. The meet is at the end of the Santa Maria pier. When you reach the pier, assasinate the targets using the sniper rifle.
| Ice Cold Killa | |
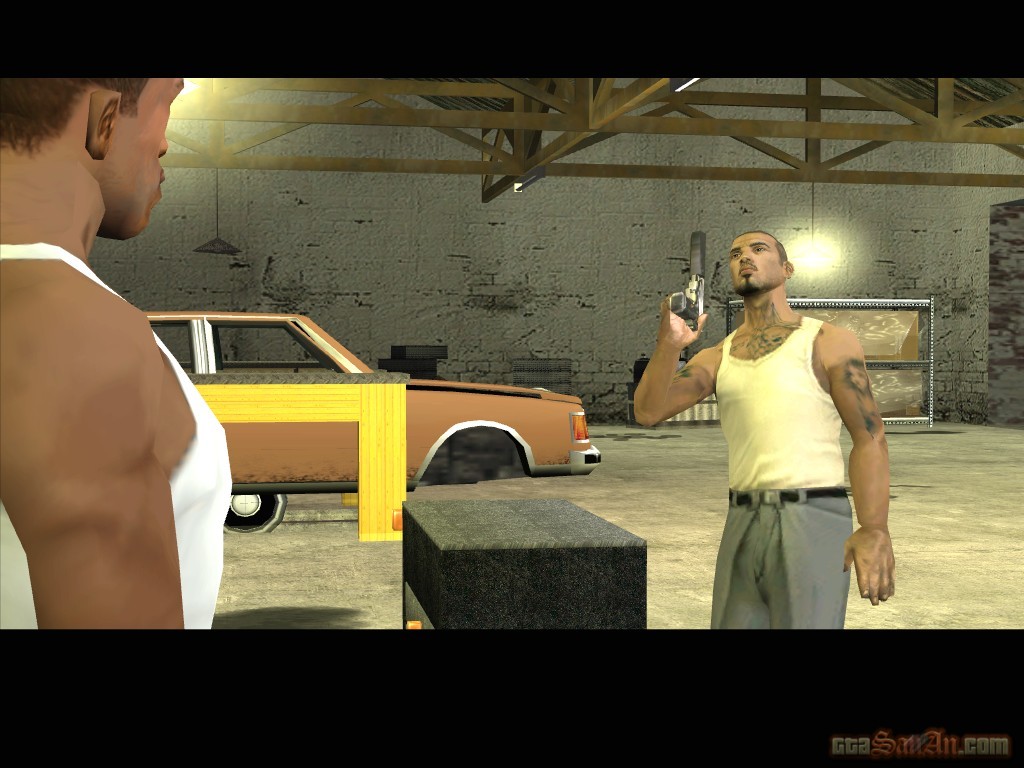
This mission can be taken between 20.00 and 06.00, at the Doherty garage. CJ runs into the garage and searches for an item he hid earlier. Cesar greets him, and asks what the problem is: Woozie left him a message -- he has to get Jizzy's phone after he makes the call so that he can ambush the meet and take down the Balla pushers from Los Santos. Carl wanted a silencer to do the job, but Cesar gives him his own. Go and pay Jizzy a visit at the pleasure domes club. There are two limousines (it might be worth taking one of these and storing it in your garage, as this is the only time you will see a black limousine) and a pimpmobile parked at the club. Drive the pimpmobile around to the back of the pleasure domes club, and puncture all of the tires. Now go back and speak to the guards. It's private function only, so you can't get in through the main entrance. climb the stairs towards the left of the car park, and jump onto the roof of the pleasure domes club. Enter the club via the skylight. Go and meet Jizzy. He announces to his friends that he's about to make the "special call". Carl holds a gun to his head, and Jizzy begs for his life. A shootout begins, and Jizzy escapes from the club. Nevermind Jizzy's goons, run towards the exit and leave the club. Jizzy and his bodyguard will go to the back of the club and enter the pimpmobile. Because we punctured his tires earlier, it shouldn't be too hard to catch him. Simply pull him and his bodyguard out of the vehicle, and kill Jizzy. Collect the phone. Carl calls Cesar and tells him to meet at Pier69 - it's time to take down the Loco Syndicate.
$12000, Respect +
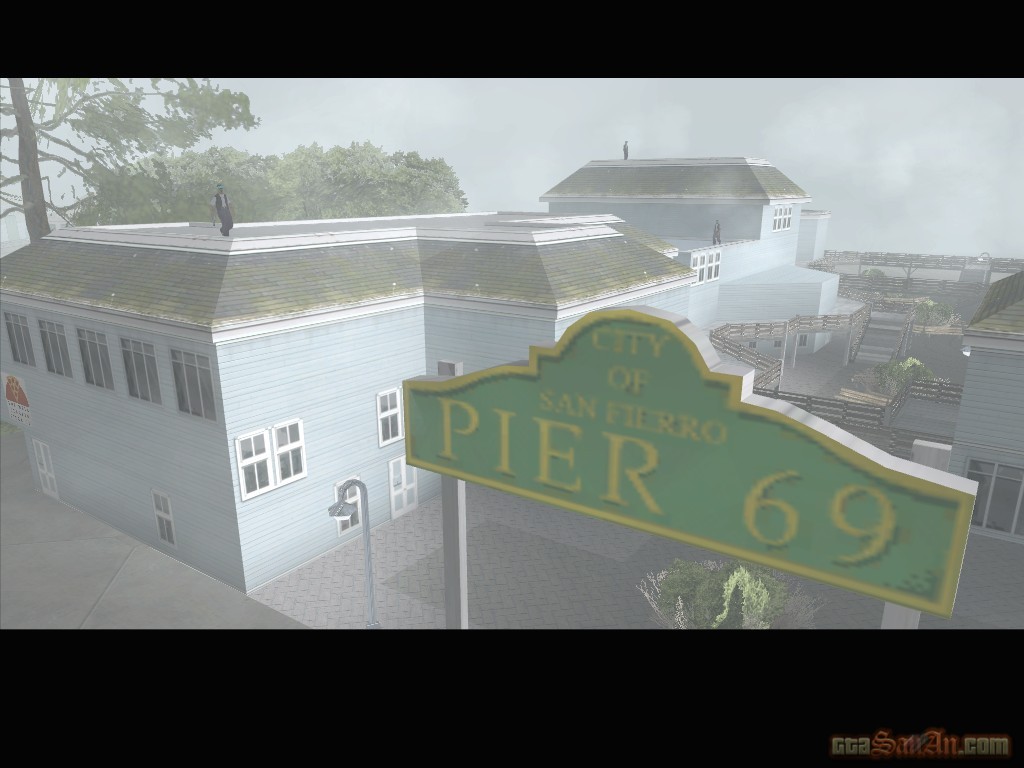
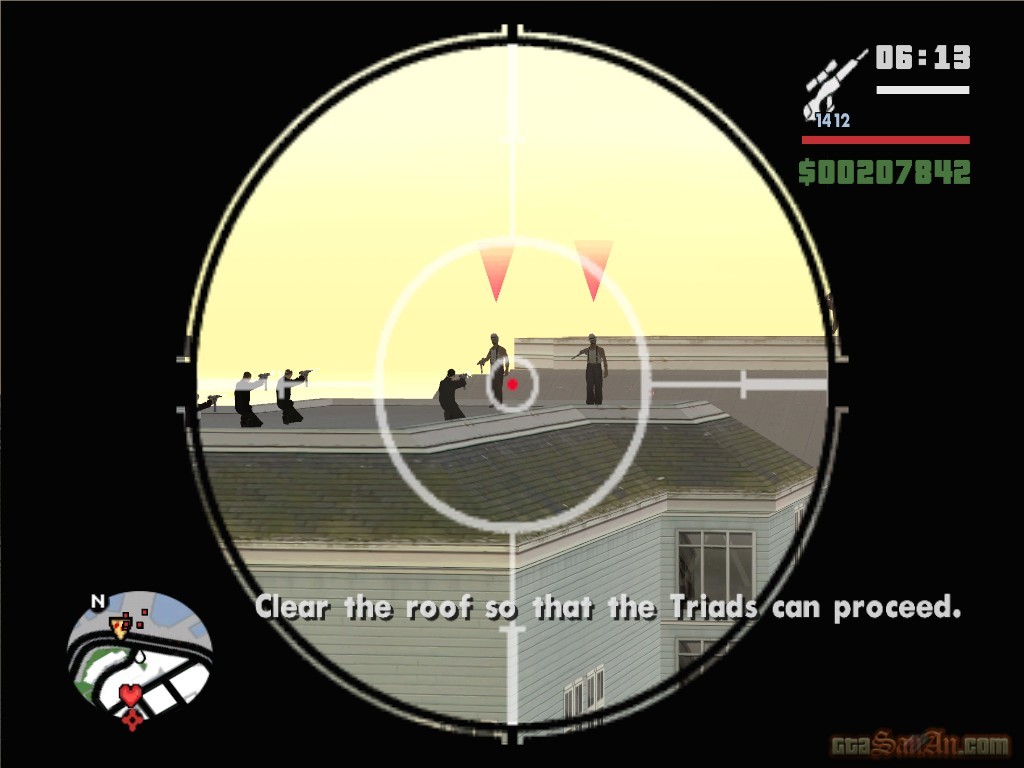
| Pier 69 | |
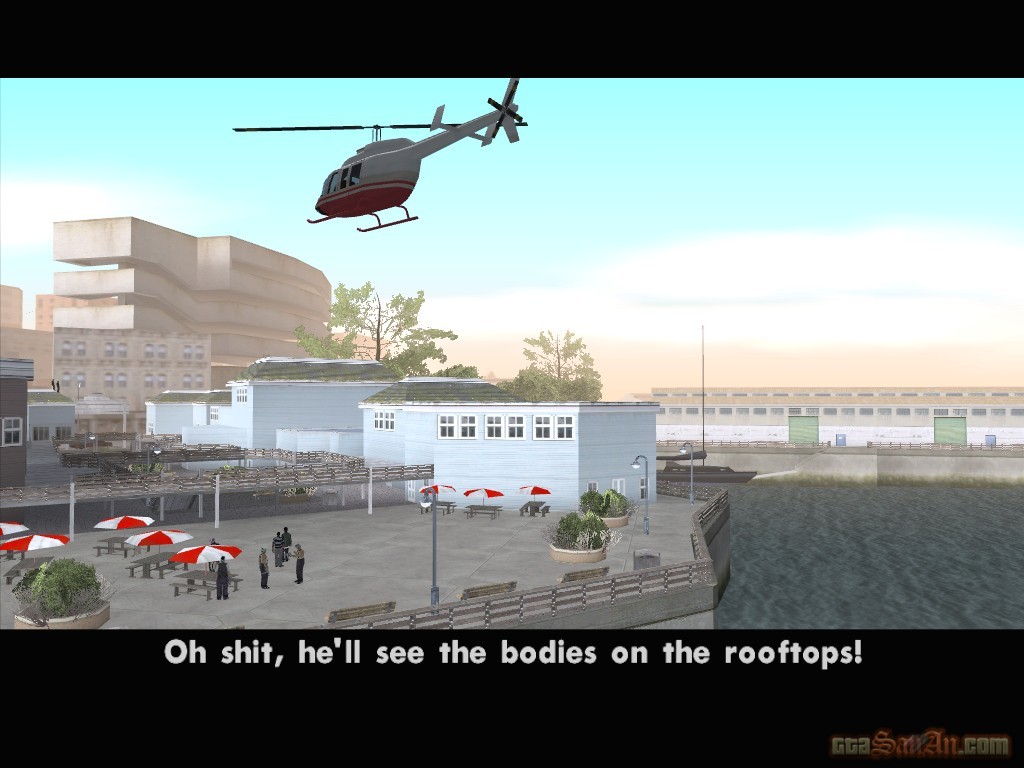
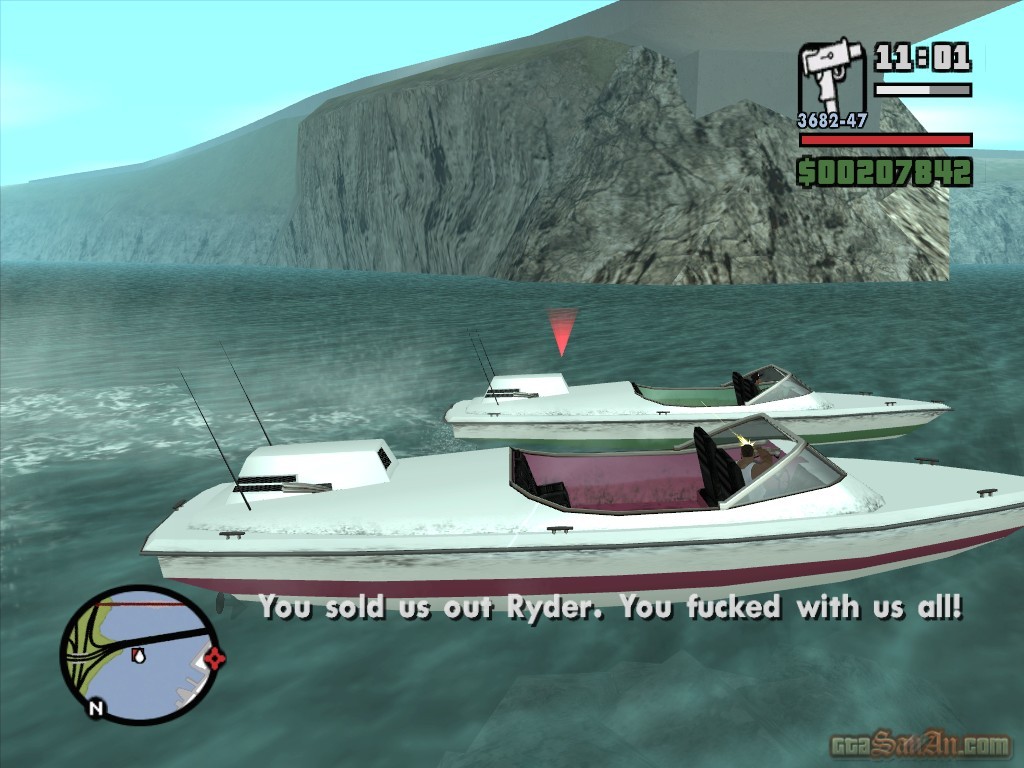
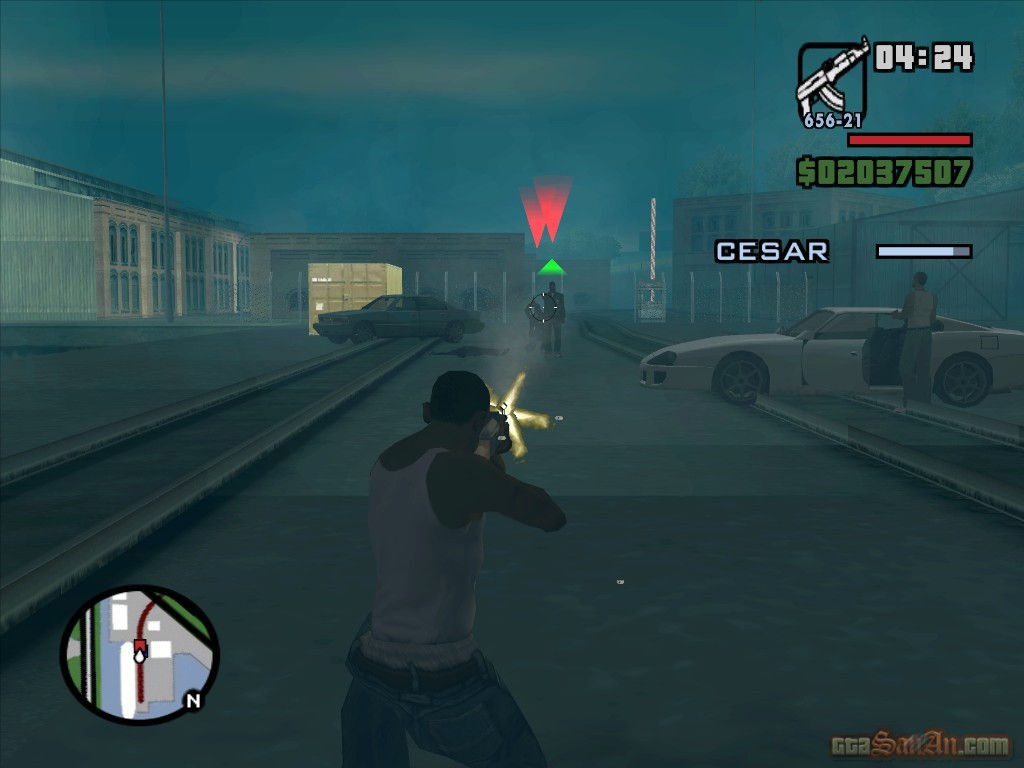
Cesar is waiting on the roof of the building. Go upstairs and meet him -- walk through the entrance at the right hand side of the building to find the stairs. Cesar gives you a sniper rifle. T-Bone's security have arrived early, they are on the roof overlooking the pier. Ryder arrives with some of his Balla friends. Woozie's boys are in place, and they head up onto the roof. Use the sniper rifle to clear the roof so that the Triads can proceed. A chopper arrives -- it must be Toreno. Unfortunately, Toreno will see the dead bodies on the roof and warn the others. Smoke grenades are thrown, and all hell breaks loose. Your task is simple -- kill T-Bone Mendez. Go down the stairs with Cesar and head towards the pier. The rifa will constantly attack and protect T-Bone. There are some Ballas up ahead. T-Bone's weapon can cause a lot of damage very quickly, so act fast. A cutscene begins -- Carl and Cesar finish him off, and he falls over into the water. Ryder miraculously dives off the edge of the pier, and swims towards the island. He'll try and escape in a boat. Swim after Ryder, and grab the other boat that is available. You can perform a drive-by shooting whilst in the boat, to kill Ryder.
$15000, Respect +
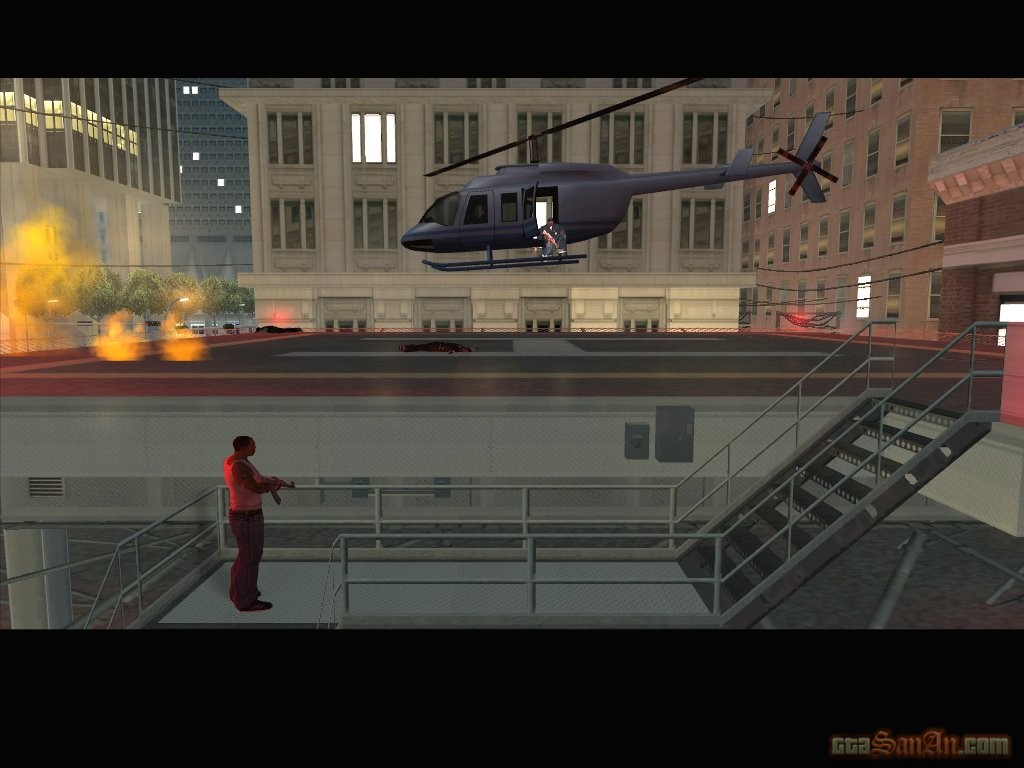
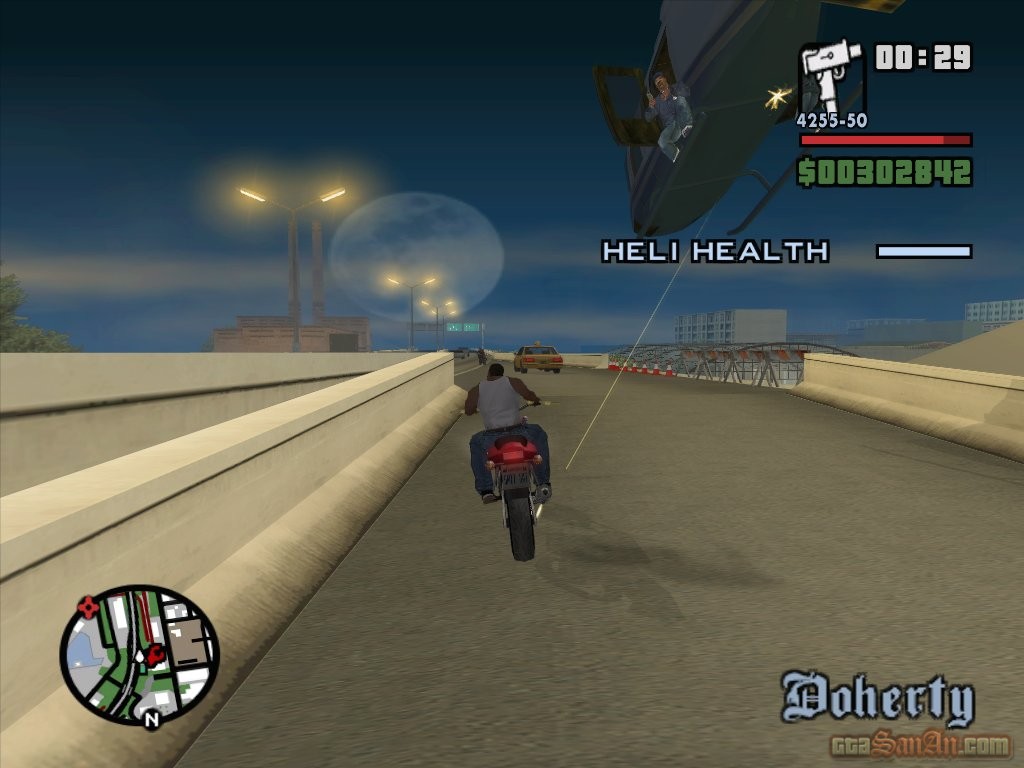
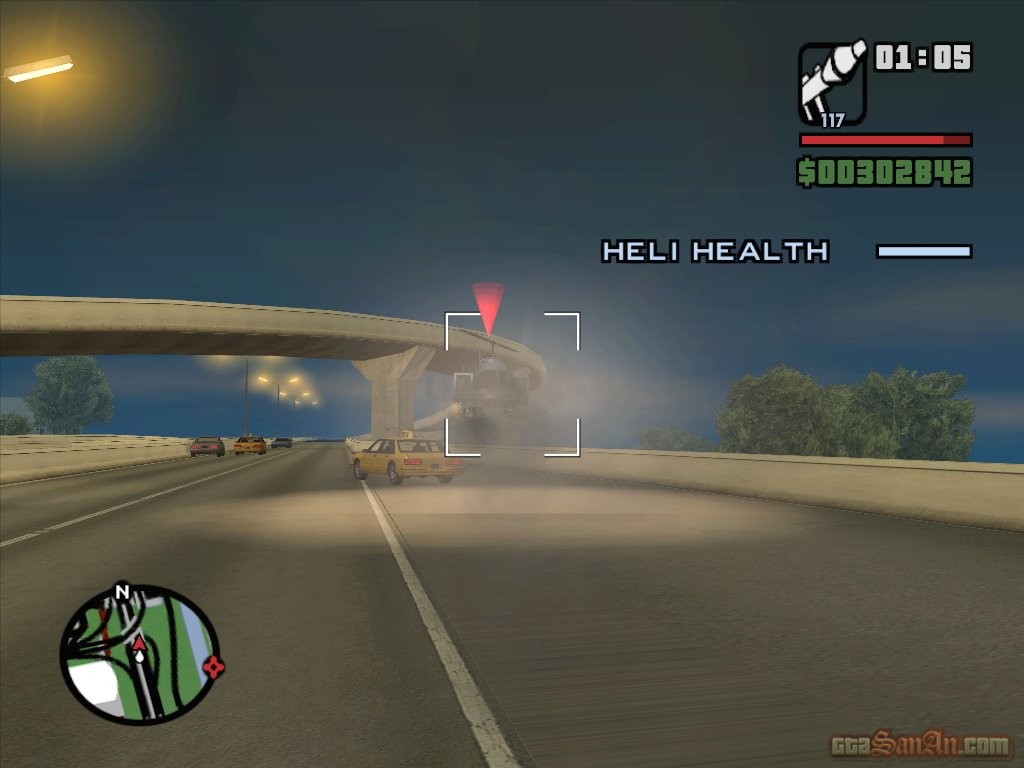
| Toreno's Last Flight | |
Woozie calls. One of his men found the van that you were looking for -- it's by the helipad in Downtown San Fierro. Toreno is there also. Apparently he is about to take some merchandise and cut out by helicopter. Your task: Toreno's boarding a chopper at the helipad nearby -- get there and stop him! As you arrive, 2 rockets are fired in your direction, but it's very doubtful that they will hit you. Kill any attackers, and head towards the chopper. It takes off. Grab a rocket launcher (there are 2 situated on the helipad) grab a vehicle and chase the chopper. Get onto the freeway. The chopper is fairly slow, so you don't necessarily need a fast car. Drive a long distance in front of the chopper, get out, and shoot it down as it flies towards you. Watch out for the shootists at each side of the chopper. One shot should do it. There's no way Toreno could have survived that, says Carl. But we'll see.
$18000, Respect +
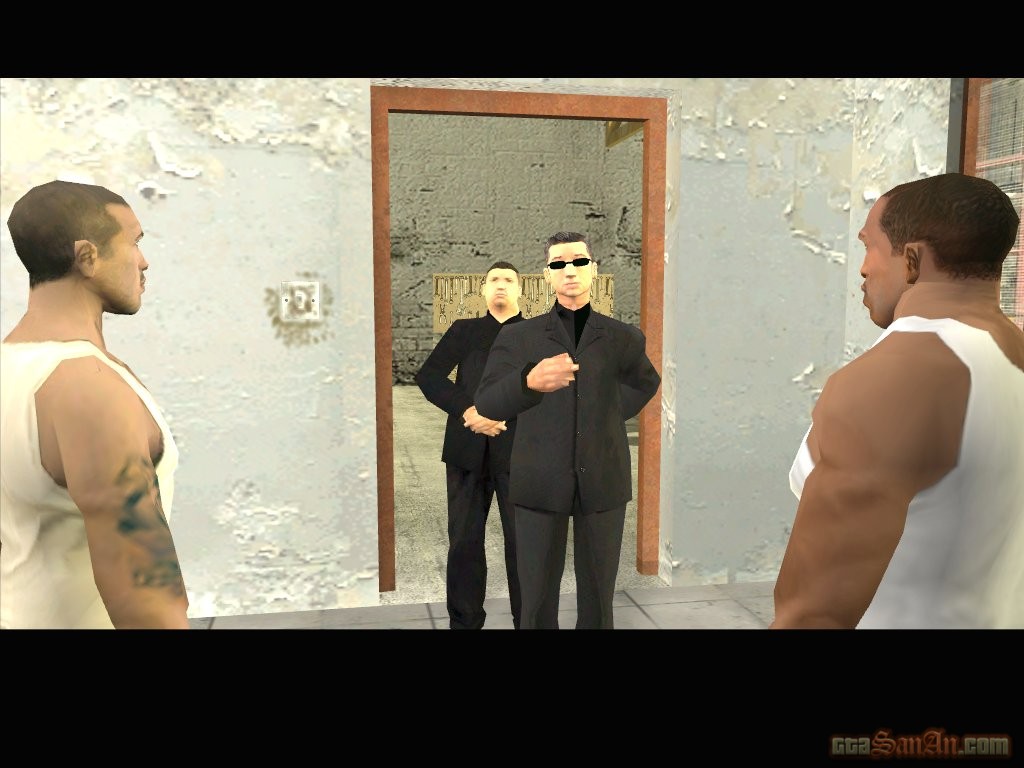
| Yay Ka-Boom-Boom | |
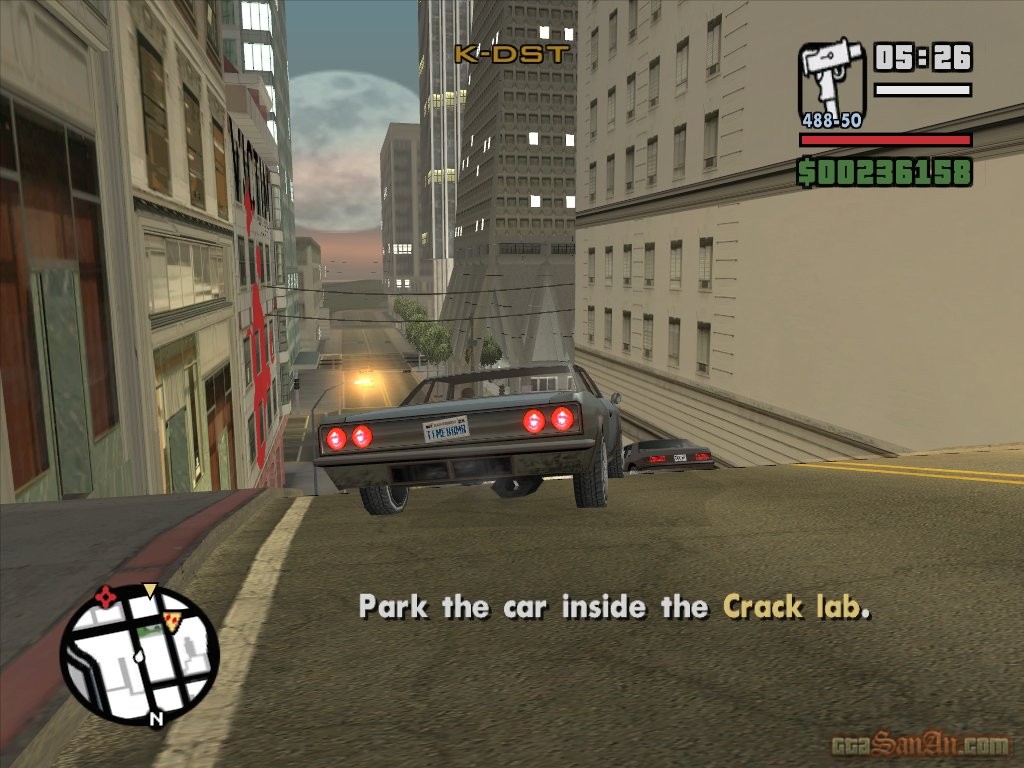
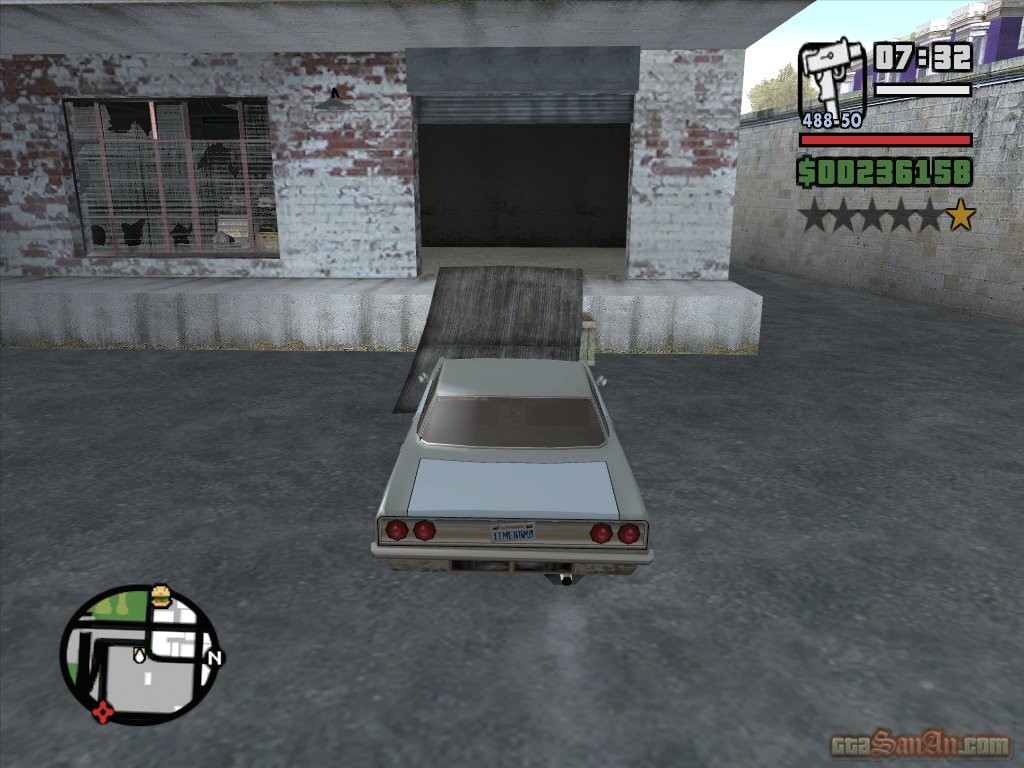
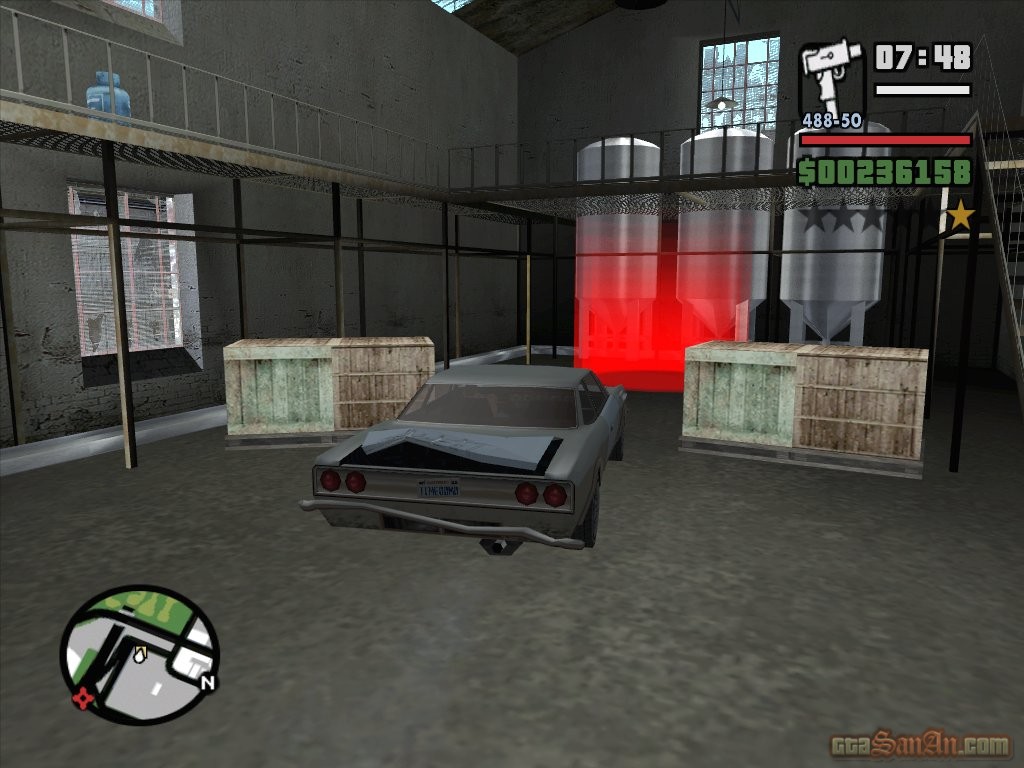
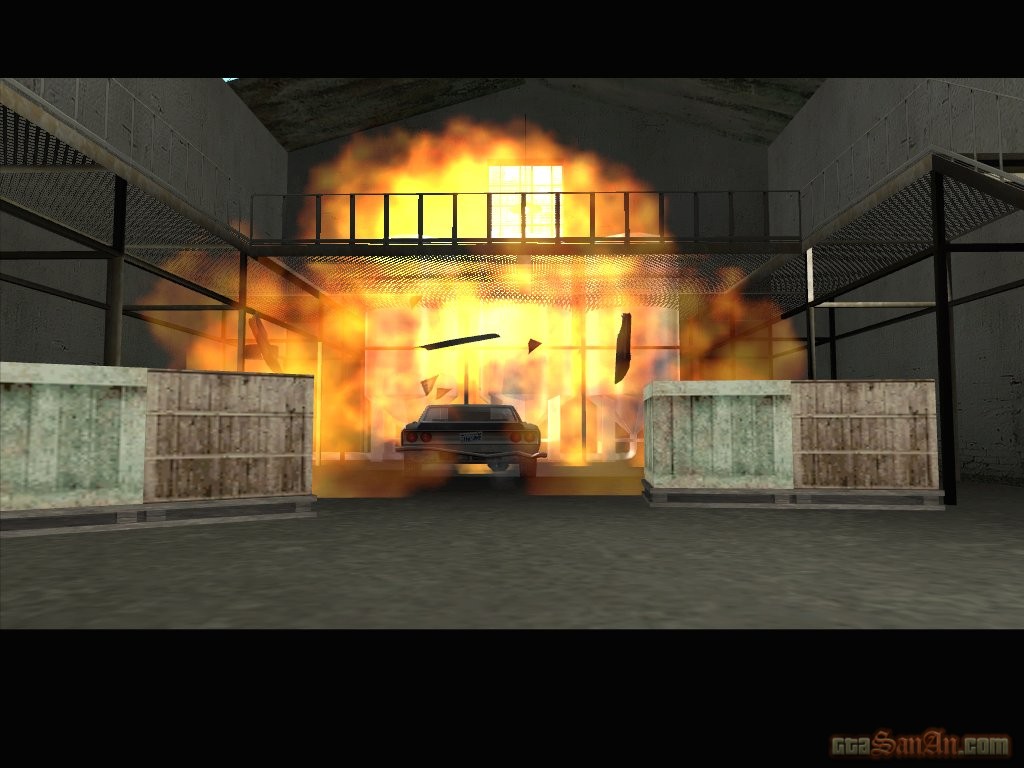
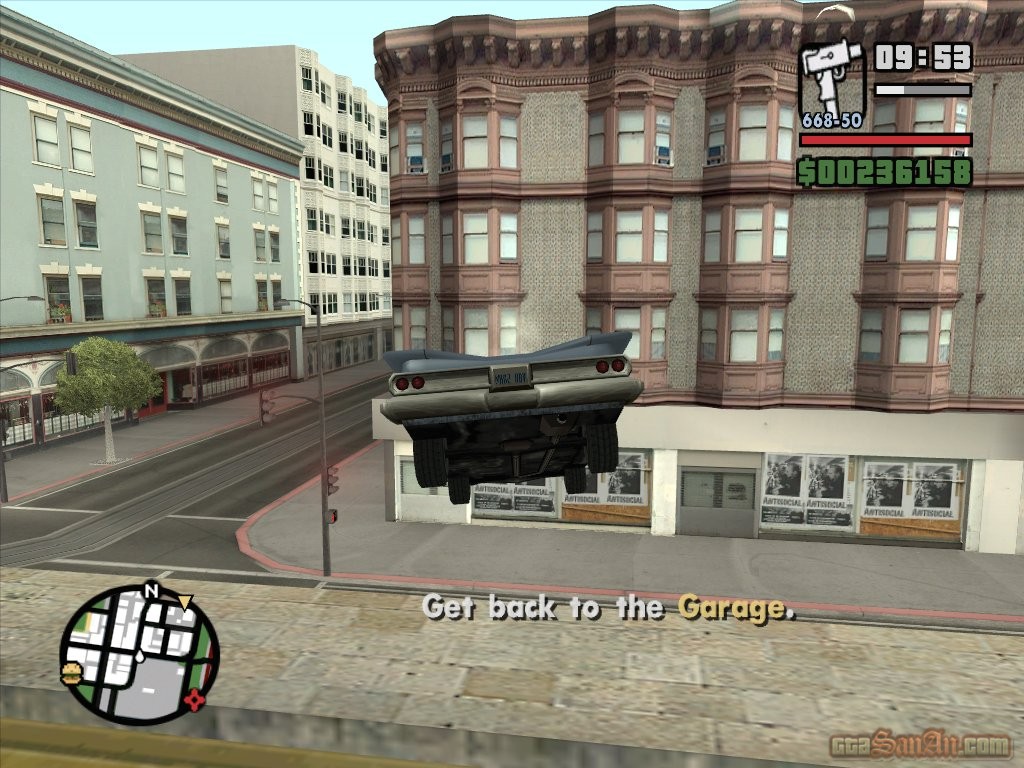
Cesar labels you a hero in Los Santos. CJ isn't particularly pleased -- he's still got problems in San Fierro, and he killed Ryder, his homie. Cesar reveals that Ryder once tried to bang Kendl, something that CJ didn't know. Woozie enters the garage and says that it's not over yet. The Loco Syndicate have a factory across town, and if you take that out you've put them out of business for good. One of Woozie's men calls, and tells you to go and pickup the wired car that you'll be using to blow up the crack factory. Goto the bomb shop in downtown! The specialist has wired in a delay timer to give you time to get out safely. Kill the guards at the crack factory to gain attention. The gate opens, and you can now enter the compound. Drive over any attackers, and make your way to the lab. Use the ramp to get inside the crack factory. Park the car in the red marker next to the containers, and press 'Circle' to activate the bomb. Get as far away from the crack lab as possible! The crack factory explodes, but more dealers enter the compound. The gate shuts. Kill them, and steal the car. One of the fallen roofs forms a perfect ramp which you can use to escape the factory. Get back to the garage in Doherty, and stop in the red marker.
$25000, Respect +
*An anonymous person calls and claims to have information about Sweet. The voice has been edited, so there is no way of telling who it is at the moment. Cross the garver bridge and meet him at the ranch in Tierra Robada.

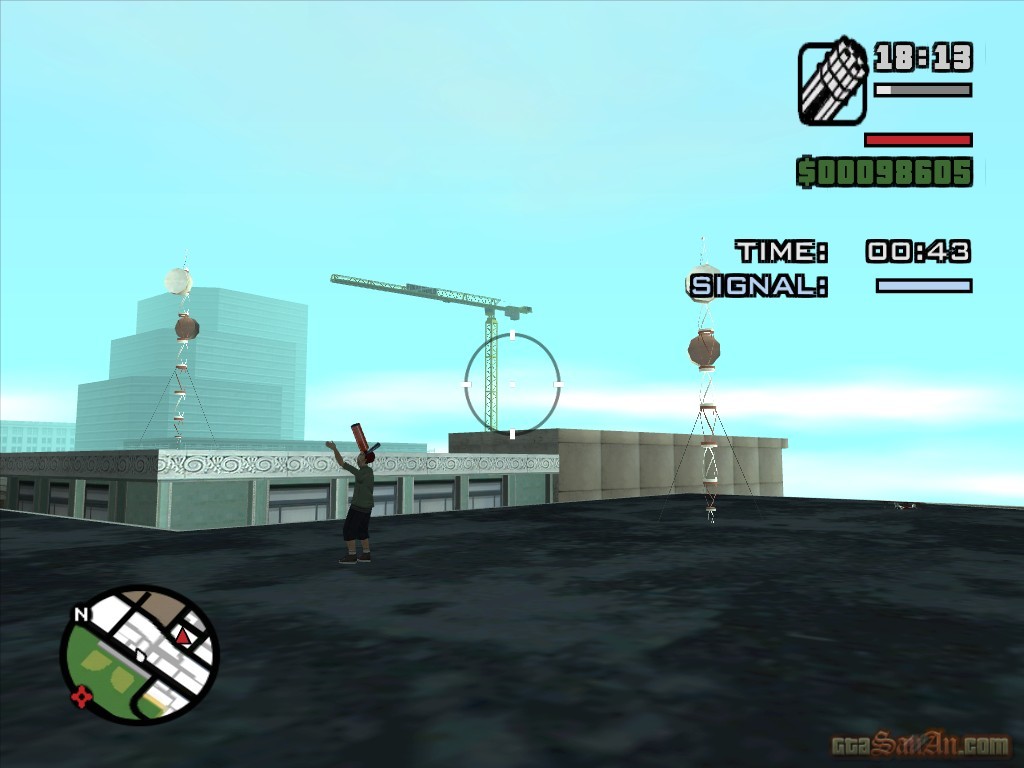
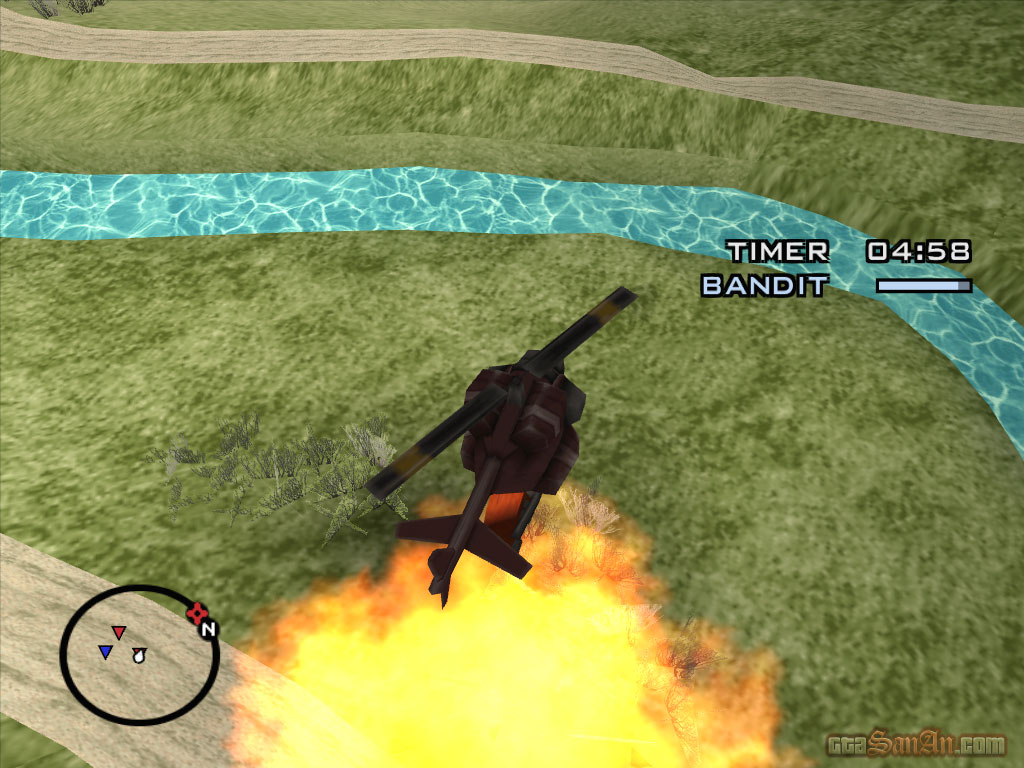
| Air Raid | |
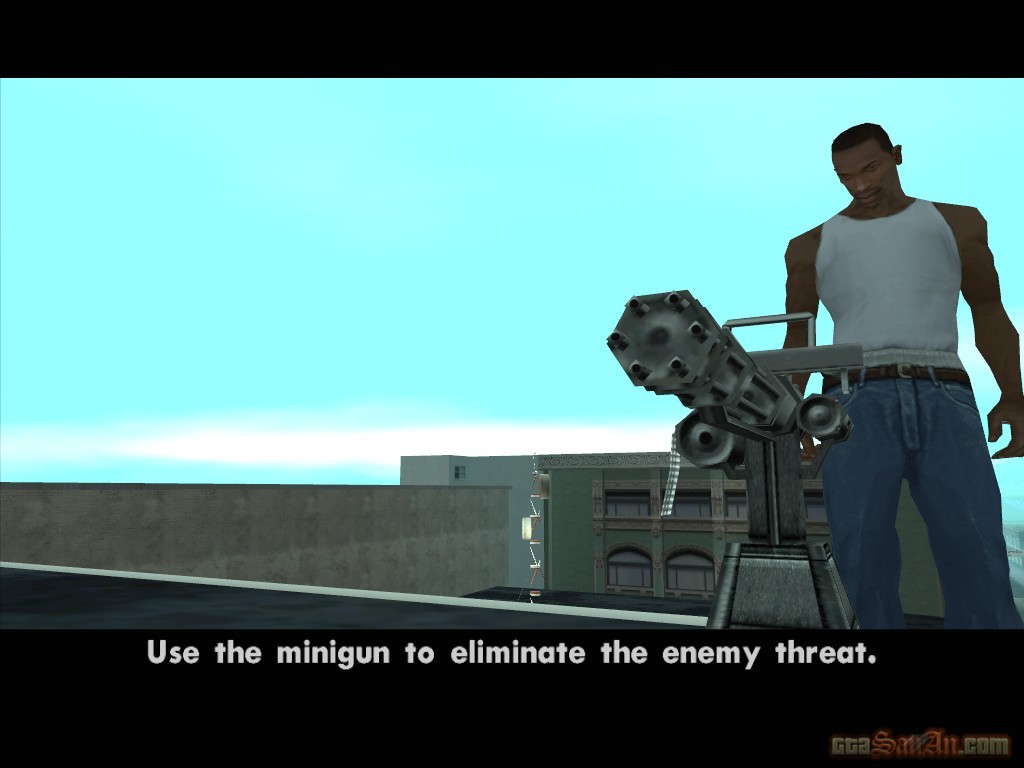
Purchase Zero's RC Shop for $30,000 and you will recieve a phone call from Zero himself. He tells you to stop by sometime. Make sure you do this mission at night time - it will be a lot easier. Zero explains the current situation. Berkley, a man who he once beat in fair competition, is back. Zero won first place in the science fair and Berkley is obsessed with revenge. Carl hears a bleeping sound. It's Berkley! The camera changes and Carl and Zero are seen on the roof of the RC store. Berkley has sent RC choppers to take out Zero's trasmitters. The camera switches to first-person and you are given a vulcan mini gun. Zero is standing towards the right with a fire extinguisher incase one of the transmitters is hit. You must protect Zero's transmitters and shoot down the attacking RC choppers. They spawn from all angles at a constant rate. Protect the transmitters for 3 whole minutes, to complete the mission.
If you are really struggling and are willing to use cheats, enter the 'Destroy All Vehicles' code repeatedly:
      
$3000
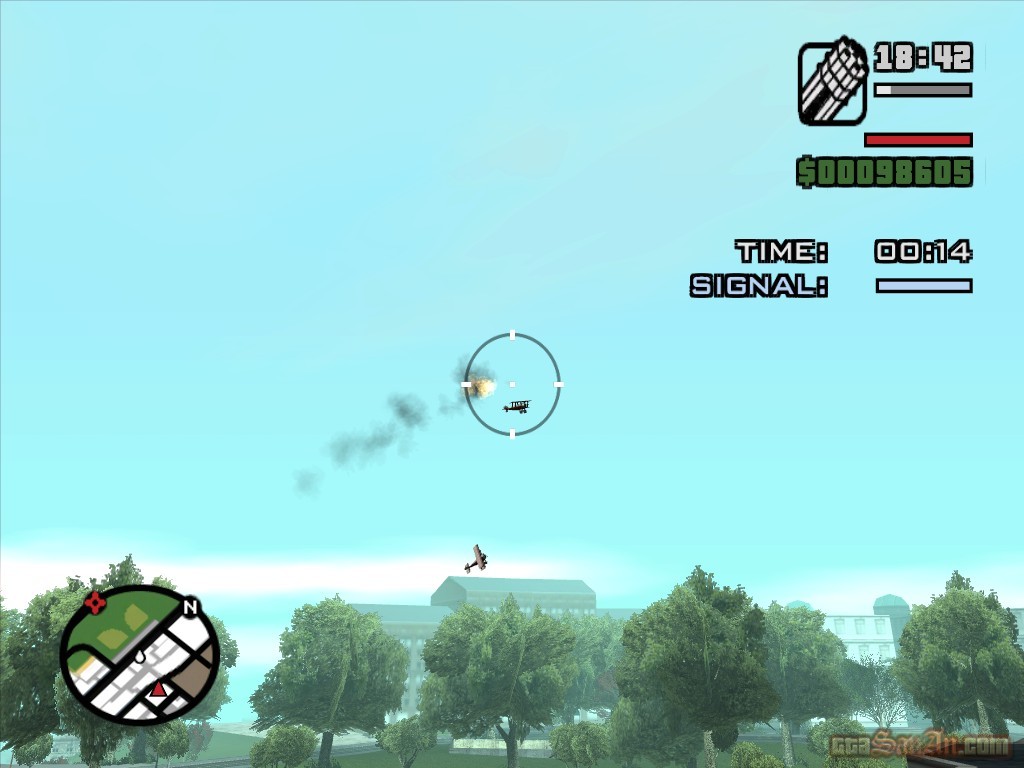
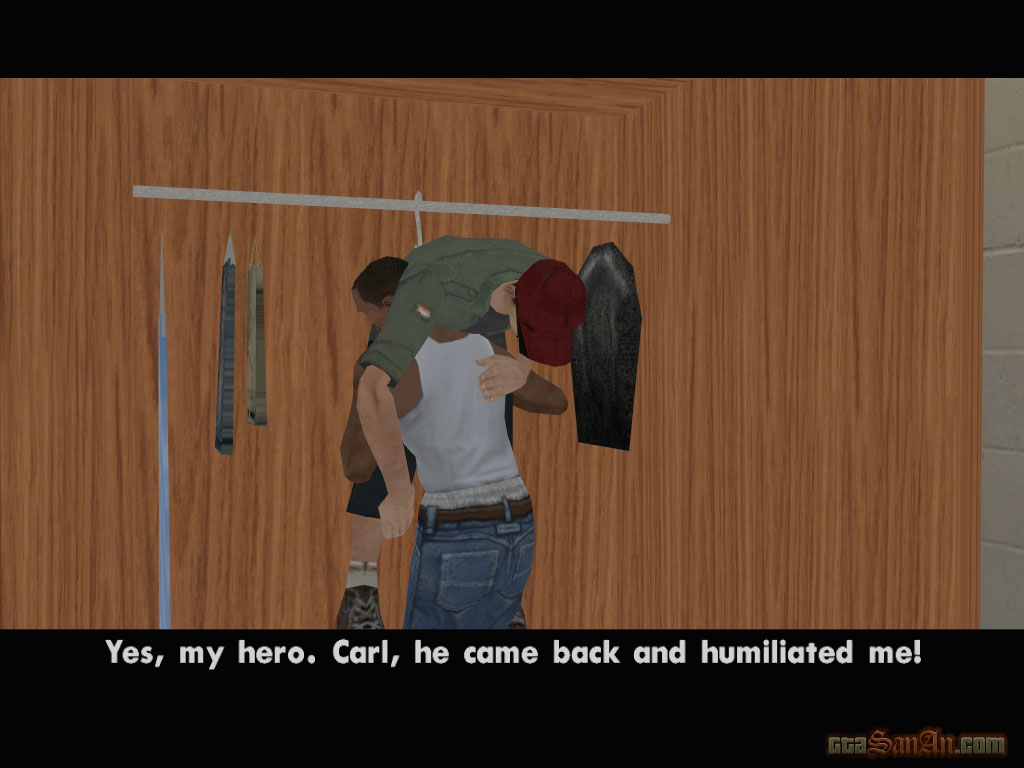
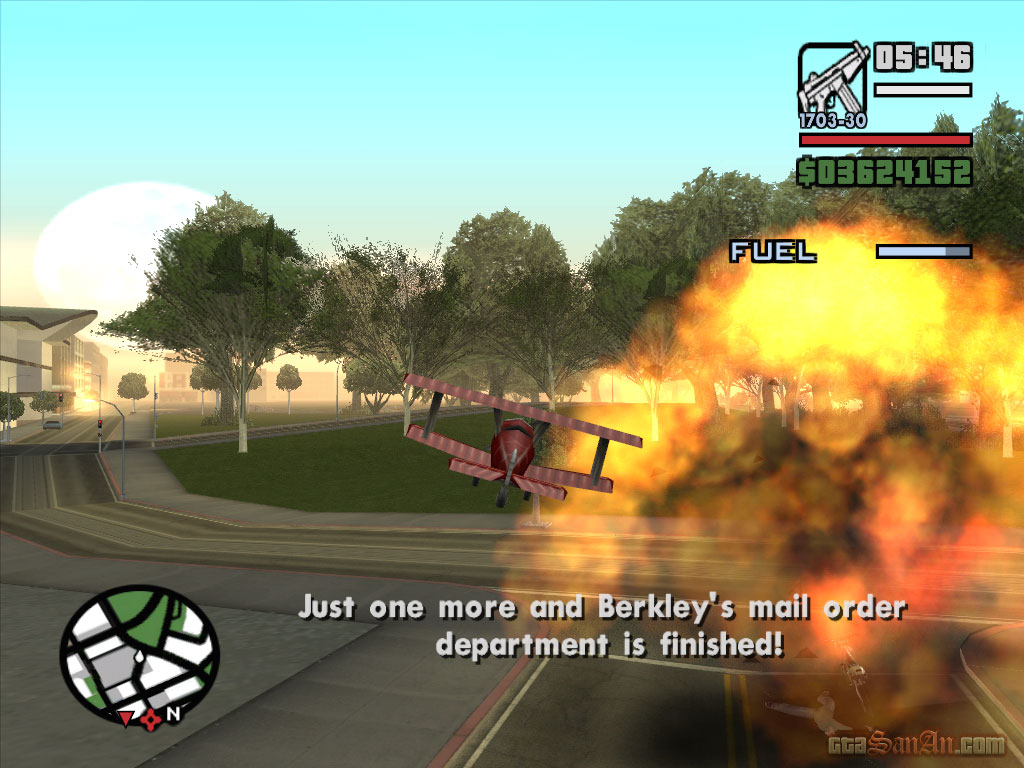
| Supply Lines | |
Collect this mission from Zero's RC shop at some point during daytime. Zero says he is busy and demands that Carl leaves. Carl finds Zero hanging from his underwear at the back of the store - Berkley came back and humiliated him. Carl wants to help Zero get revenge. Berkley has his sycophantic lackeys do all his deliveries. Your task is to bring Berkely's mail order model business to it's knees! You find yourself controlling an RC baron, and a fuel meter appears on-screen, so you must act quickly. Lift off and take a sharp left turn. Go after the worker on the BMX bicycle. Go up behind him (flying fairly low, at this point) and tap 'Square' repeatedly to slow down. Shoot once using L1 and he will get off the bike. Waste him. Now go after the van which is very close by. It should be turning the corner at this point. Fly low and approach it from behind. Again, tap 'Square' repeatedly to slow down and begin shooting at the back of the van. The driver will fall out of the van. Waste him. Refer to your map constantly to see where the targets are located. Now go for the next van, which is only a few blocks away. Make sure you fly reasonably high so as not to crash into buildings/traffic lights or lamposts, wasting both time and fuel. As always, approach the van from behind and begin to slow down. Shoot at the van constantly until it blows up, but make sure you aren't too close to the van or you may cause damage to the baron. The van will try and get away, but it doesn't take many shots to blow up, so it's hardly something to worry about. 2 to go! Goto the nearest enemy, which in this case would be the sanchez bike. There are lots of traffic lights in the area where the sanchez is, so approach it when it has stopped. As soon as you shoot at the bike, the gunner will shoot at the baron and the bike will attempt an escape. Waste them before they blow up the baron. Last but not least, go for the van which is close by. Approach the van from behind and shoot at it constantly until it blows up. The driver will get out of the van, but he's no harm to you. Waste him, and get back to Zero's RC store. At this stage, you should have about 40% of your fuel remaining. If you don't, it is doubtful that you are going to pass the mission. Zero will give you warnings as to how much fuel you have left, but don't let them put you off. Stop in the red marker (tap 'Square' repeatedly to slow down before you land) on top of Zero's store, to complete the mission.
$5000
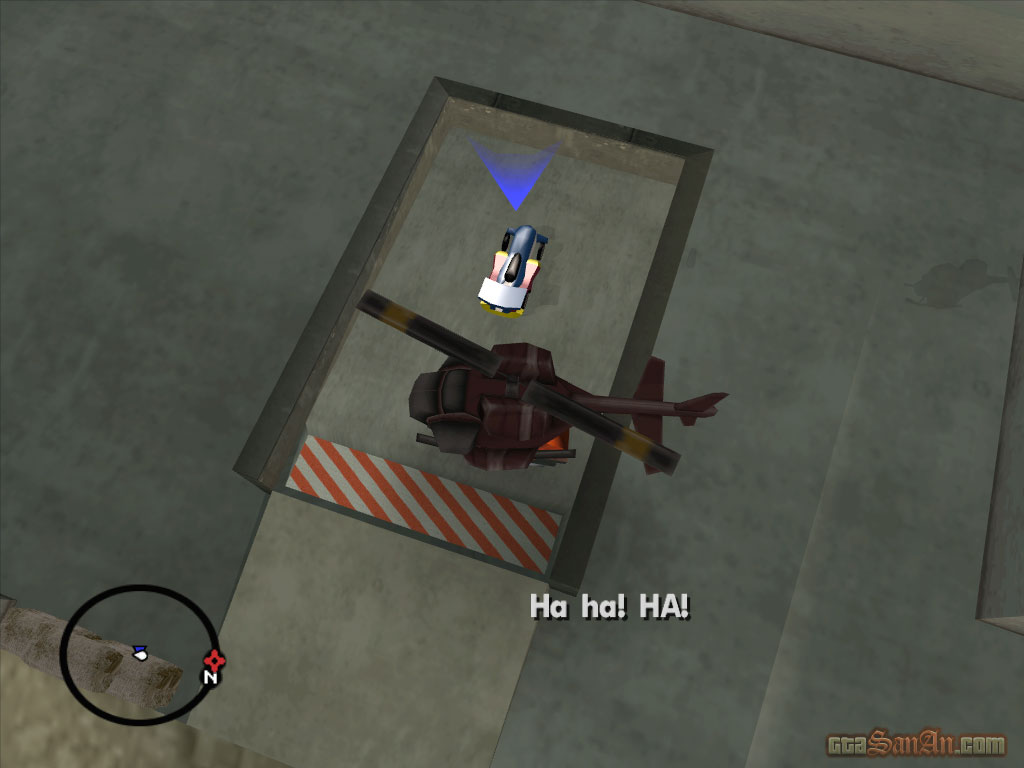
| New Model Army | |
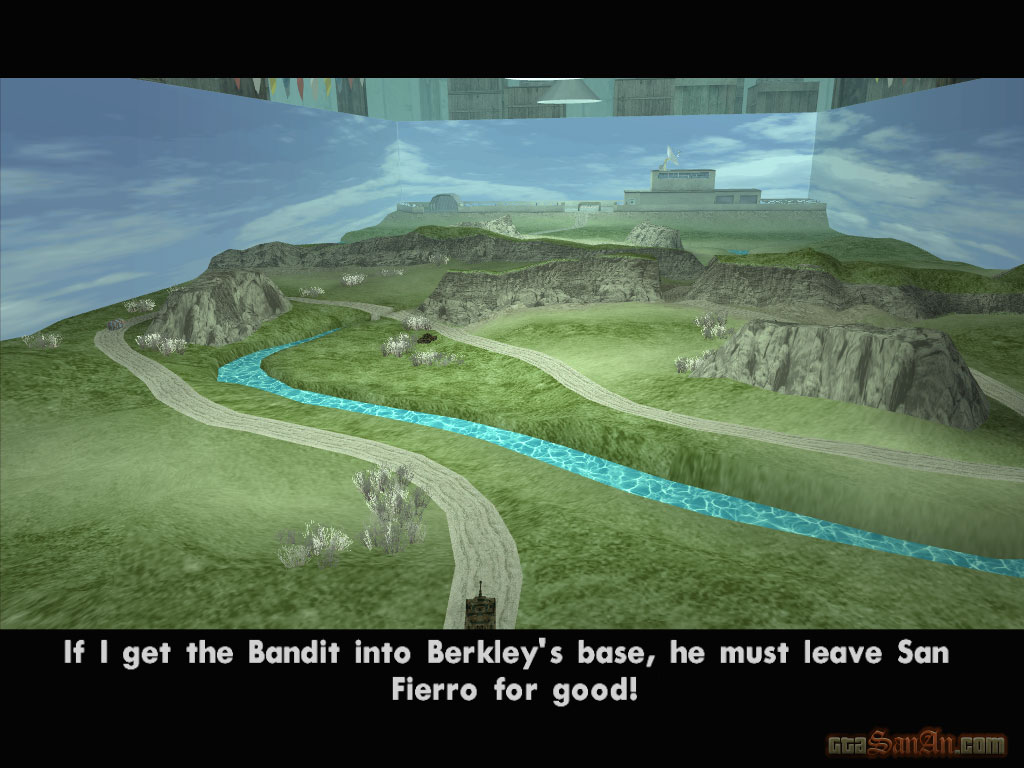
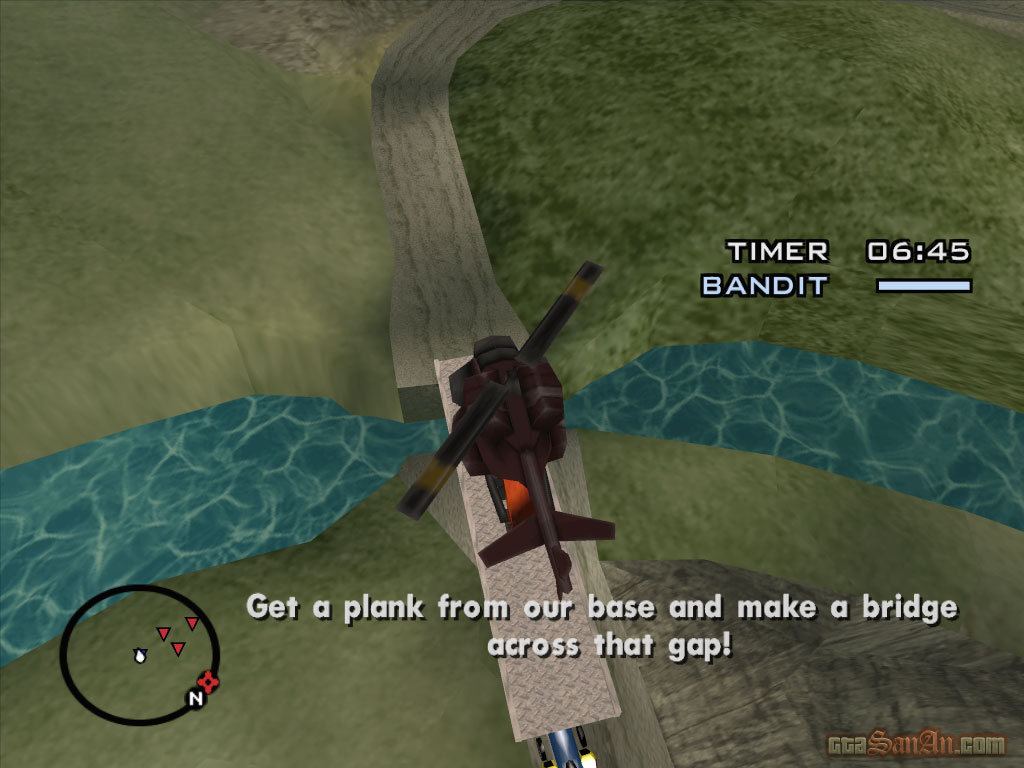
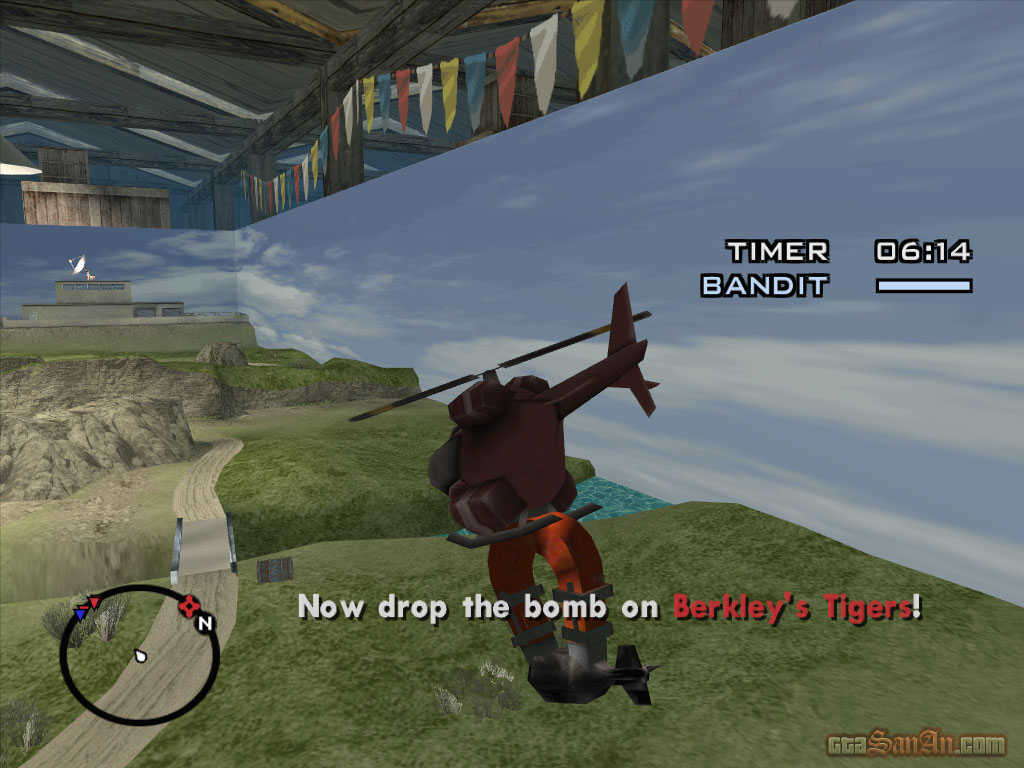
Zero and Berkley are still at each other's necks. This is it - the showdown, both of their lives are at stake and the loser will have to leave San Fierro for good! Erm yeah, they take the RC thing just a bit too seriously. If Zero can get his RC bandit into Berkley's compound (safely) Berkley will have to leave San Fierro for good. However, Berkley has an RC chopper dropping many items on the path leading to the compound, therefore blocking Zero's route. You control an RC chopper, and you must remove these objects to clear Zero's route. You have a total of 08.00 to complete the mission. Zero has 3 bandits, so if one is destroyed he will spawn in another, but will have to start from the beginning. The bandit's health level appears on-screen. Begin by removing one or two of the barrels (land on top of them, and press 'Circle') and abandon them anywhere besides the path. Zero will tell you at what point he requires help, so be listening at all times. Get back to the base and pickup a wooden plank. Make your way to the two sections land seperated by a river, and release the plank (press 'Circle') to form a bridge. Now remove the next few barrels, and head back to base. Pickup a bomb, and drop it on Berkley's tank, which will attack Zero's bandit as soon as it reaches that point. Collect another bomb from the base, and blow up the second tank. Head back to base and pickup another wooden plank. Drop it to form the final bridge that Zero has to cross. Clear any remaining obstacles, so that Zero can gain access to the compound.
$7000

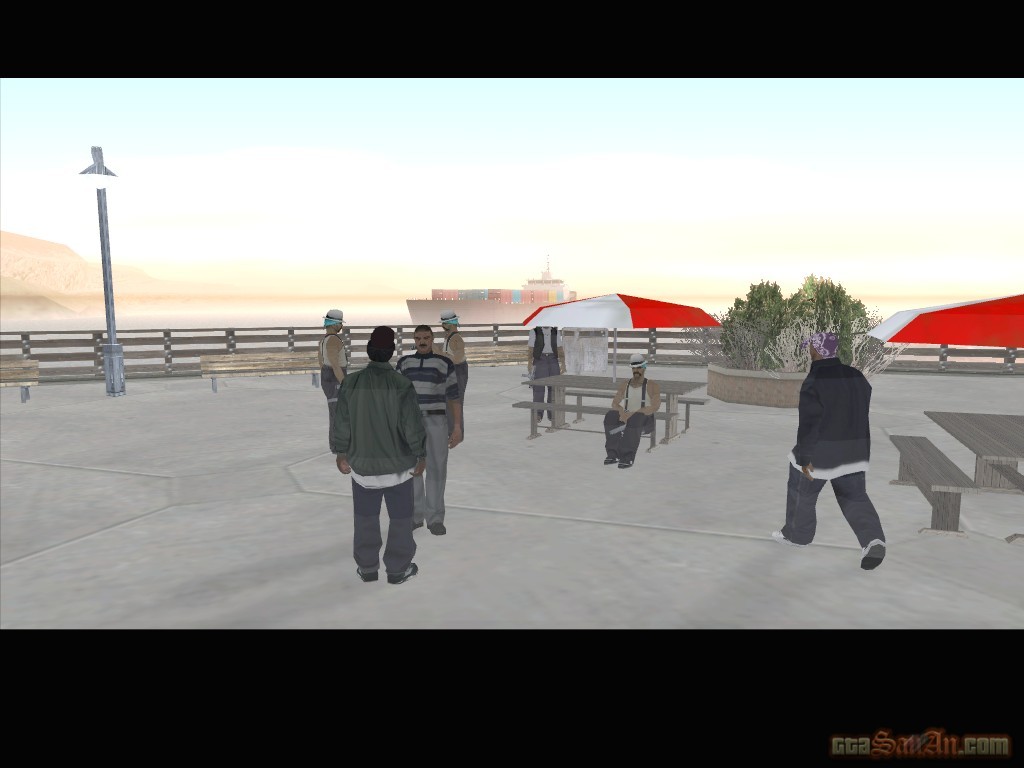
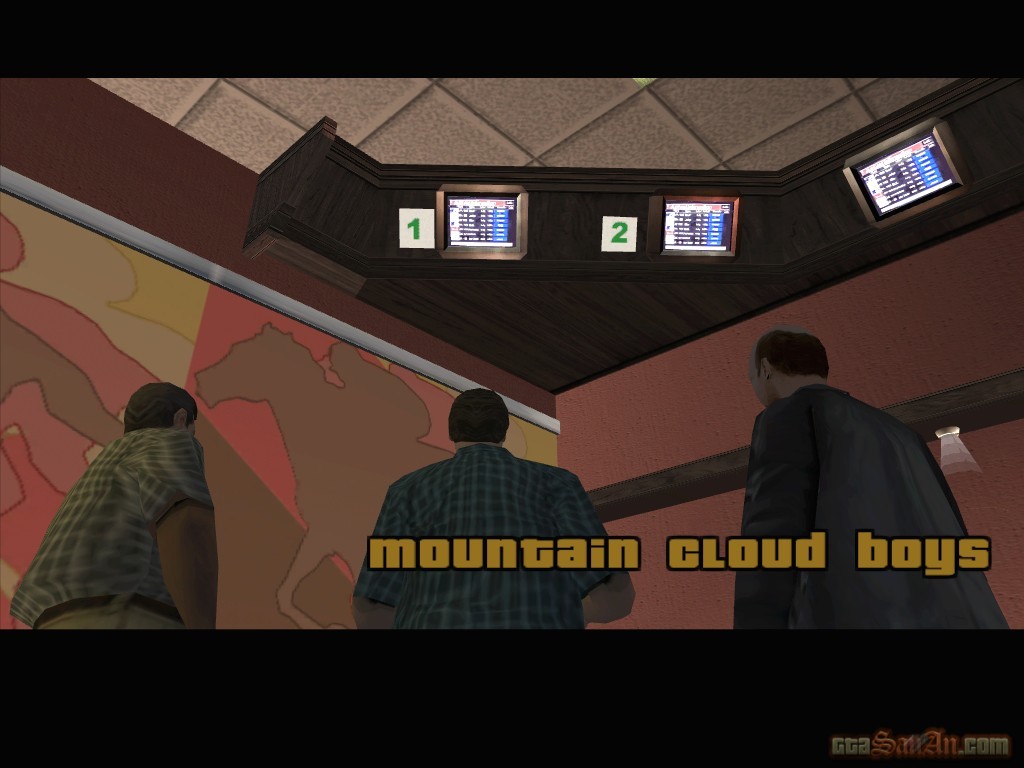
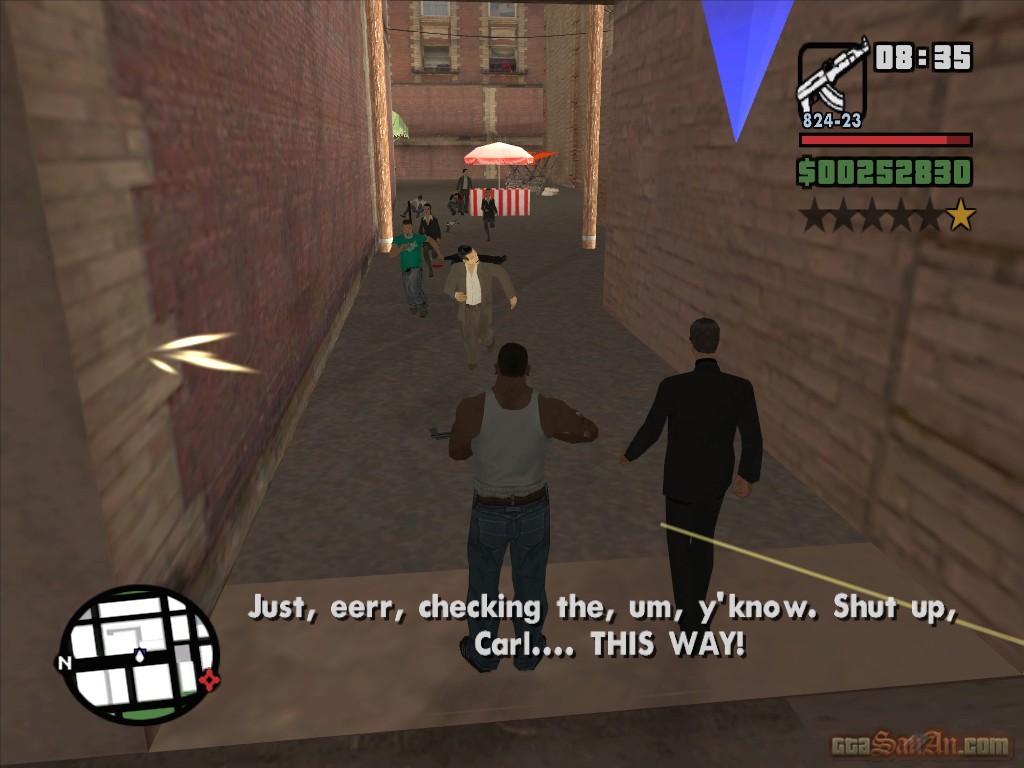
| Mountain Cloud Boys | |
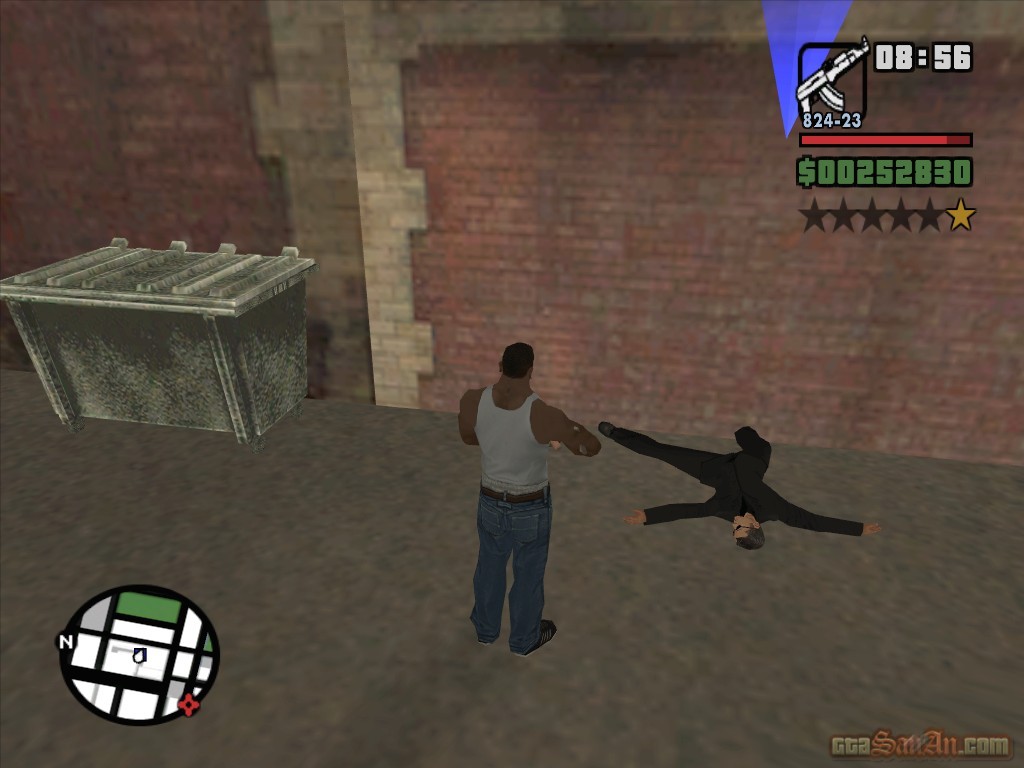
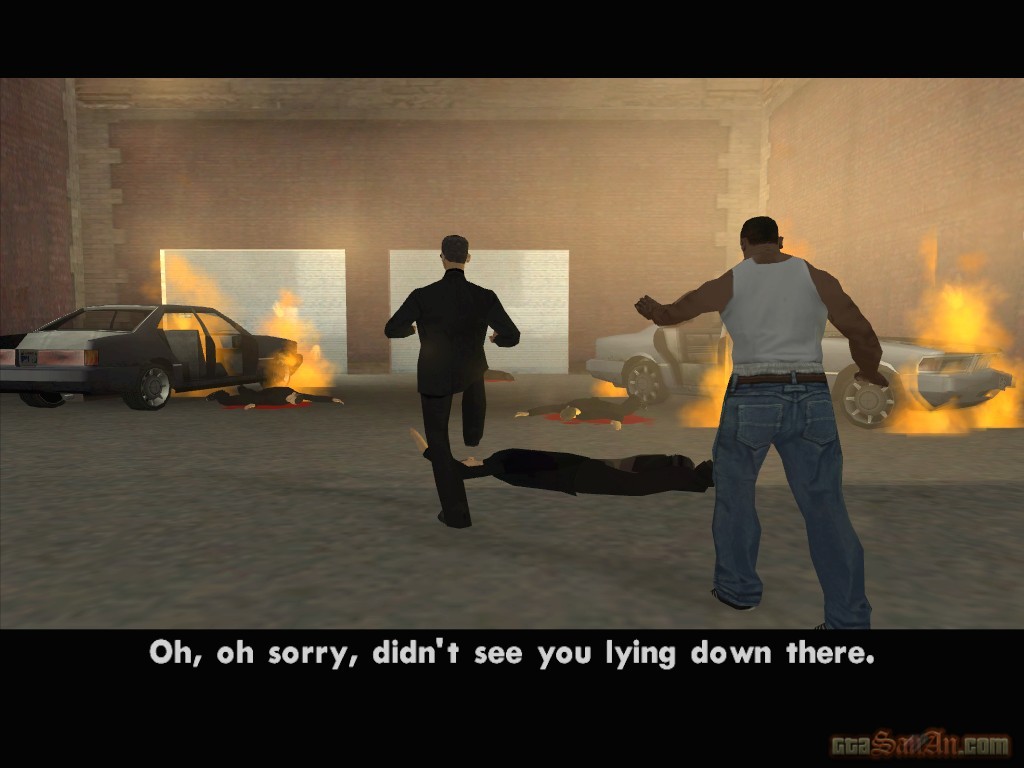
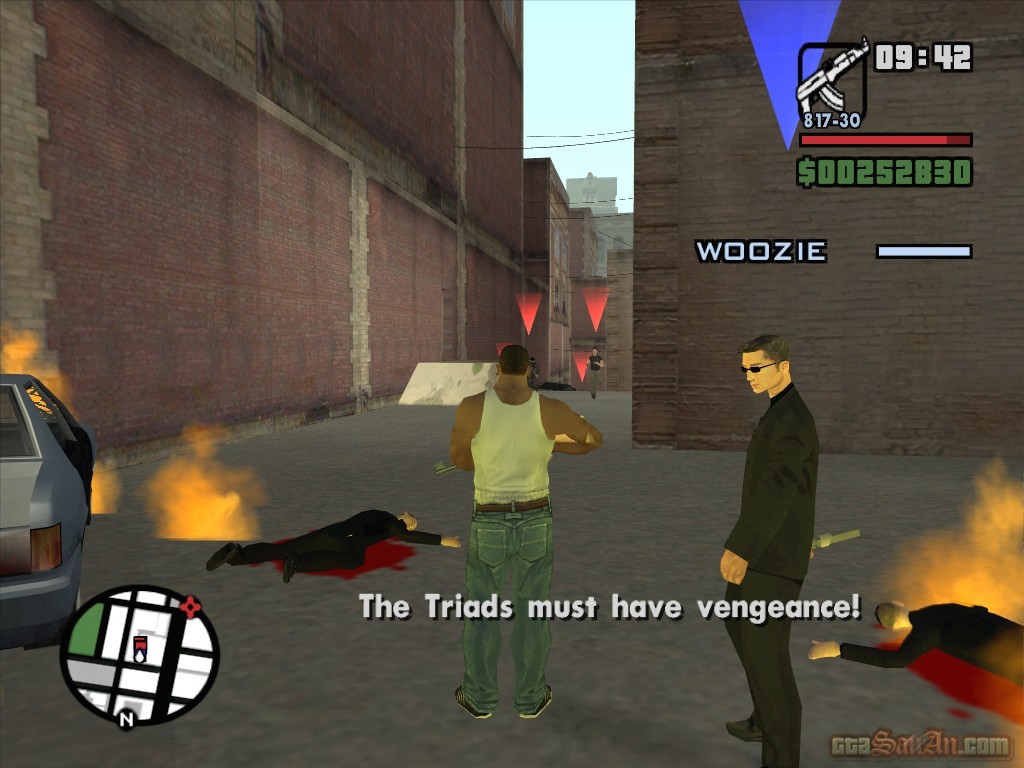
At Woozie's betting store, a member of staff takes you upstairs to meet Woozie himself. He warns you of the bosses curse -- he's blind. So how was he able to race cars earlier in the game? Well, he's blessed with unbelievable good fortune - apparently. Woozie "re-introduces" himself. He is boss of the Mountain Cloud Boys, and as Dai Dai Lo it is his job to ensure that disputes are settled without damaging important business. Woozie talks of a triad that failed to visit the last tong meeting. He wants you to go with him and meet the triad, to see how they handle things without unecessary violence. The Blood Feather Triad have a storehouse around the corner, which is handy. Find a car, and take Woozie to the storehouse. Stop in the red marker, and follow Woozie. Suddenly, pedestrians are screaming and running for their lives. There seems to be a disturbance. Woozie notices that the gate is open, which is unusual. The Triads are dead, and there is fire everywhere. A garage opens, and a triad explains that he was too scared to fight, so he hid in there. Woozie demands to know what happened. The viatnamese caught them by surprise, and wiped out the Blood Feather Triad. They're coming back! A car arrives containing 4 viatnamese gangsters, and a health bar appears for Woozie. Kill the Da Nang Boys and protect him. Walk out of the alley and 2 more sets will appear, this time on bikes. There are many more around the corner, including as a sniper. Leave no survivors. Get in the car with Woozie. The viatnamese are blocking the exit. Woozie reverses out of the alley, and tells CJ to take the wheel. Let Woozie finish off the attackers (two cars), and take him back to his place. You can help Woozie by performing a standard drive-by shooting, using L2 and R2 to look left and right.
$5000, Respect +
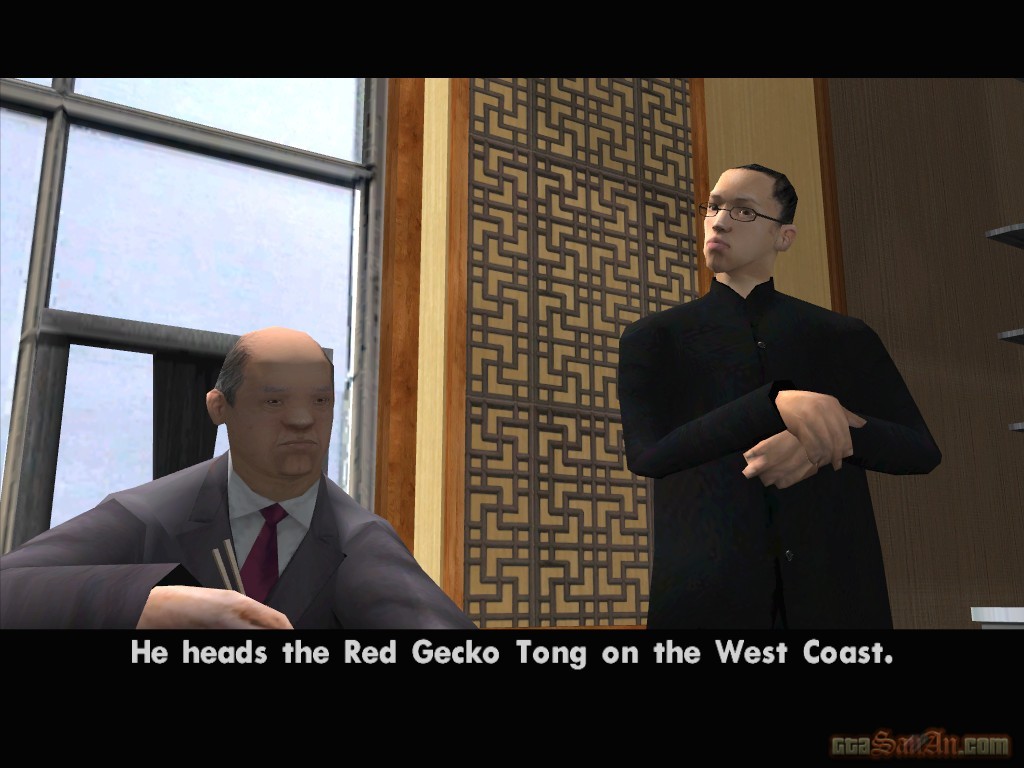
| Ran Fa Li | |
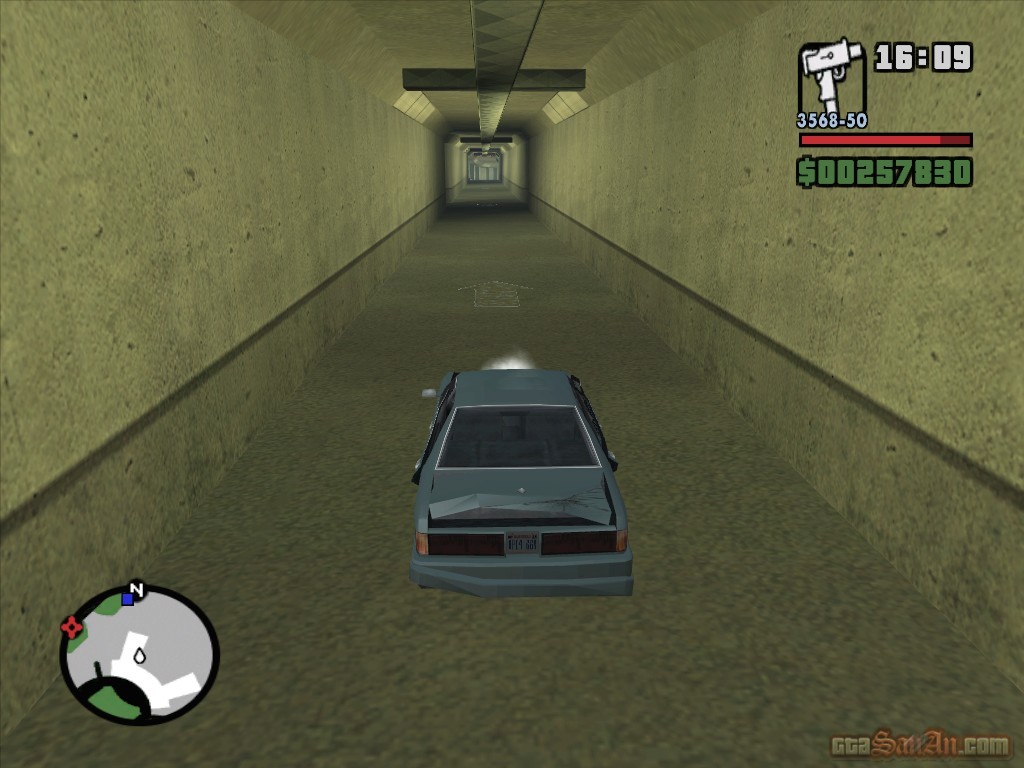
You are introduced to Shuk Foo Ran Fa Li. Ran Fa Li heads up the Red Gecko Tong, a Triad gang. Ah Ah Kung has sent word from Kowloon that a viatnamese crime family, the Da Nang Boys, are preparing a move to the United States. This could explain the cowardly attack on the Blood Feather Triad. The Shuk Foo would like a package retrieved. Your task is to pickup the car from the airport car park, and take it to the garage. Drive through the red marker at the airport, and into the underground car park. Follow the blue blip on the radar, and get inside the Manana. Not surprisingly, it's an ambush and the Da Nang Boys are covering the exits. Perform a drive-by shooting and kill the gangster that exits the van blocking the exit. Squeeze through the gap between the van and the wall, and speed towards the main exit. A damage bar appears on-screen for the vehicle. If the car explodes, the mission is failed. As you exit the car park, turn left and another viatnamese gangster will attack. Simply drive over him. There is another van up ahead, with two gangsters standing at each side. Drive around the van and continue heading towards the exit. As you leave the airport, more viatnamese will follow, this time on a bike. Go onto the freeway, and follow the blip to reach your destination. As you drive from one end of the city to the other, more viatnemse will follow, on bikes and in cars. Don't fight back just yet - focus on your destination. When you finally reach the garage in North San Fierro, stop in the red marker.
$6000, Respect +
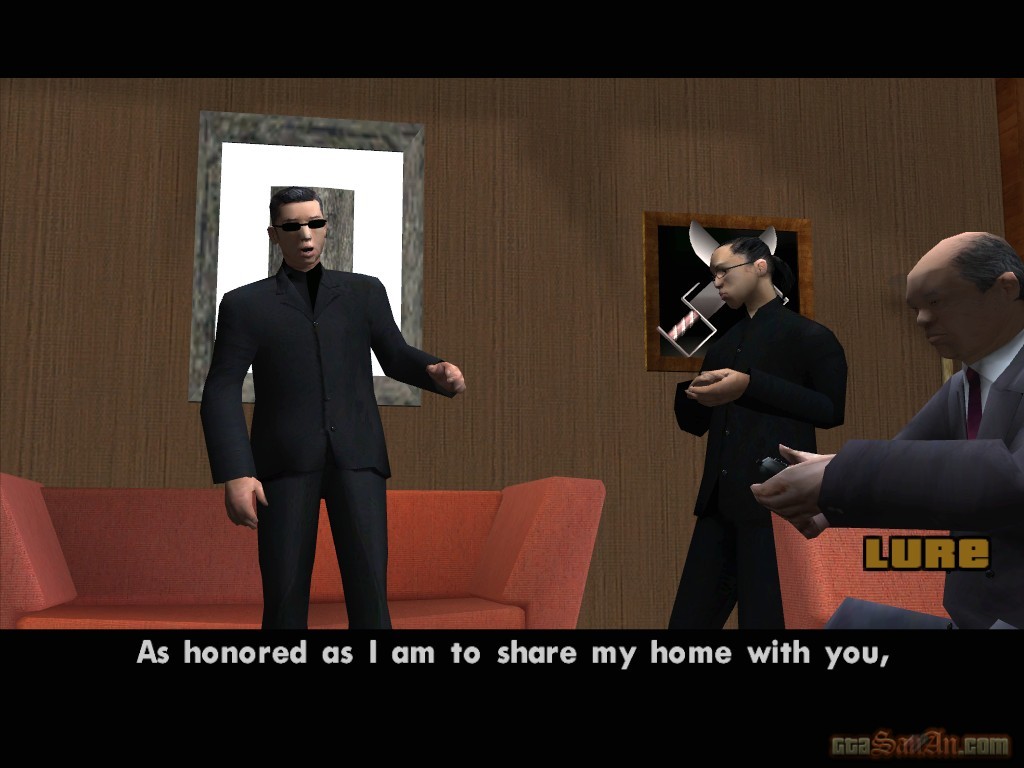
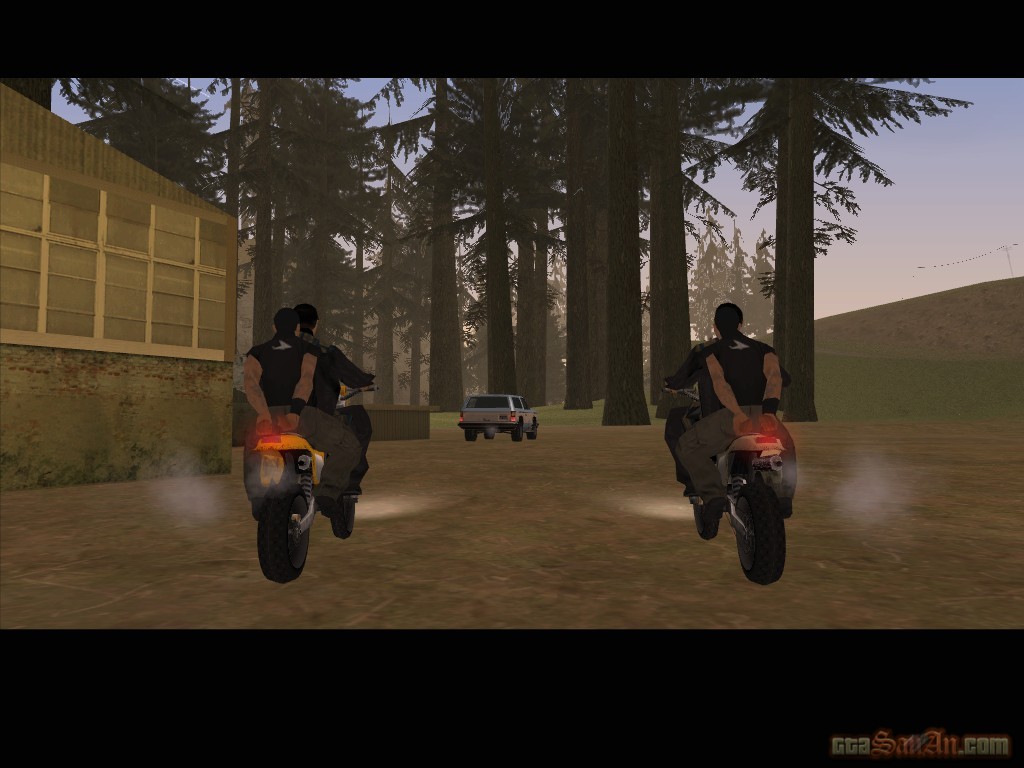
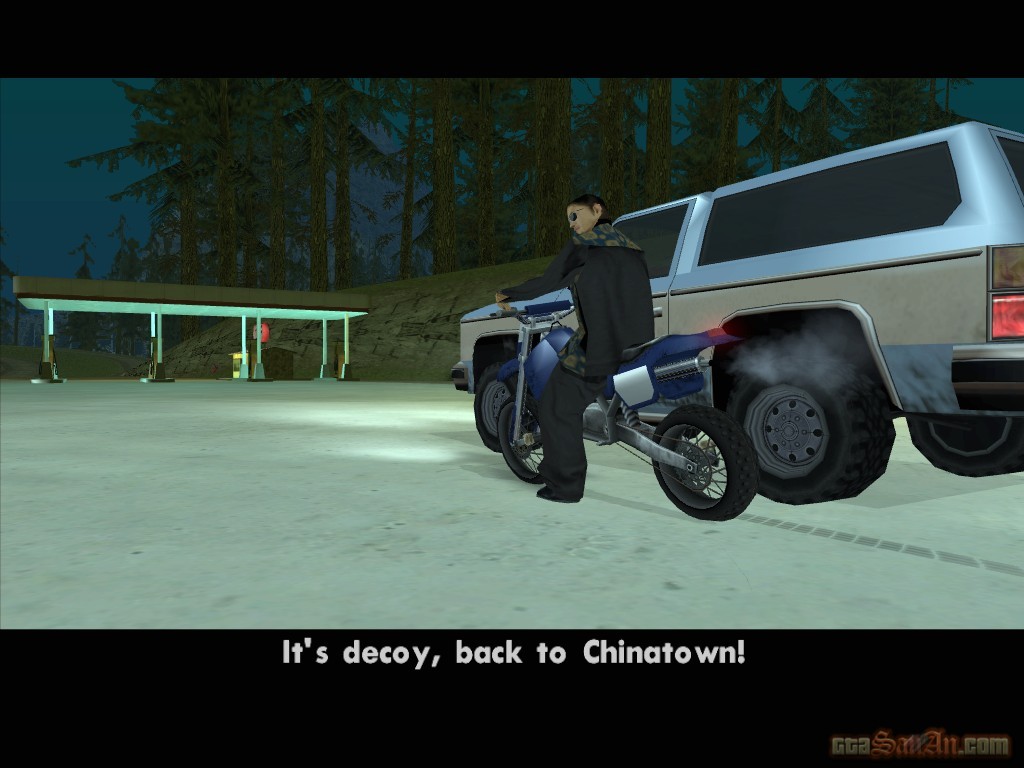
| Lure | |
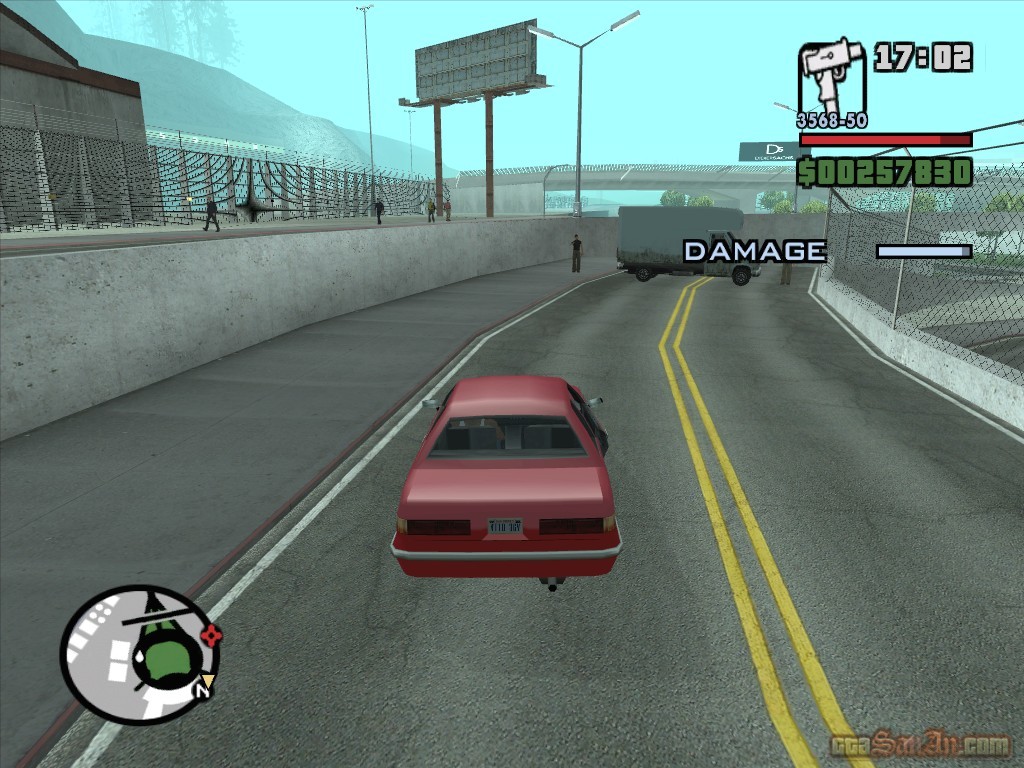
The Da Nang Boys are watching the appartment, and as soon as Farlie leaves they will attempt an assassination. CJ suggests luring them out somewhere quiet so that Farlie can leave safely. Get into the decoy car, and drive out to Angel Pine. If you exit the car, the mission is automatically failed. Stop in the red marker at Angel Pine. 2 bikes arrive, driven by the Da Nang Boys. The vehicle's damage bar appears on-screen, and it musn't empty. Drive through the countryside covering all of the checkpoints, so that Farlie can escape Chinatown safely. If the doors get damaged, the Da Nang Boys can see inside the car and they will realise that it was a trick. The car you are given (a Rancher) is slow, but sturdy, so it's quite good for using in the countryside. The first part of your journey is bumpy, and the enemy will no doubt get some good shots at you, but once you pass the bridge it's an easy ride to victory. You should be able to stay a good distance in front of the enemy, so they won't be able to shoot. Drive through the various checkpoints until you eventually reach the gas station. Stop in the red marker, and Guppy calls. He checks that you are okay, and announces that Farlie got out safely. A job well done.
$8000, Respect +
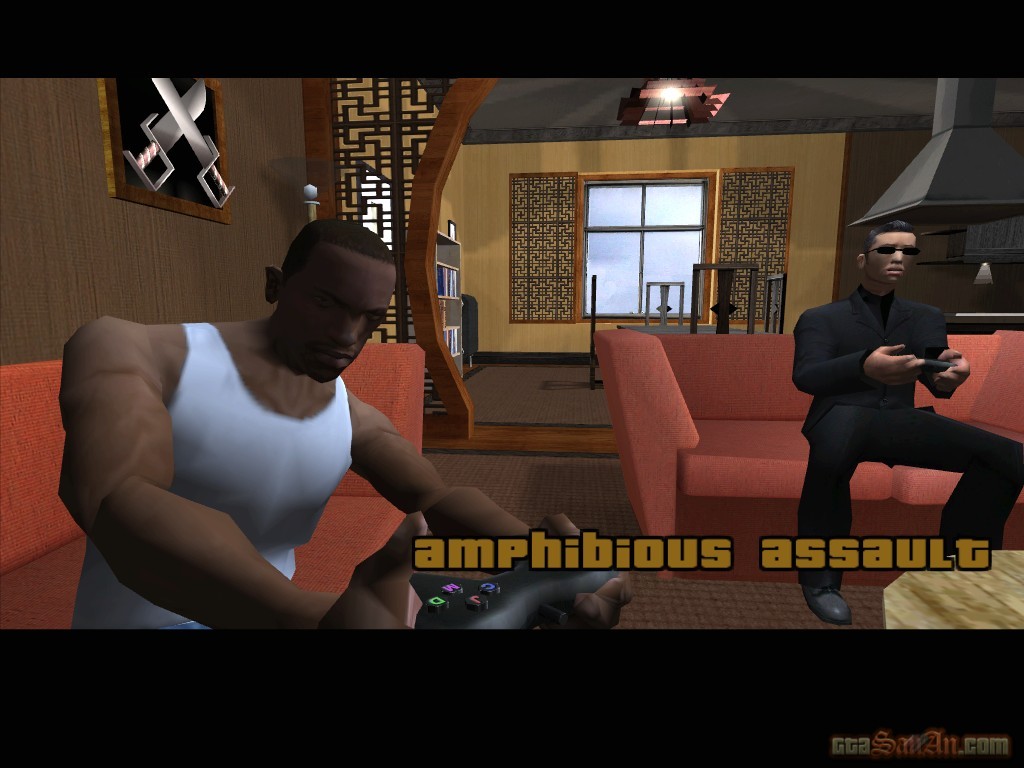
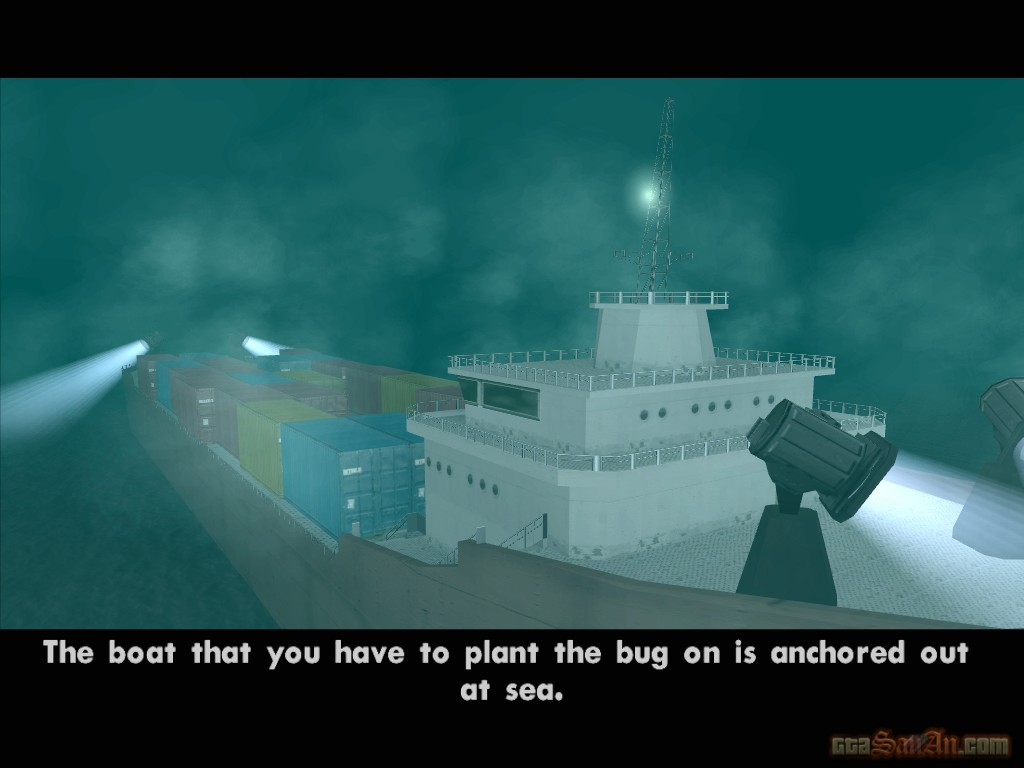
| Amphibious Assault | |
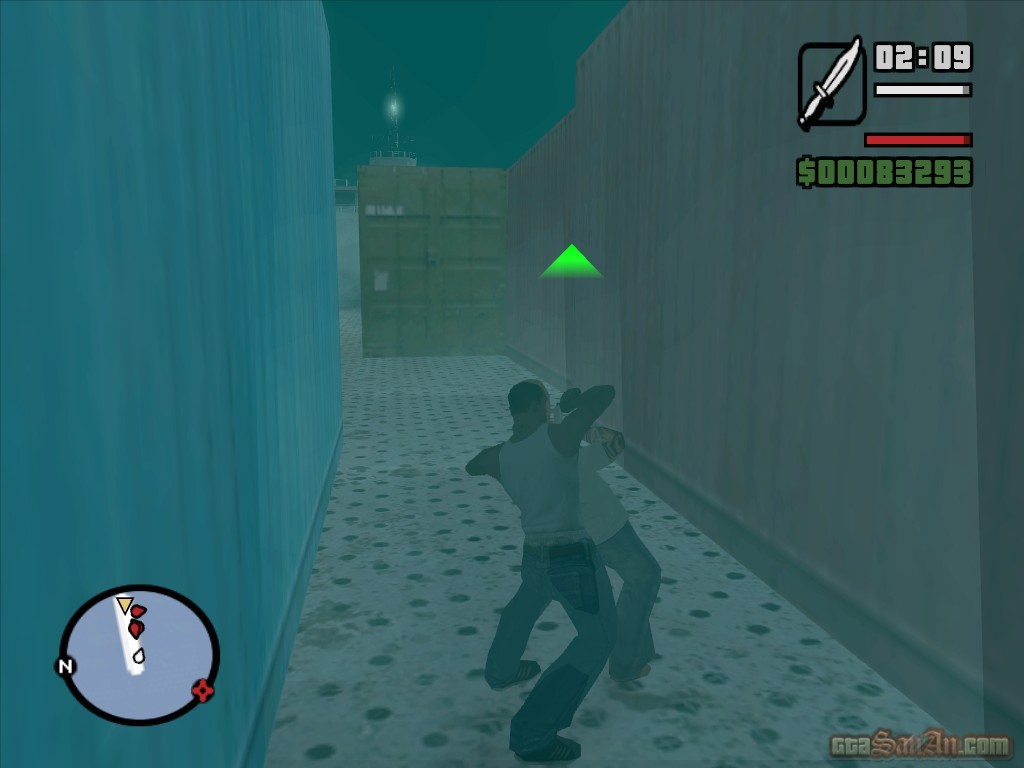
Woozie has another job for you, but it requires the ability to swim well underwater. Press 'Circle' whilst in the water to dive under. The more practice you gain, the higher your lung capacity. Woozie says he is afraid of deep water, but we all know the real reason he won't do it. He confesses that he is blind, although, he has trained his senses to a point where you wouldn't notice his handicap. They'd be quite useless underwater. Get to the docks! The boat that you have to plant the bug on is anchored out at sea. You will have to swim to it, however, there are Da Nang Boys patrolling the route. Swim to the tanker and get aboard. You must swim through the red markers, and dive underwater in cases where the route is blocked. The main route across the water is guarded by two patrol boats. If they spot you, dive underwater to lose their attention. If you swim on the surface of the water you will be spotted. There are also spotlights searching the area. The large circles on the radar represent the spotlights and their current position. Swim to the far side of the tanker, and goto the red marker. Press 'Square' to climb on board, and go upstairs. You must sneak to the back of the tanker to plant the bug, but be quiet so as not to attract the attention of the guards. The red blips on the radar represent the enemy. The arrows point in the direction that the enemy is facing. Examine the enemy's route, and perform a stealth attack to kill them -- crouch, walk up behind them and hold 'Circle' with the knife. When you reach the back of the tanker, enter the room, and go downstairs to the red marker. Press 'Triangle' to plant the bug, and get back to the dock. Stop in the red marker to complete the mission.
$11000, Respect +
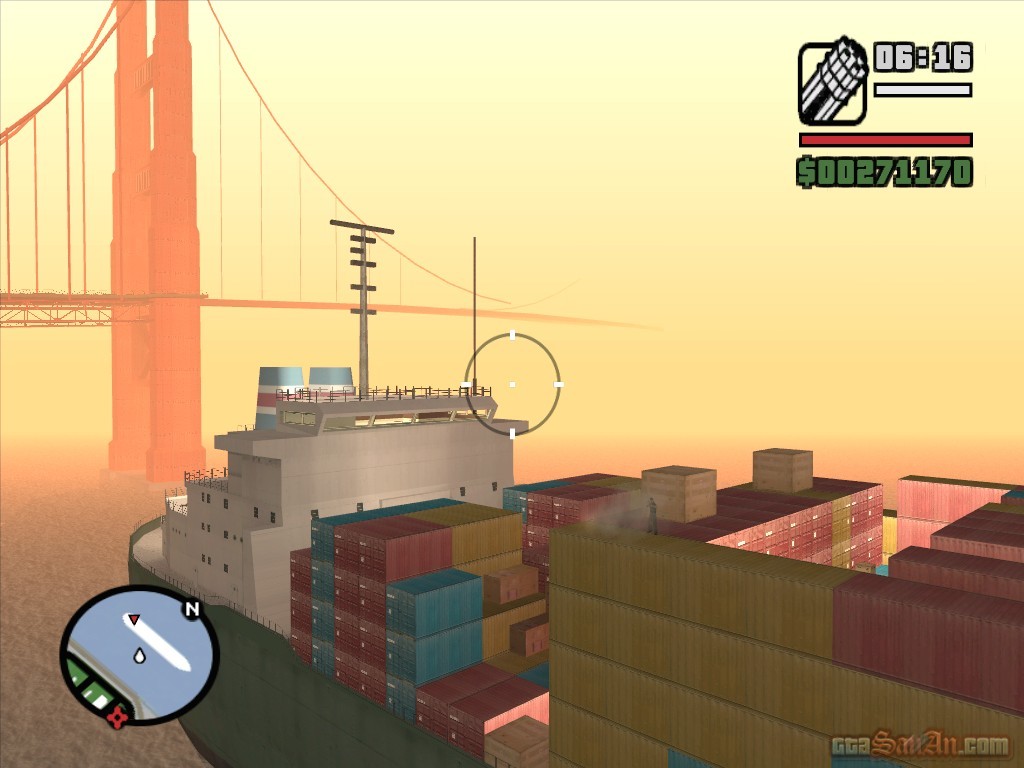
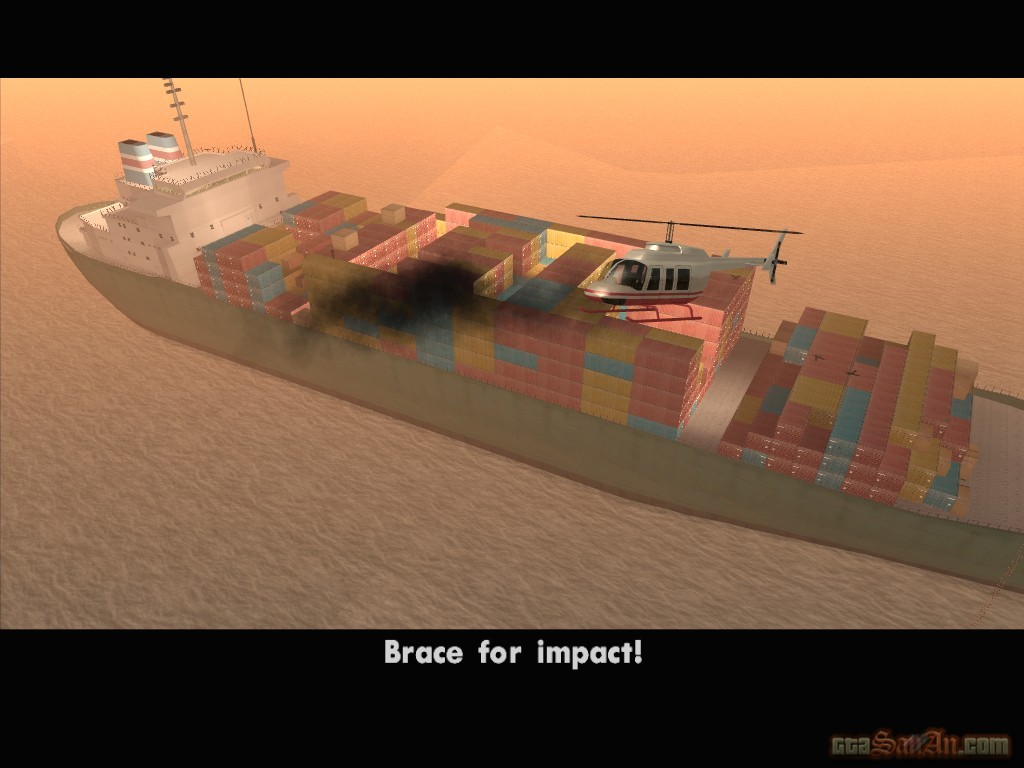
| The Da Nang Thang | |
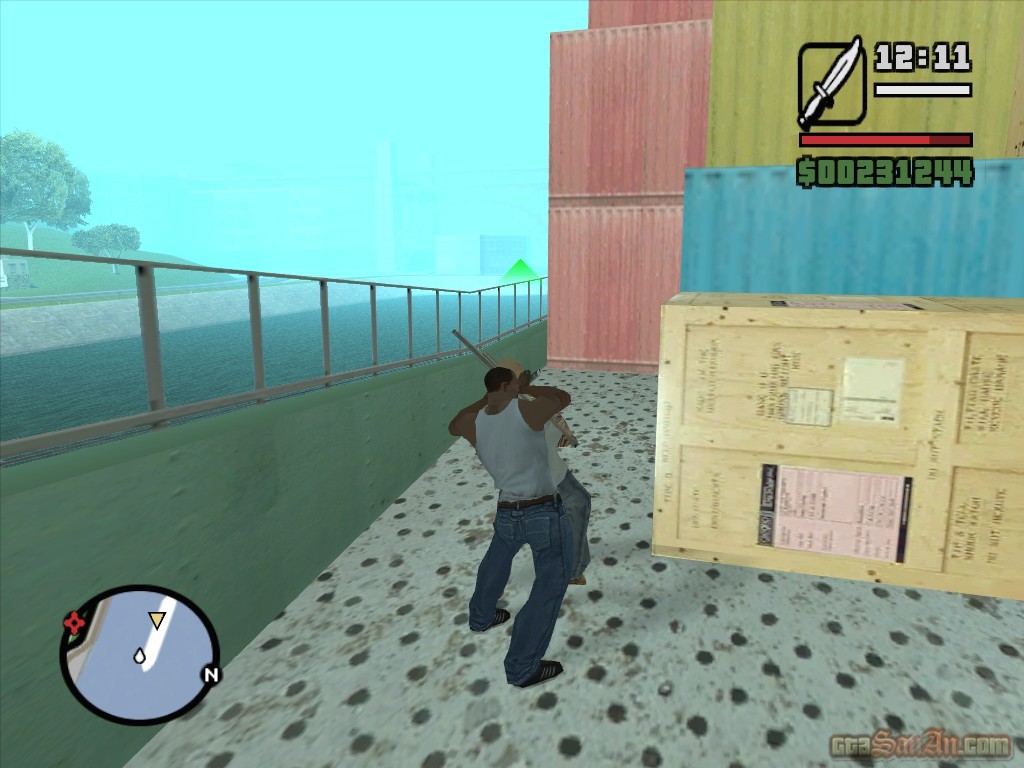
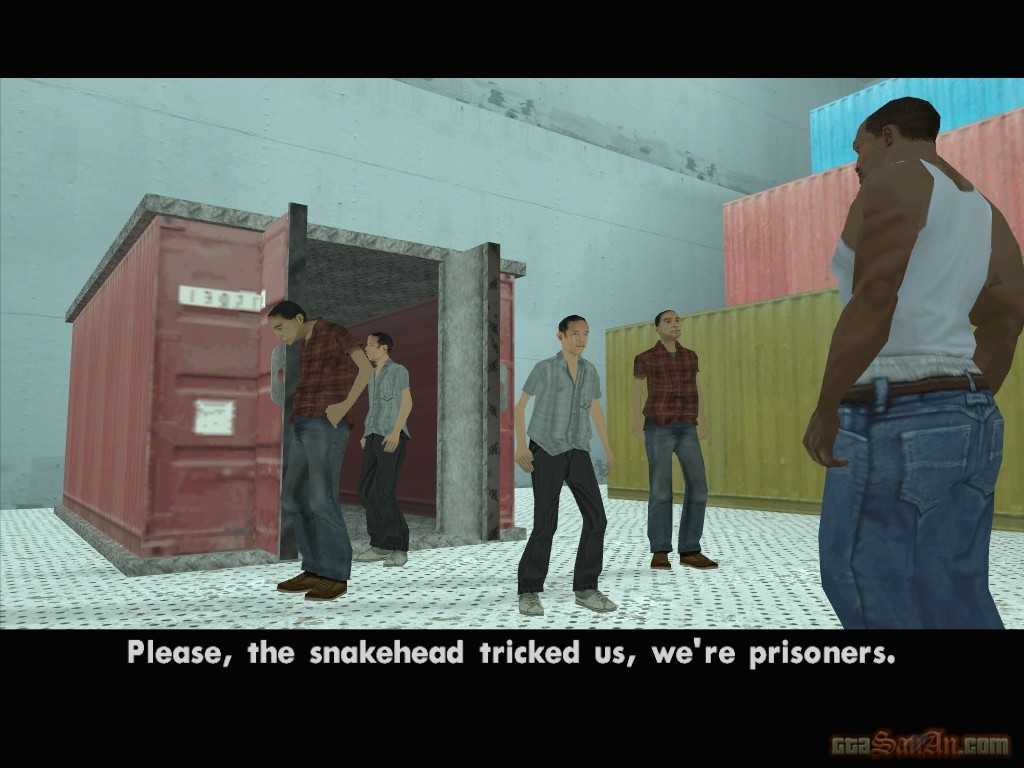
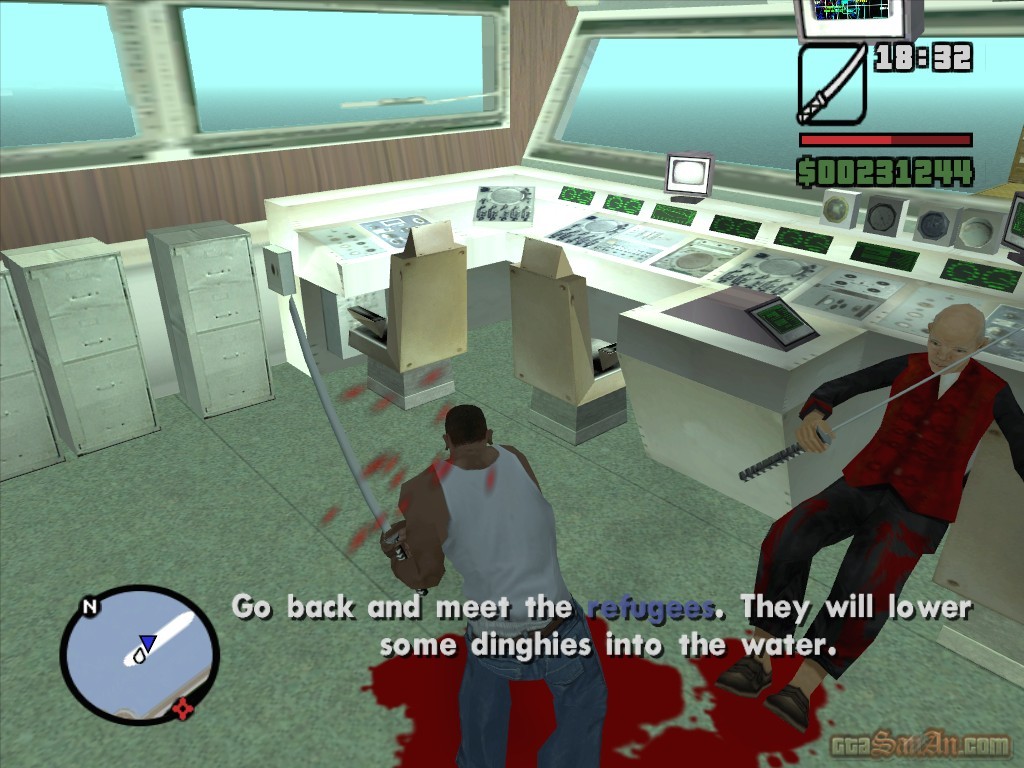
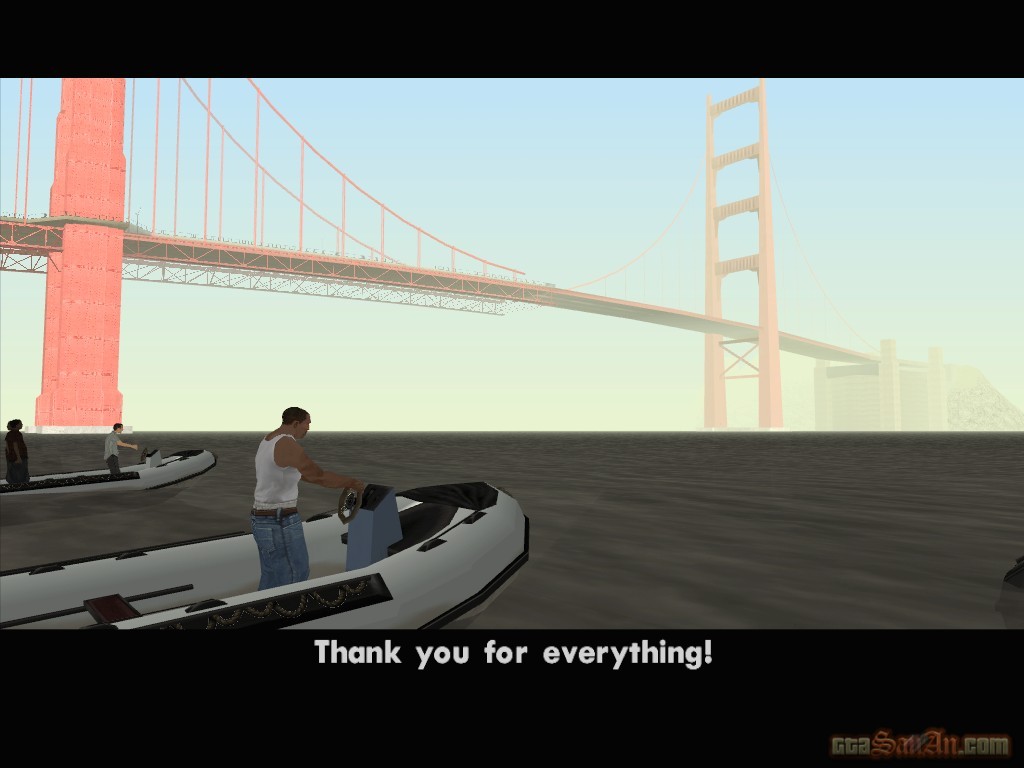
Woozie was just leaving as you entered. This is the big one, he says -- the one that seals his place in the Red Gecko Tong. Woozie recieves a phone call from Little Lion. It's bad news. The Da Nang boys are arriving today on a container ship. Little Lion and Guppy are boarding a helicopter, preparing to do some fly by's of the ship. Woozie leaves and says he'll call you in a week or so at his new location, providing everything goes well. CJ offers his services, and enters the chopper. The camera changes to first-person as the Triad flies towards the container ship. You are given a vulcan mini gun, and you must shoot as many of the Da Nang Boys as possible. The chopper is shot down and unfortunately this cannot be prevented. The chopper plunges into the water, but CJ survives. You lose all of your weapons, except the knife. Swim over to the freighter and board the ship. Make your way down into the hull of the ship. Be quiet for aslong as possible, otherwise the guards will spot you. Use the knife to perform stealth attacks on the enemy. There are several viatnamese gangsters on board. Follow the blip on the radar, and stop in the red marker. Some refugees are being held in a container in the hull of the ship. Waste all of the Da Nang Boys (there are various health and armor icons scattered across the ship, if you need any), and shoot the padlock on the front of the container to free the refugees. They say that "Snakehead" tricked them. Go and get Snakehead -- he is in the cabin at the front of the ship. There are more guards up ahead, and they will defend Snakehead at all costs. Snakehead gives you a katana. A few slashes should kill him. Go back and meet the refugees -- they will lower some dingies into the water. The refugees thank you for your help.
$15000, Respect +

| Zeroing In | |
The Steal Car missions are available after completing driving school and Yay Ka-Boom-Boom. Go and buy the Wang Cars showroom for $50,000 to unlock these missions.
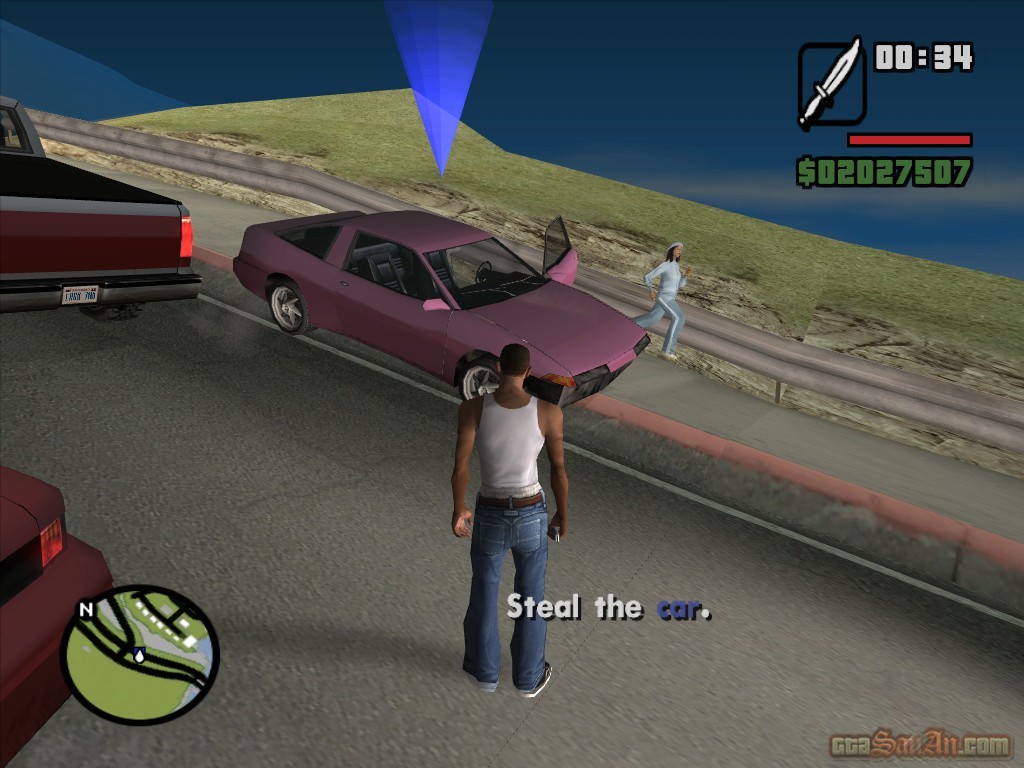
Zero has developed a tracking device which notes the location of a vehicle on your wishlist based on cellphone calls made by the driver. Everytime the driver makes a call, her location appears on the radar as a red blip. Follow her, and don't let her trail go cold! Once you have found her, clip the back end of her car - like you learned in driving school - to spin her out of control. Steal the car and take it back to your garage in Doherty.
$5000, Respect +
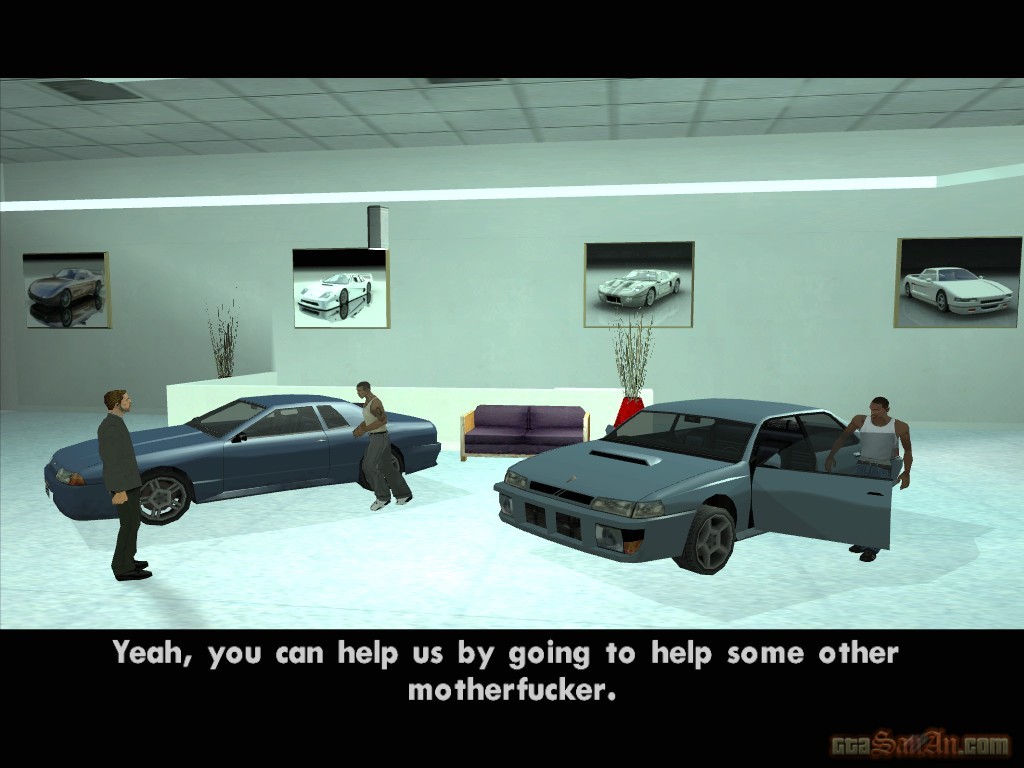
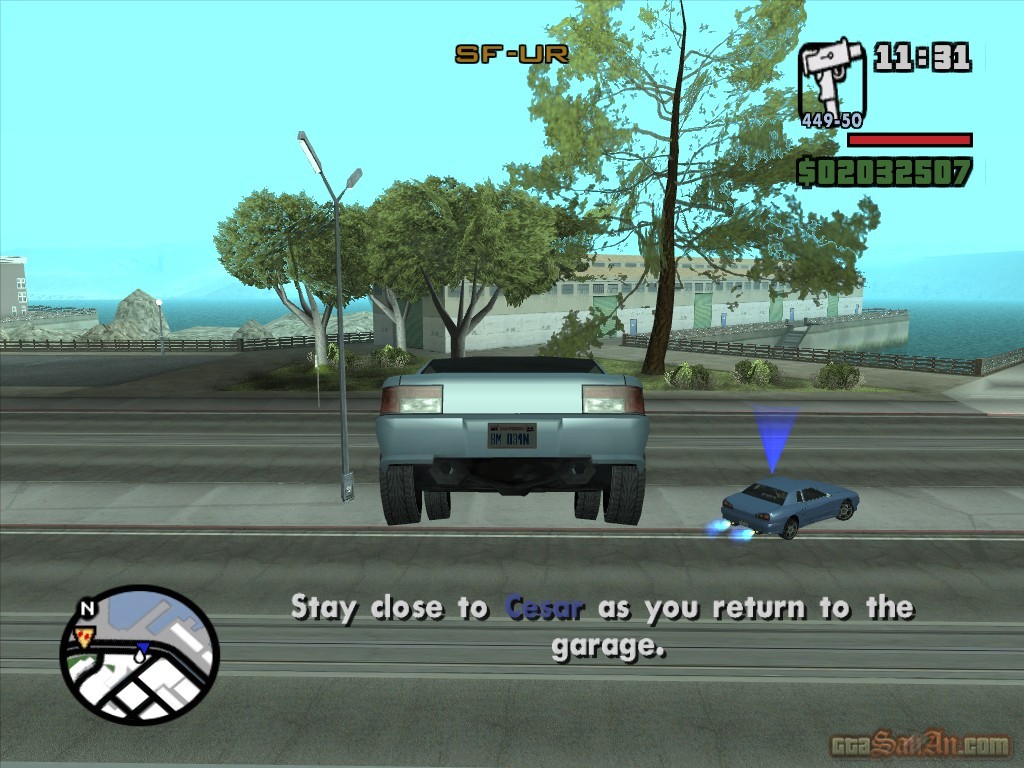
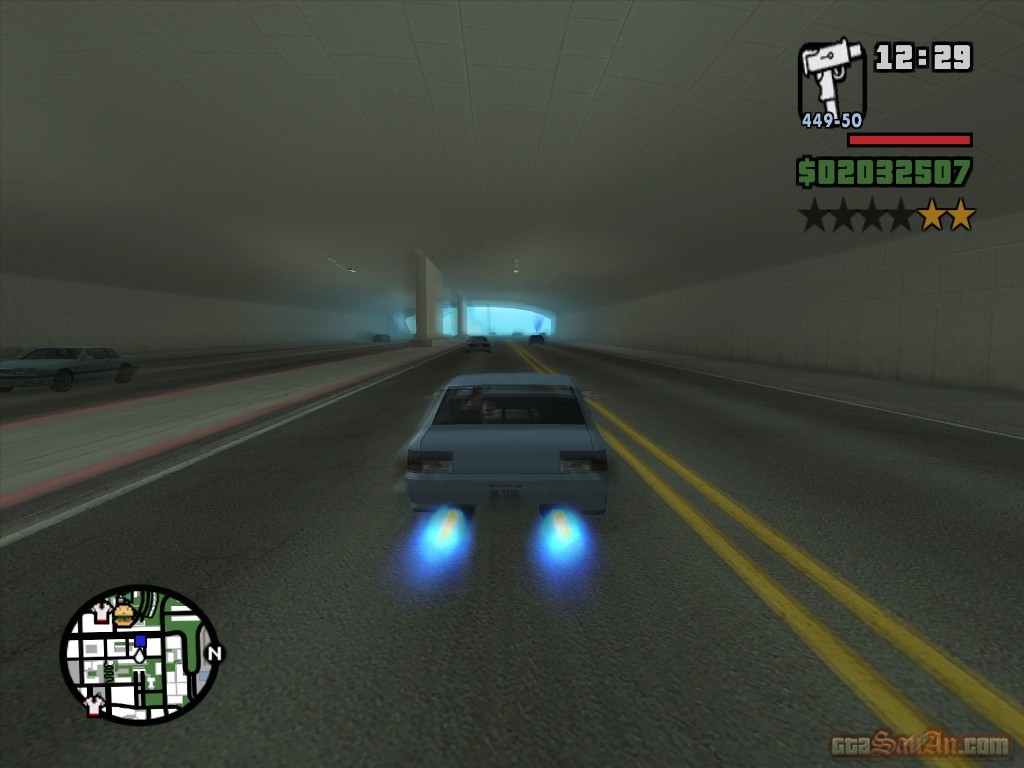
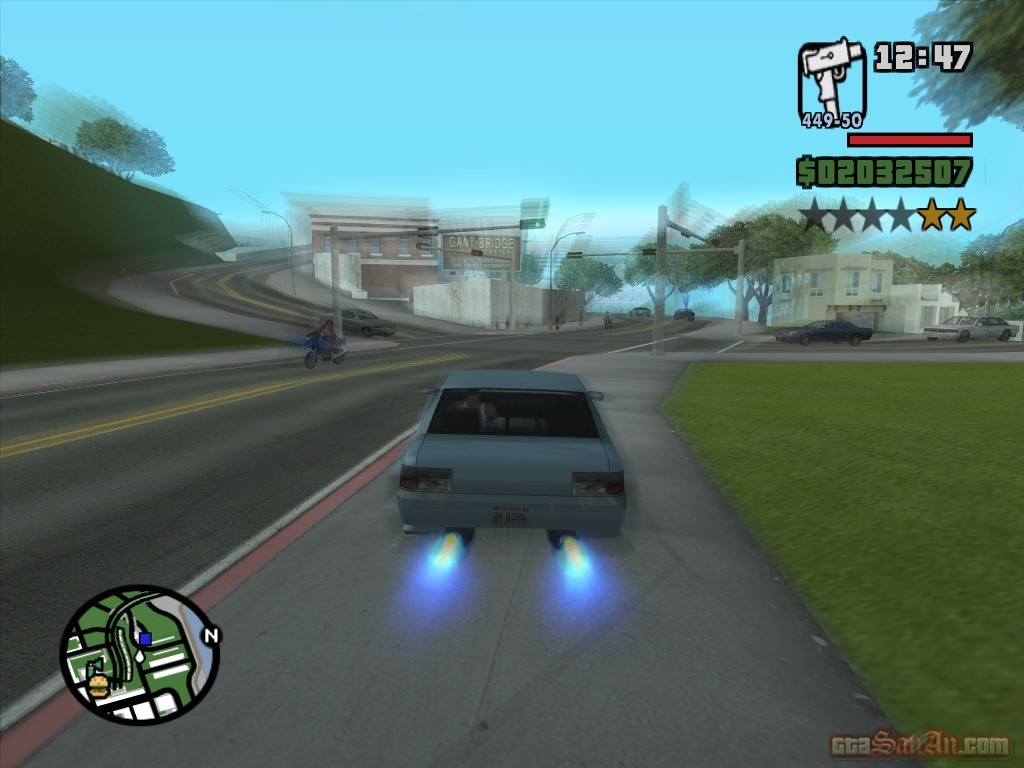
| Test Drive | |
Cesar has found two more cars on the wishlist. They can be found at Otto's Autos on the other side of town.
Go with Cesar to Otto's Autos and steal the cars. Drive through the glass and stay close to Cesar as you head back towards the garage. You have to trigger the vehicle's nitros along the way in order to keep up with him. Soonafter the cops are on your tail. Follow Cesar's instructions and make your way back to the garage in Doherty.
$5000, Respect +
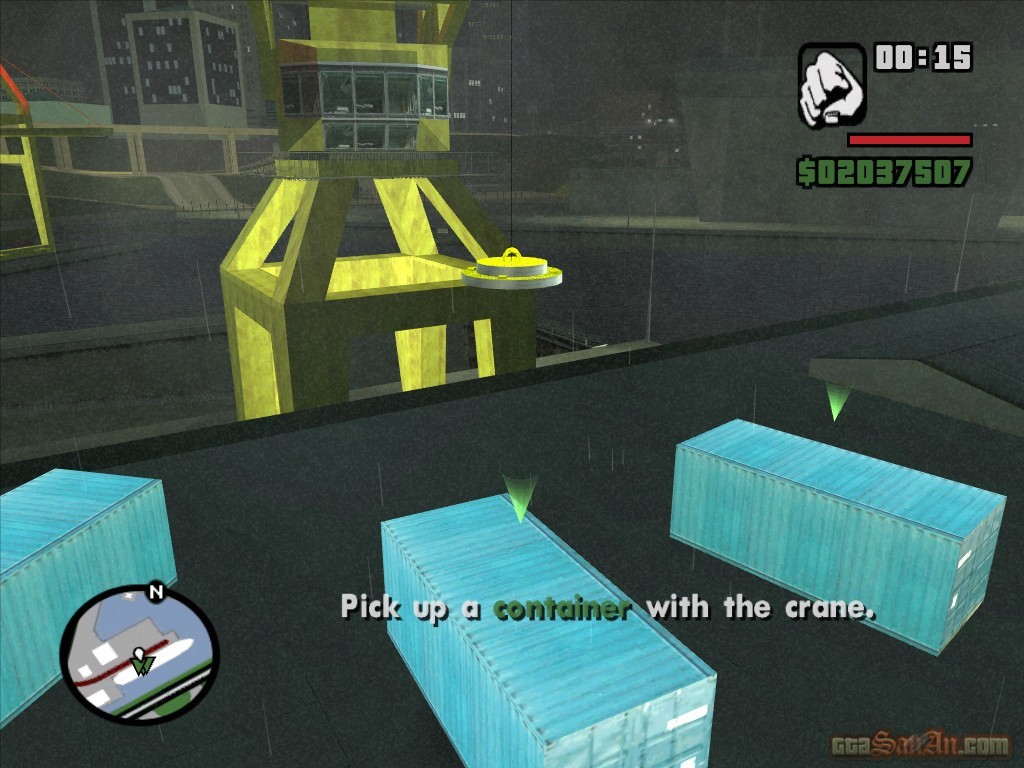
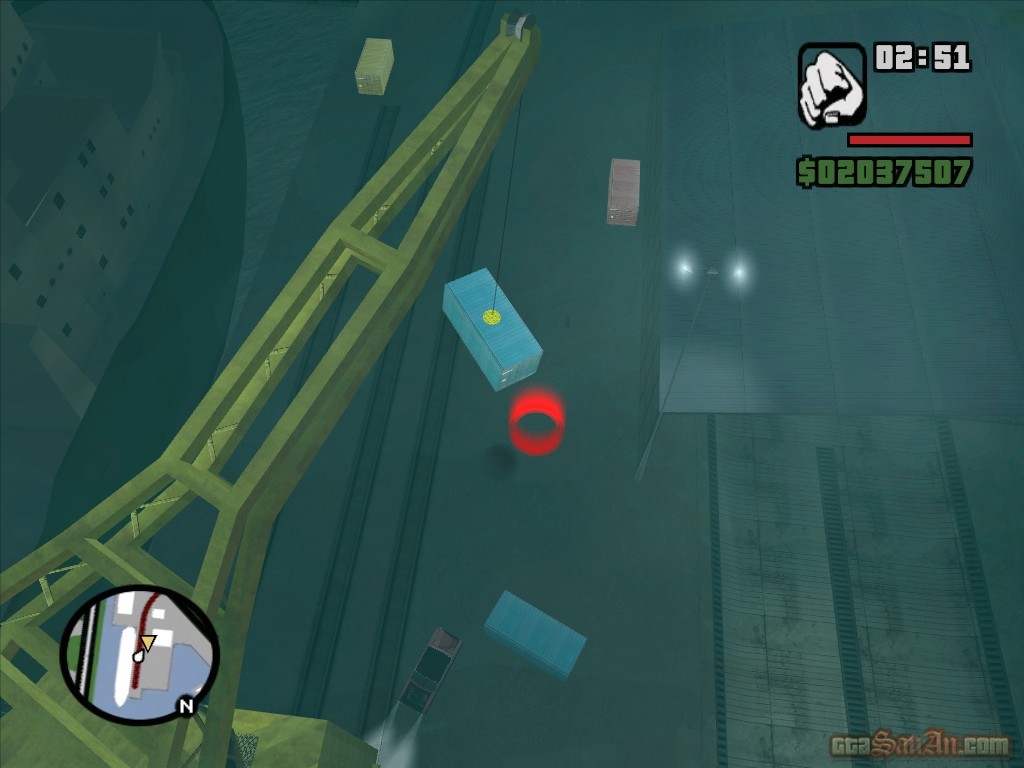
| Customs Fast Track | |
Cesar is told that another car on their wishlist is being loaded onto a container down at the docks. His contact has marked the container with a spray can.
Get in a car with Cesar and head over to the docks. Get into the crane and start lifting containers onto the ground so that Cesar can find the one that you're looking for. Once it is found, security arrives and Cesar's health bar appears on-screen. Kill off any attackers and make your way back to the garage in Doherty.
$10000, Respect +
| Puncture Wounds | |
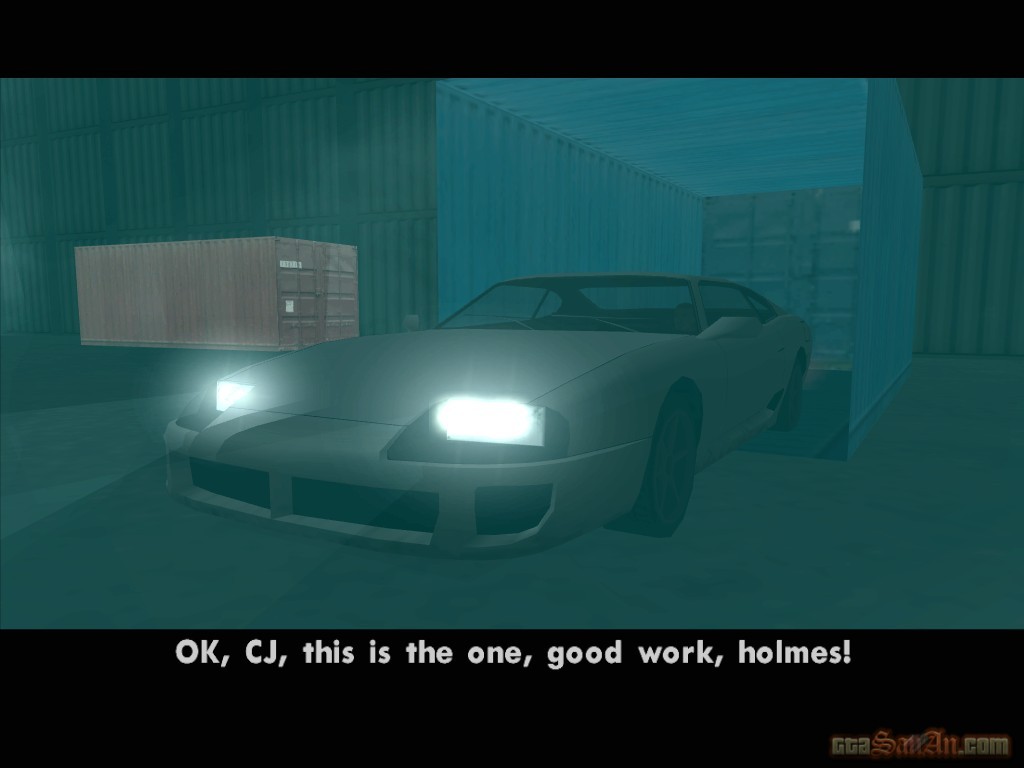
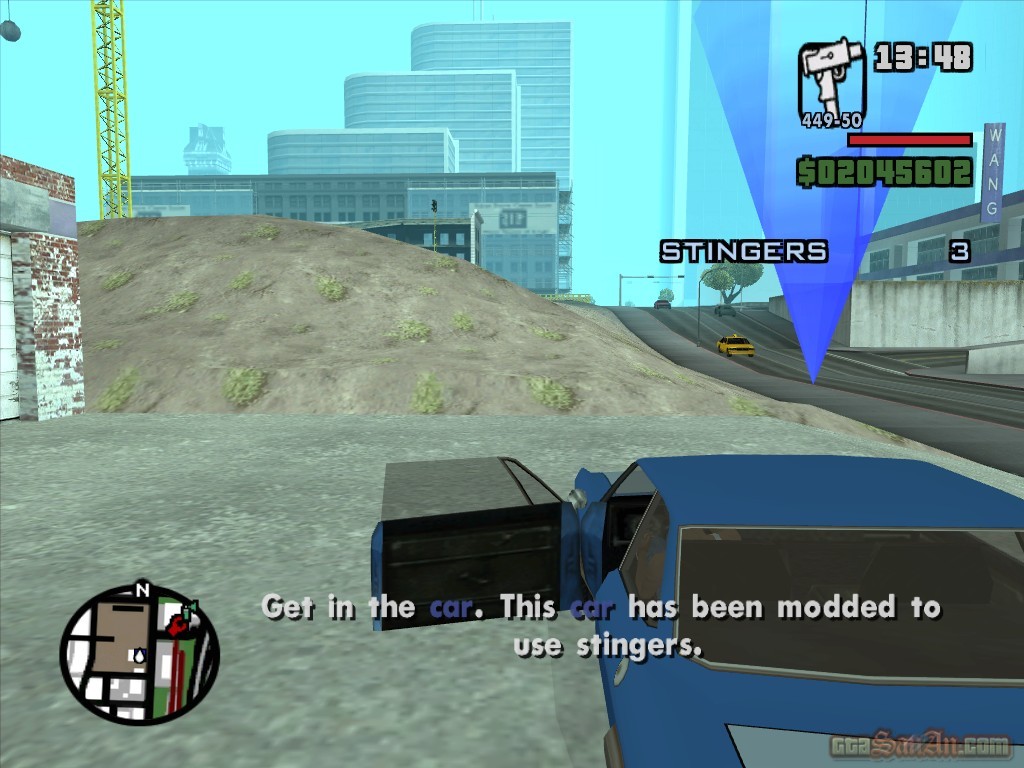
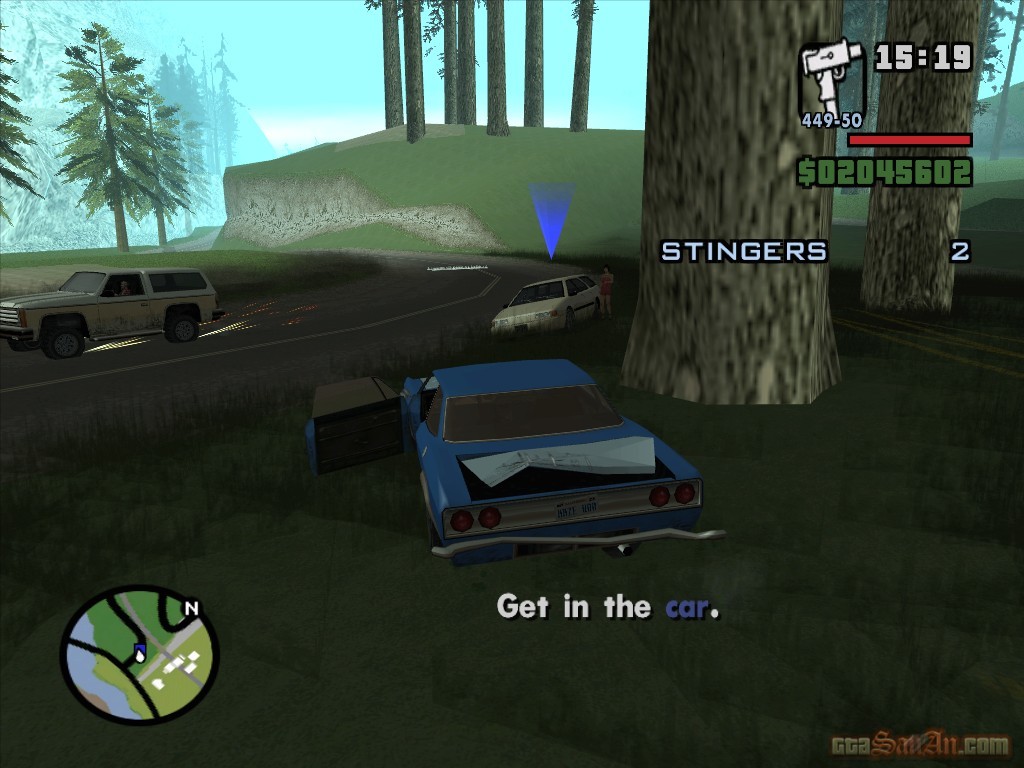
Cesar has found yet another car on the wishlist but the car is too fast and the driver is too quick. Carl suggests fitting a vehicle with stinger traps to pop the driver's tires, enabling you to steal the car.
Get in the modded car and follow the driver. You are given a total of three stingers to use. Timing must be perfect - drive quickly in front of the driver and as you are doing so, release one of the stinger traps. The driver flees. Steal the car and return to the garage on Doherty.
This marks the end of the Steal Car mission strand. Wang Cars showroom now generates a maximum of $8000, so be sure to collect it regularly.
$5000, Respect +
» Continue to Desert Missions
|
 |
Search News
|
 |
|
|